A camping trip is one of life’s great adventures – and can be the first step into the realm of the outdoors for your children – so it is important to not only ensure you have all the right gear to make that adventure enjoyable and memorable, but that you also have the right attitude. Things will go wrong – young children not sleeping; the campsite being flooded out, etc. – but that is just a part of what vehicle-based camping is all about: transporting you to another far more exciting world to the one in which you normally reside.
Yeah, we know – it nearly sounds too much hard work; planning out your route, sorting your gear, keeping the kids entertained for the whole time and, most importantly, ensuring everyone involved has a stress-free, relaxed – and fun – break. Well, we reckon we can make that camping adventure – whether vehicle-based, or hiking, paddling or cycling – just that bit easier. It is all in the preparation…
Types of shelters
Tent, swag, rooftop tent and camper-trailer. As with vehicles, camp accommodation options are many – and the final choice will depend on a number of factors unique to you, your family and the destinations you have on your bucket-list.
There’s no single solution to camp accommodation. There are innumerable variables that affect choice; destination, numbers (family or single/couple), available space in/on top of your vehicle, and personal wants and needs all play a part in helping find the most suitable mobile base camp.
For some, the choice may be the swag. For families who like a bit of ‘luxury’ it is the self-contained appeal of a camper-trailer. Add in the (still) popular choice of a tent – ground-based or a rooftop – and you can see it ain’t easy; each option has advantages and disadvantages.
The tent: a family favourite
The tent is probably the most popular camping accommodation option in Australia, full-stop. The wide variety – large and tough canvas tourers; multi-room family palaces – adds credence to that cliché of the buyer being spoiled for (nearly too much) choice.
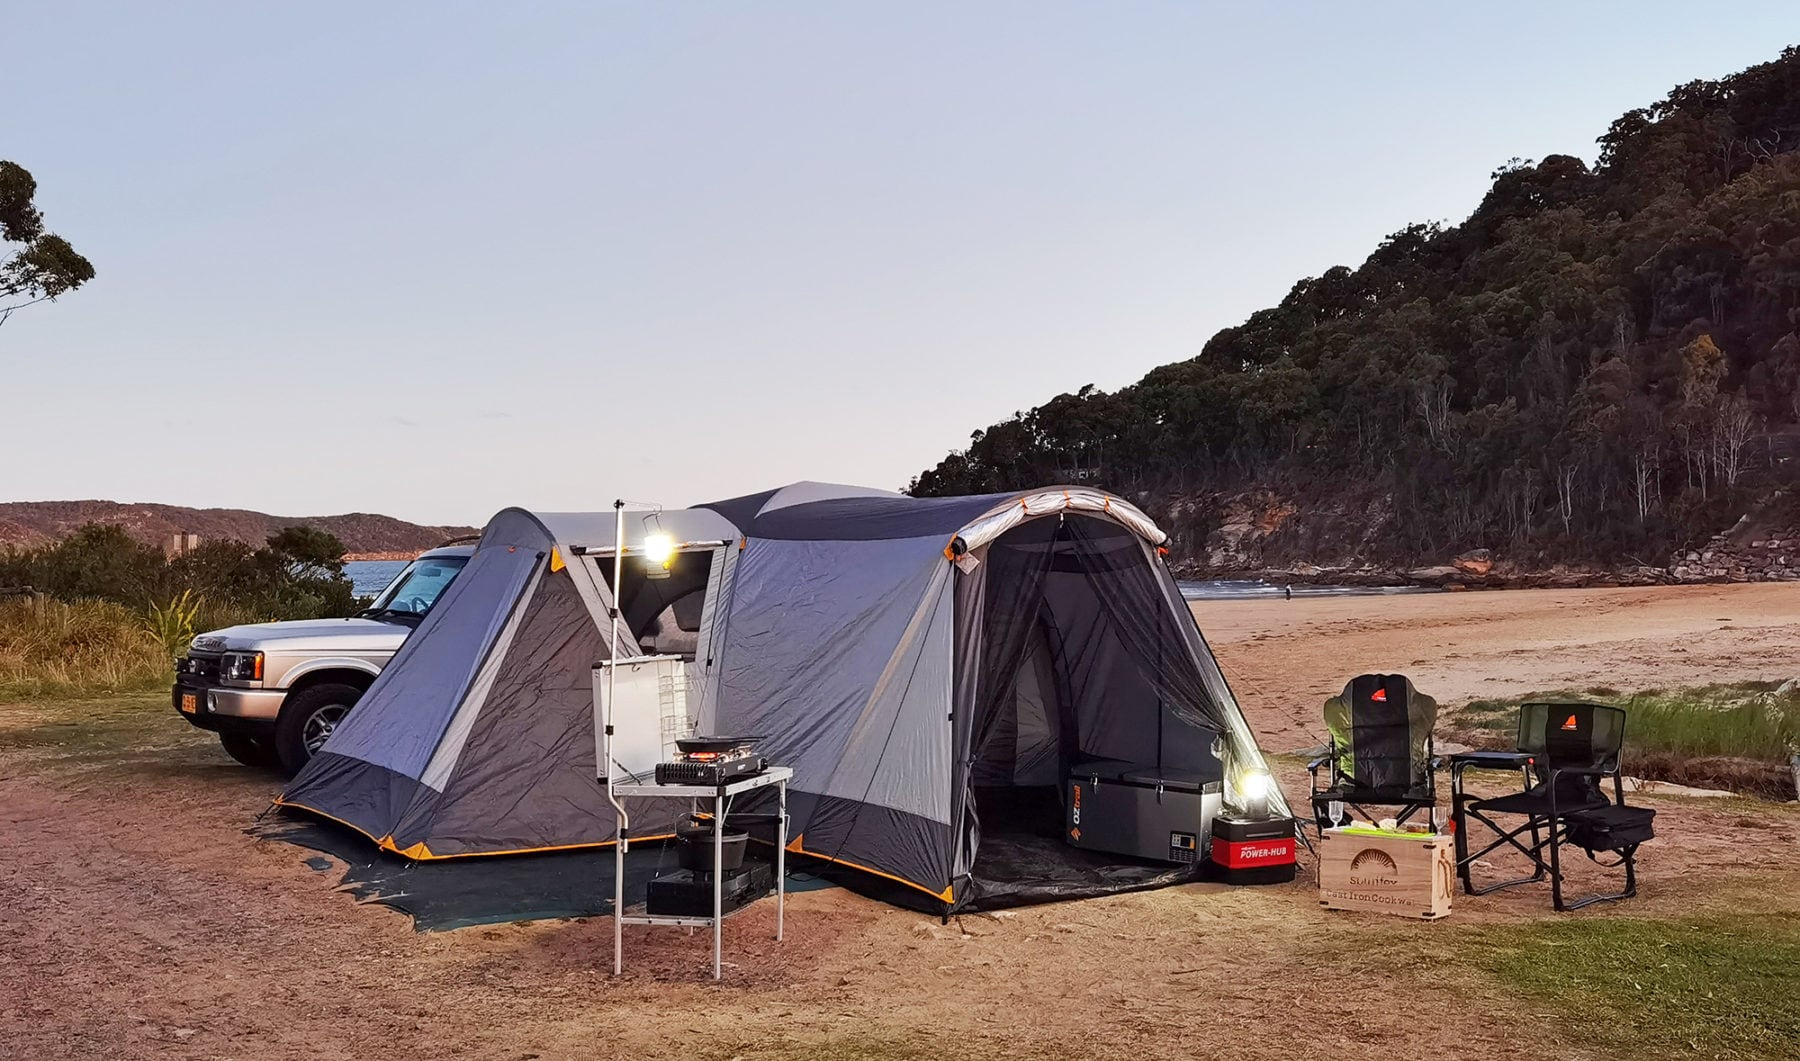
For singles, couples and/or owner of compact vehicles (think: hatchbacks, small SUVs) the lightweight hiking tent is worth looking at; minimal cargo space is needed with these tents and you can fit all your sleep gear (clothes, bedding, etc.) inside the tent or in one of its vestibules once it is set up. Speaking of vestibules, look for a hiking tent with two doors and two vestibules, whether you’re travelling one-up or two-up (or with kids; the compact packed size of a hiking tent means you could take two of them in all but the smallest vehicle, and have one parent/one child in each if that suits. It even ups the ‘fun’ factor a bit for the little’uns). Twin vestibules also make for easy entry/exit for all occupants. Check out the tent height as well; being able to at least crouch or sit on your knees inside one of these smaller tents is a surprisingly big thing. There’s nothing worse than having to shuffle/scramble around all bent over inside a tent. Other features to look for include a “bathtub” floor design (this applies for when checking out any tent, large or small), where the stitching that joins the floor to the tent body is above the ground. This avoids the potential for water ingress from underneath the tent.
In terms of a family tent, if you opt for a polycotton/canvas “tourer” style tent, be prepared for them to take up a significant amount of space inside – or on top of – your vehicle. These tents are obviously a lot larger than a hiking tent but offer all the associated benefits of interior (stand-up) height and space for a family (large or small). Some models use a central pole (similar to a pavilion or tent pole), while others use a combination of this and/or interconnected poles for setup. (OzTent is an example, as is Anaconda’s Dune 4WD range and those from Southern Cross Canvas.)
A touring tent’s construction is its big plus. Most models are made from bombproof poly/cotton canvas (for the tent body) and heavy-duty vinyl (for the floor) and will last many, many years. The extra space, too, cannot be underestimated – especially if you intend spending a considerable amount of time touring. These tents usually feature plenty of ventilation in the form of no see-um mesh windows (with rain awning/cover) on each side/face and, in the main, are not difficult – or time consuming – to set up. The tent-pole designs, such as the Dune 4WD Kimberley 9, are actually super quick, as is the OzTent, with its clever hinged/fold-out design that really does live up to its marketing promise of only taking around 30 seconds to set up. For families who intend on going camping regularly – and into more remote, rugged locations – these tents are a fantastic choice; there’re no worries about kids inflicting too much damage on the tent materials and they can be pitched pretty much anywhere flat, without being too concerned with damaging the floors, etc.
Size matters
The size of the tent you’ll need for family getaways will obviously depend on the size of your family, but you should also consider how long your trips will be; the longer they are the more gear you’ll likely need to stow in the tent and the larger the better.
In its erect state, there’s more to take into consideration than simply the overall size of the tent; does it have separate sleeping quarters, a vestibule/wet area and/or an awning? Features such as these can be extremely important to ensure everyone gets a good night’s sleep, especially if there’s inclement weather.
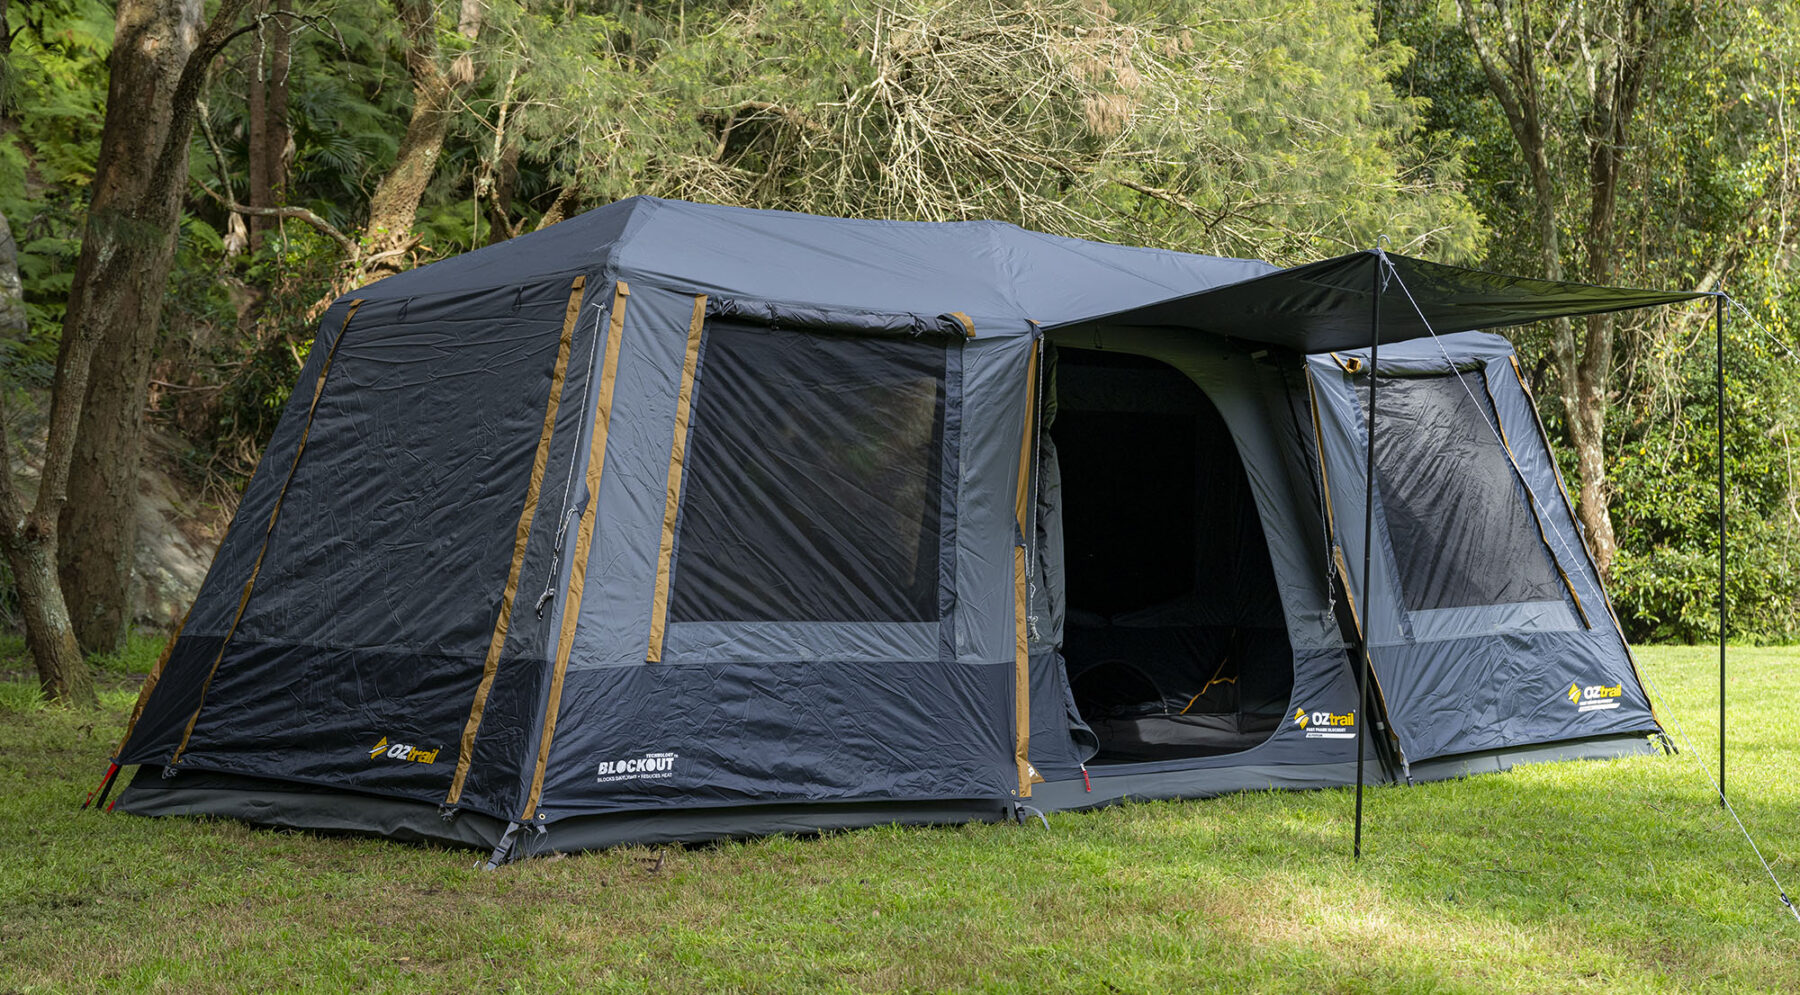
Although you won’t be lugging it around on your back, the weight of the tent is still something to consider in a family tent. You’ll not only need to be able to easily put it in your vehicle and then take it out again to manoeuvre it into position, but you’ll also need to ensure it doesn’t tip your vehicle’s payload into the red zone. You’d be surprised at just how little weight many modern vehicles can legally carry; your vehicle’s payload can soon be exceeded just by filling it with occupants, fuel and a moderate amount of luggage, so by the time you throw in camping gear such as a fridge/ice box, food, water, some tools and vehicle recovery gear, you can soon be over the limit. Having said this, you will find most modern large tents, such as the OZtrail Fast Frame BlockOut 10P (see our review, here) quite light for the amount of living space they offer.
Finally, it’s important to examine the size and shape of the tent when it is packed for transporting to make sure it will fit in your vehicle. Some tents fold up into several smallish bags that can be packed around other luggage in your vehicle, while others will pack in such a manner that they can only be transported on your roof racks; what you choose will depend on the size and design of your vehicle and how you intend to transport the tent.
Tent features
There are a number of features in family tents that are designed to improve the camping experience. As with any tent, a family tent is primarily designed to protect you from the elements. There’s a huge range of family tents on the market manufactured from a variety of materials, from tough poly-cotton canvas (as per the touring tents mentioned earlier) to lightweight polyester and nylon. Weatherproofing features to look for include sealed seams, PU coated materials, flies, awnings and ‘bathtub’ floors (as mentioned earlier).
Just as important as weather protection is ventilation; remember, with a whole family sleeping in the one structure you’re going to want plenty of fresh air, not just for odour control but to ensure you don’t have a build-up of condensation. Most family tents will offer plenty of fly-meshed windows/doors to ensure you get good flow-through ventilation.
If your trips usually see you camping in different locations night after night, you’ll want a tent that can be set up and packed away quickly, but if you intend to stay in the one spot for several nights, chances are features such as an awning and separate wet area/vestibule – or even separate rooms – could be more important to you.
The quality of materials and construction will have a big bearing on how well a tent will stand up to the rough and tumble of years of family use and abuse. Take a close look at stitching, seams, zippers, fly screens, poles, guy-ropes and even pegs.
These tents can be heavy – in fact, some of the larger four/six-person models are definitely a two-person job to load/unload from a vehicle – and they eat up a notable amount of cargo space. You just have to figure out how to transport them; inside if there’s enough space, otherwise up on the roof.
With some swagger
A long-term 4WD journo mate of mine once said, “swags are a triumph of marketing over common-sense”. A tad harsh perhaps, but when looking at camping options, it’s worth looking past the romanticism that surrounds sleeping in a swag to ensure it suits your camping plans. The traditional swag was a simple device: a large piece of canvas with your mattress and all sleeping gear inside. Operation is easy: roll out the swag and there’s your bedding.
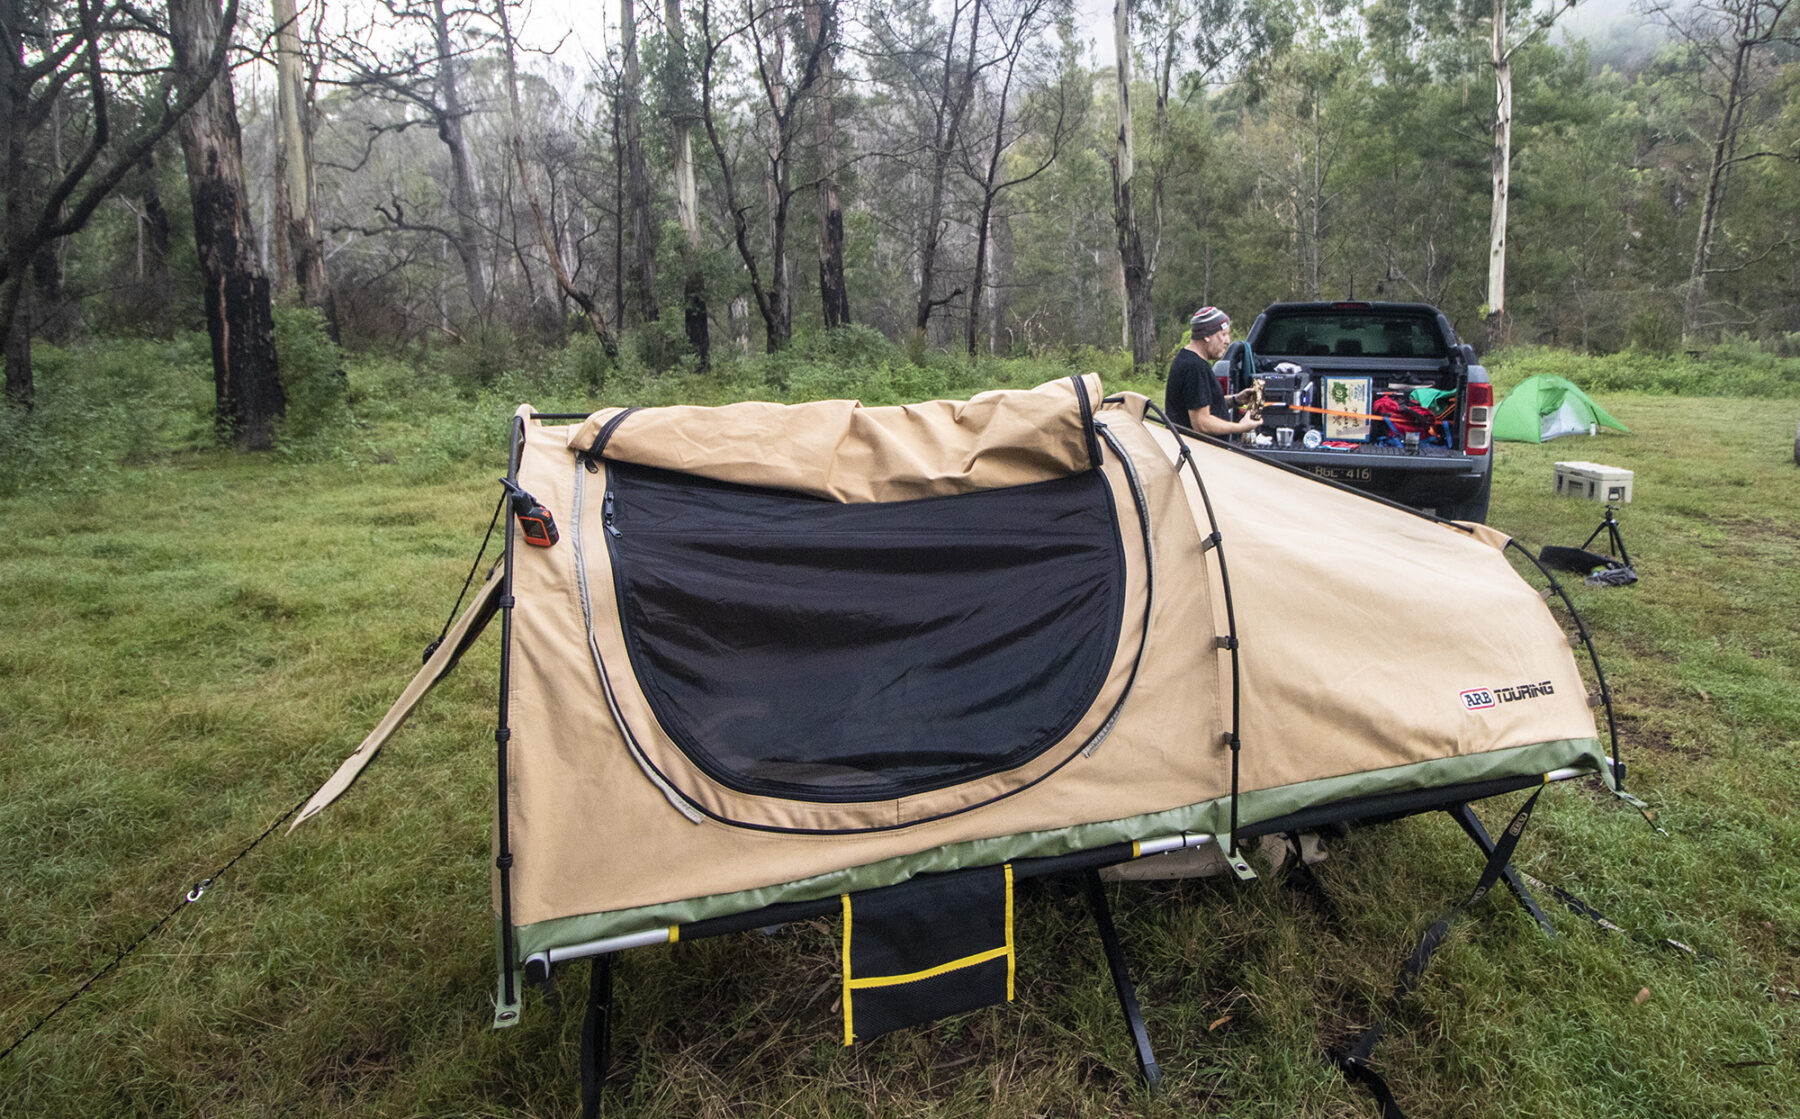
The modern swag is available in multiple designs, from the traditional through to swags that are, really, more aptly described as a tent. Hooped poles, cross-poles, plenty of tie-down ropes, lots of meshed areas for (welcome) extra ventilation to control condensation, etc. are now commonplace on swags.
The material used is still similar – very tough, treated ripstop cotton/canvas tops/sides and (generally) a heavy-duty nylon base to assist with water-resistance. These swags are still quite easy to setup, but now, with said poles, are not that much quicker than erecting a hiking tent (not that it is a race) and they are a hell of a lot larger when rolled up.
It is the swag’s size and significant weight (most modern single pole-type swags top out around 9kg) that is its main negative: the sheer amount of cargo space a rolled swag (or two, or more) takes up in your vehicle. Even a 4WD ute tray quickly loses its generous cargo space once a couple of rolled-up swags are thrown in the back. You can throw a couple of swags up on the roof, but their bulky shape seems perfectly designed to ramp up your vehicle’s wind resistance and, as a result, increase fuel consumption.
And then there’s rain. Yep, few swag owners will disagree there’s nothing worse than hearing those first drops of rain on the top of your swag; a wet swag – and wet occupant – make for a miserable experience. Erecting a fly over your swag is an option in this scenario and it serves the dual purpose of also providing shelter for your clothing/gear that would otherwise have to be packed in your vehicle.

So, is there a place for the swag? Yes, most definitely. For desert travellers, where clear skies and dry nights are close to guaranteed, there’s still little to compare to spending the night in a swag – especially the traditional design swag that offers its occupant the full outback night sky experience. For solo travellers – or even two-up travellers who opt for a double swag (surprisingly, these don’t take up all that much more space than one single) – the simplicity of operation, the bombproof construction, and the fact a swag (if properly cared for) will last decades, all make for a still-convincing case for this canvas shelter.
Above it all with the rooftop tent
The origins of the rooftop tent are purported to be the African continent. It makes sense, too; think big, hungry carnivores and their potential human meals and you can see why sleeping up on the roof would be a common-sense option. Rooftop tents have been available in Australia now for many years and for two-up tourers – and those with a couple of little’uns – a rooftop tent (plus an attachable annexe/lower tent) can make perfect sense – especially as it frees up valuable storage space inside your vehicle. Although, there is a caveat…
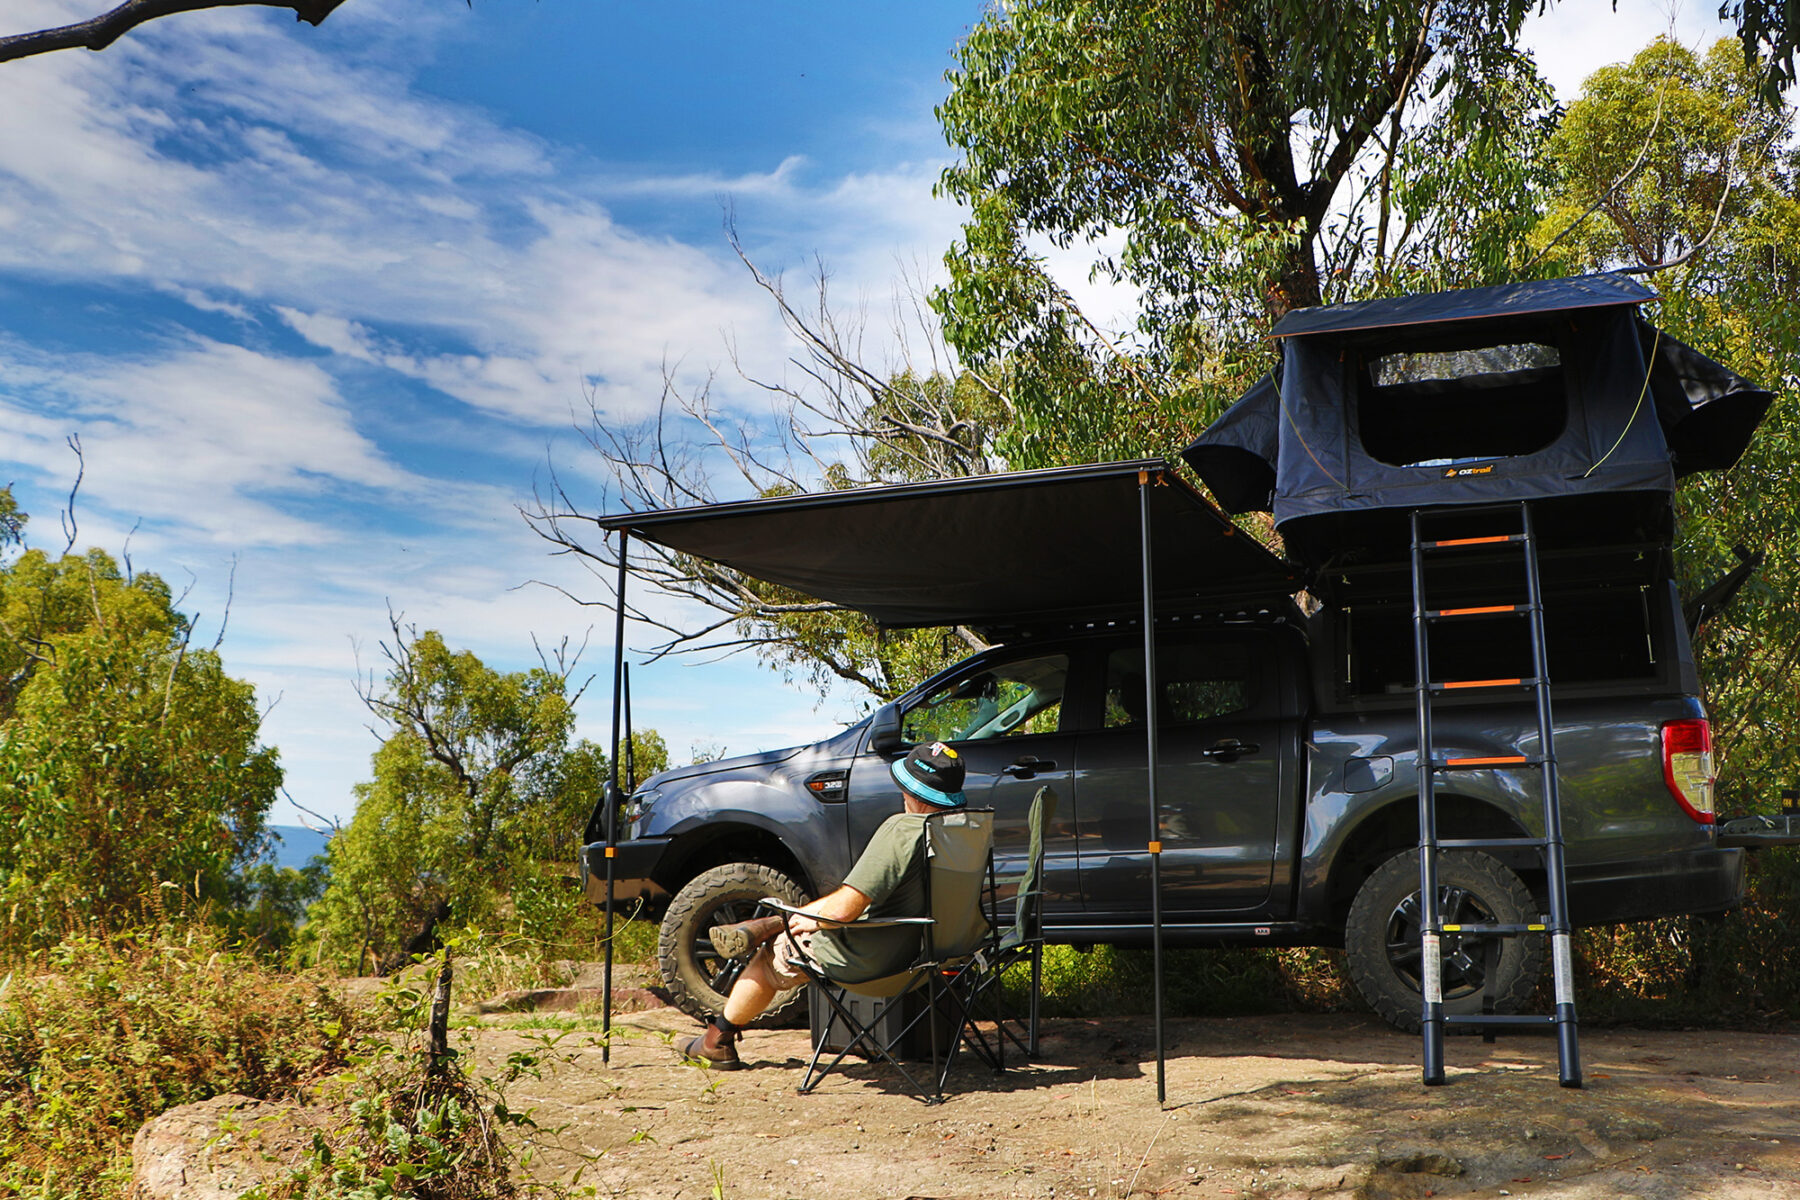
As with anything roof-mounted, the weight of a rooftop tent will affect your vehicle’s handling, courtesy of the additional load up top shifting the weight distribution higher, but most rooftop tent models are relatively light. Manufacturers tend to use marine-board or ply bases, comfy mattresses, lightweight polycotton/canvas (in the main – there are some synthetic-fabric variants available) and aluminium poles to keep the weight down. However, before you even think about buying that awesome rooftop tent, you need to know the legal weight limit allowed on the roof of your vehicle (it will be in your owner’s manual). And when looking at maximum legal load weight, that figure needs to account for roof racks/platform, plus the tent and anything else loaded up there.
The rooftop tent’s simplicity and speed of operation – park your rig, pull the top half of the folded tent over, which opens up the “tent” section with an accordion-style action, then attach, or let down, the ladder to finish – means you can be sitting up pretty, checking out your campsite’s surrounds before you know it. That is, if there is only two of you. Add in a couple of wee tackers and then you will have to add on the readily available lower-tent sections (everything from awnings to additional rooms are offered by rooftop manufacturers).
One thing to remember with a rooftop tent is to make sure you’ve finished driving before you set up camp. If you did decide to go and view the sunset from that dune half a kilometre away – and already had the rooftop tent erected – you’d have to then re-pack the tent before driving over there. The rooftop tent being constantly attached to your roof is only a slight inhibition if you think ahead, however. And, again, the speed of set-up means you can leave it all until the last minute before bed-time. The other thing to be aware of with a rooftop tent is, if the canvas gets wet overnight, whether through rain or condensation, it’s wise to have some type of waterproof cover to put over your bedding so that if you do have to pack up early with a still-wet tent, you won’t soak your bedding. If you have a hard-shell roof, this is less of an issue.
Rooftop tents are expensive but are built tough, have myriad accessories for expanding families (or those who just like lots of extra space), and offer the bonus of keeping your vehicle’s cargo area free for other gear. For long-distance tourers a rooftop tent is a fantastic bush accommodation option.
The mobile home
If you’re one of those travellers who wants the best shelter from the elements that money can buy, and who really does want to bring everything plus – literally and figuratively – the kitchen sink, you will need to dig a lot deeper into your pockets and look at an off-road camper-trailer or camper-van.
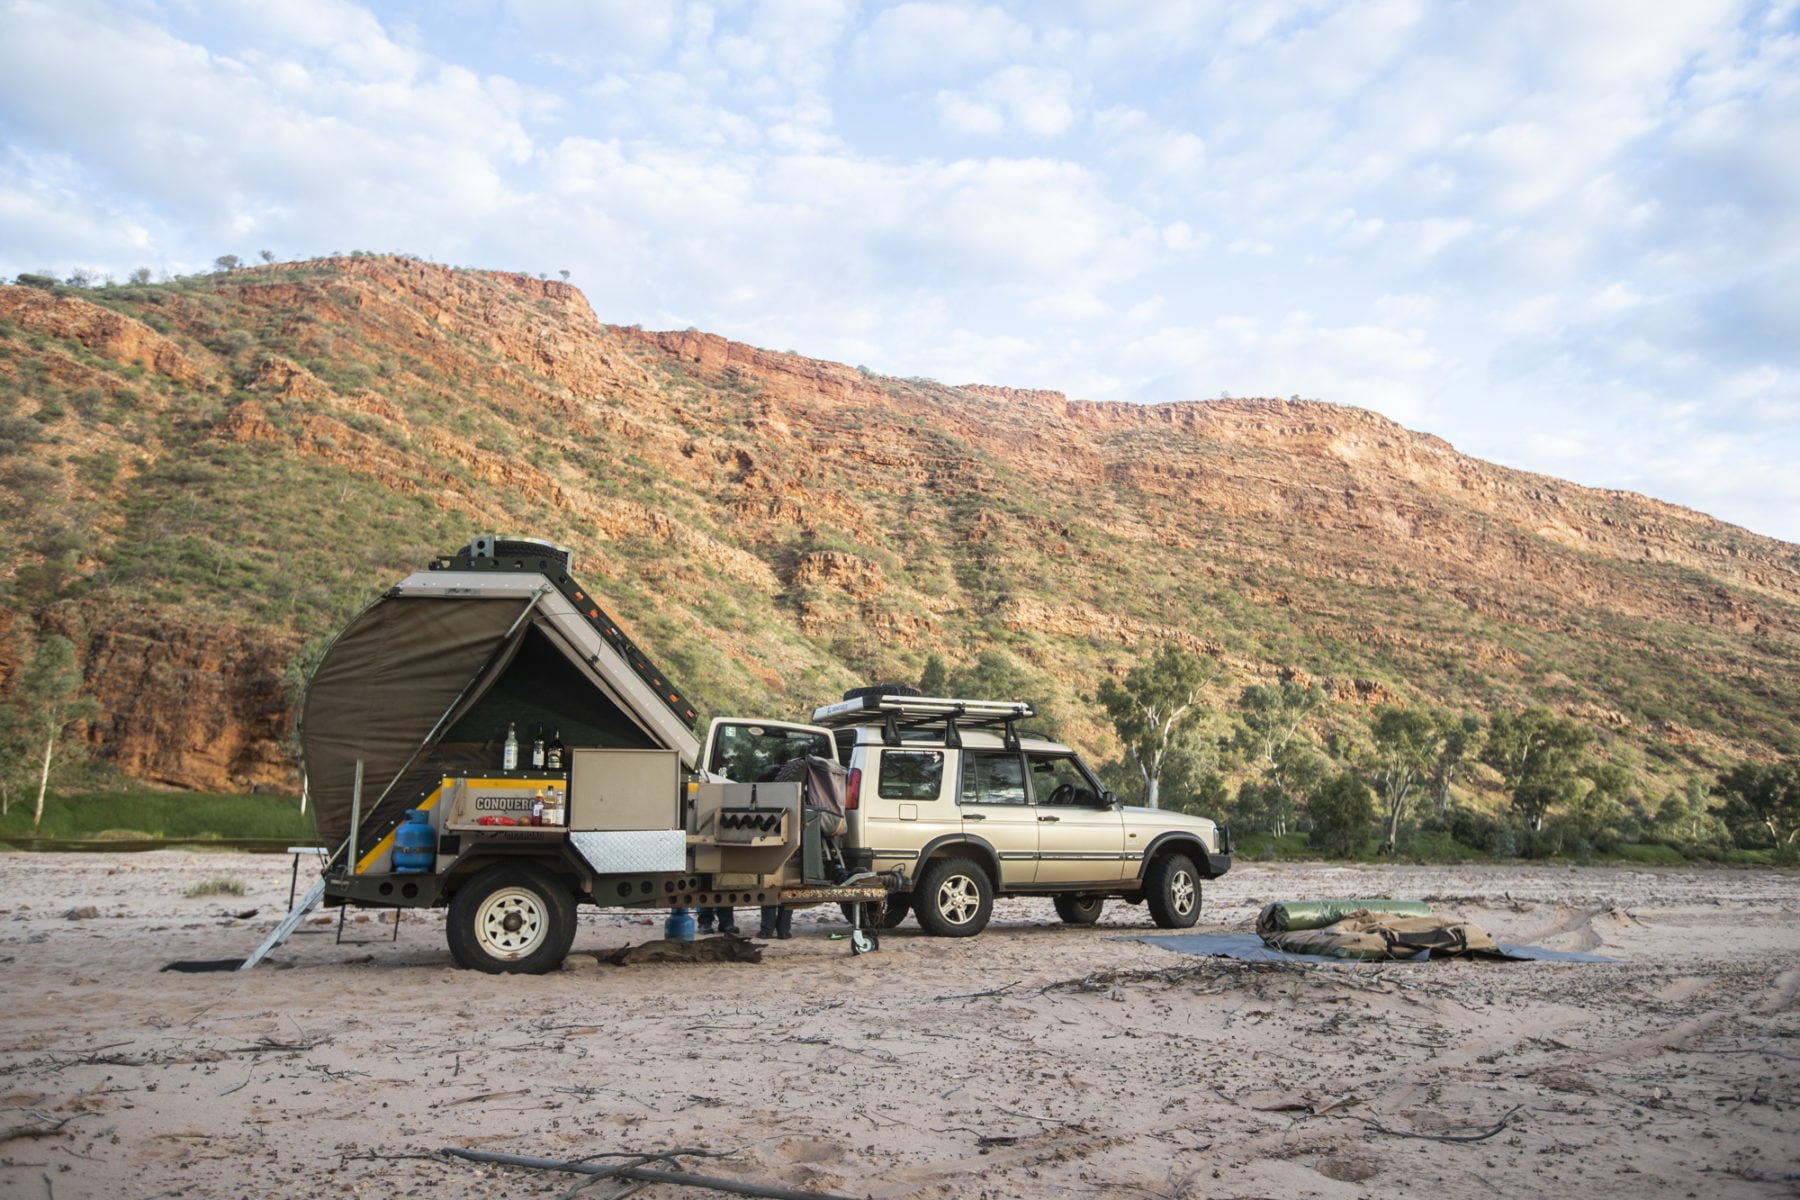
Available in numerous configurations, from a converted box trailer with canvas tent on top, through to solid-body models that can cost more than a vehicle, a camper-trailer is the most luxurious bush accommodation you can own. The trusty camper-van has been around for a long time, with flip-out bed sections and wind-up roof synonymous with Aussie caravan parks for decades, thanks to its generous (and comfortable) sleeping areas, small dining table/seats and interior kitchens.
If you’re serious about comfort and plan on spending weeks away from home – or want to take the family away for a week to a local campground – an off-road camper-trailer is tailor-made for your needs. A mini-caravan in terms of size and features, the camper-trailer (or van) offers oodles of extra load space for long-distance touring, courtesy of additional cargo areas both externally (for securing things like bikes, watercraft, etc.) and internally. Hard-exterior versions come out winners in regards to the best protection from the elements.
Generally, standard features include a roll-out/slide-out kitchen and a fridge-freezer as standard or, at the minimum, a dedicated space for one. Add in a bed (obviously), power outlets (and included power source; deep-cycle battery and/or solar panels) and lighting inside and out, space for extra gas bottles and other accessories. Camper-trailers are (usually) only two-up (you can add an extra zip-on room for kids quite easily), while camper-vans are four-up, thanks to those flip-out beds on each end.
It sounds perfect, dunnit? Well, nearly. One of the caveats on ownership is the slight limitation on access to more remote terrain when towing a trailer (due to the combined length). And then there’s the rise in fuel consumption. Even though we all like to think we pack light, the temptation of using all that available space is too hard to resist. The result is a significant increase in fuel consumption for your camping trip.
Whether you do go for a camper-trailer or camper-van, you will still need relatively deep pockets as you may need to stump up for additional annexes or covered areas, plus additional power supply (solar panel set-ups; the accessory lists with these things are endless).
However, when you think of the many positives – and the fact most campers hold their value very well for when the time comes to re-sell them – they are a great family camping option for those who make the most of their holidays/weekends.
The perfect combination?
Each of these camp accommodation choices has its place. For solo and two-up travellers any of these options are worth consideration. For families, swags are out. Rooftop tents need add-ons for kids, plus they are heavy up top, although quick to set up and comfy.
For this writer’s young family of four, a touring tent is the most cost-effective. It is fast to set up, roomy, and as long as you take care of it, should last years.
A camper-trailer/van would be great, but they are a big investment and you would need to make sure you use it as much as possible to get the most out of the initial outlay. Plus, you will need a full towing set-up (obviously). However, the fact the camper-trailer/van is probably closest to a true ‘home away from home’ and is fast to set up, enhances its appeal.
You can’t go wrong with any of these, really. They all ensure you are sheltered and comfortable when you’re enjoying Australia’s spectacular wild places.
Camp furniture
Camp chairs: We’ve all had it happen: You’ve spent a long day driving to the campground, then spent another half-hour setting up camp and just want to sit down in that bargain-priced camp chair that you bought as a last-minute purchase. As you sit, you just keep on falling to the ground, the camp chair folding itself around you as it cannot support an adult’s weight. If you’re lucky, it will be embarrassing. If you’re unlucky you could cop an injury.
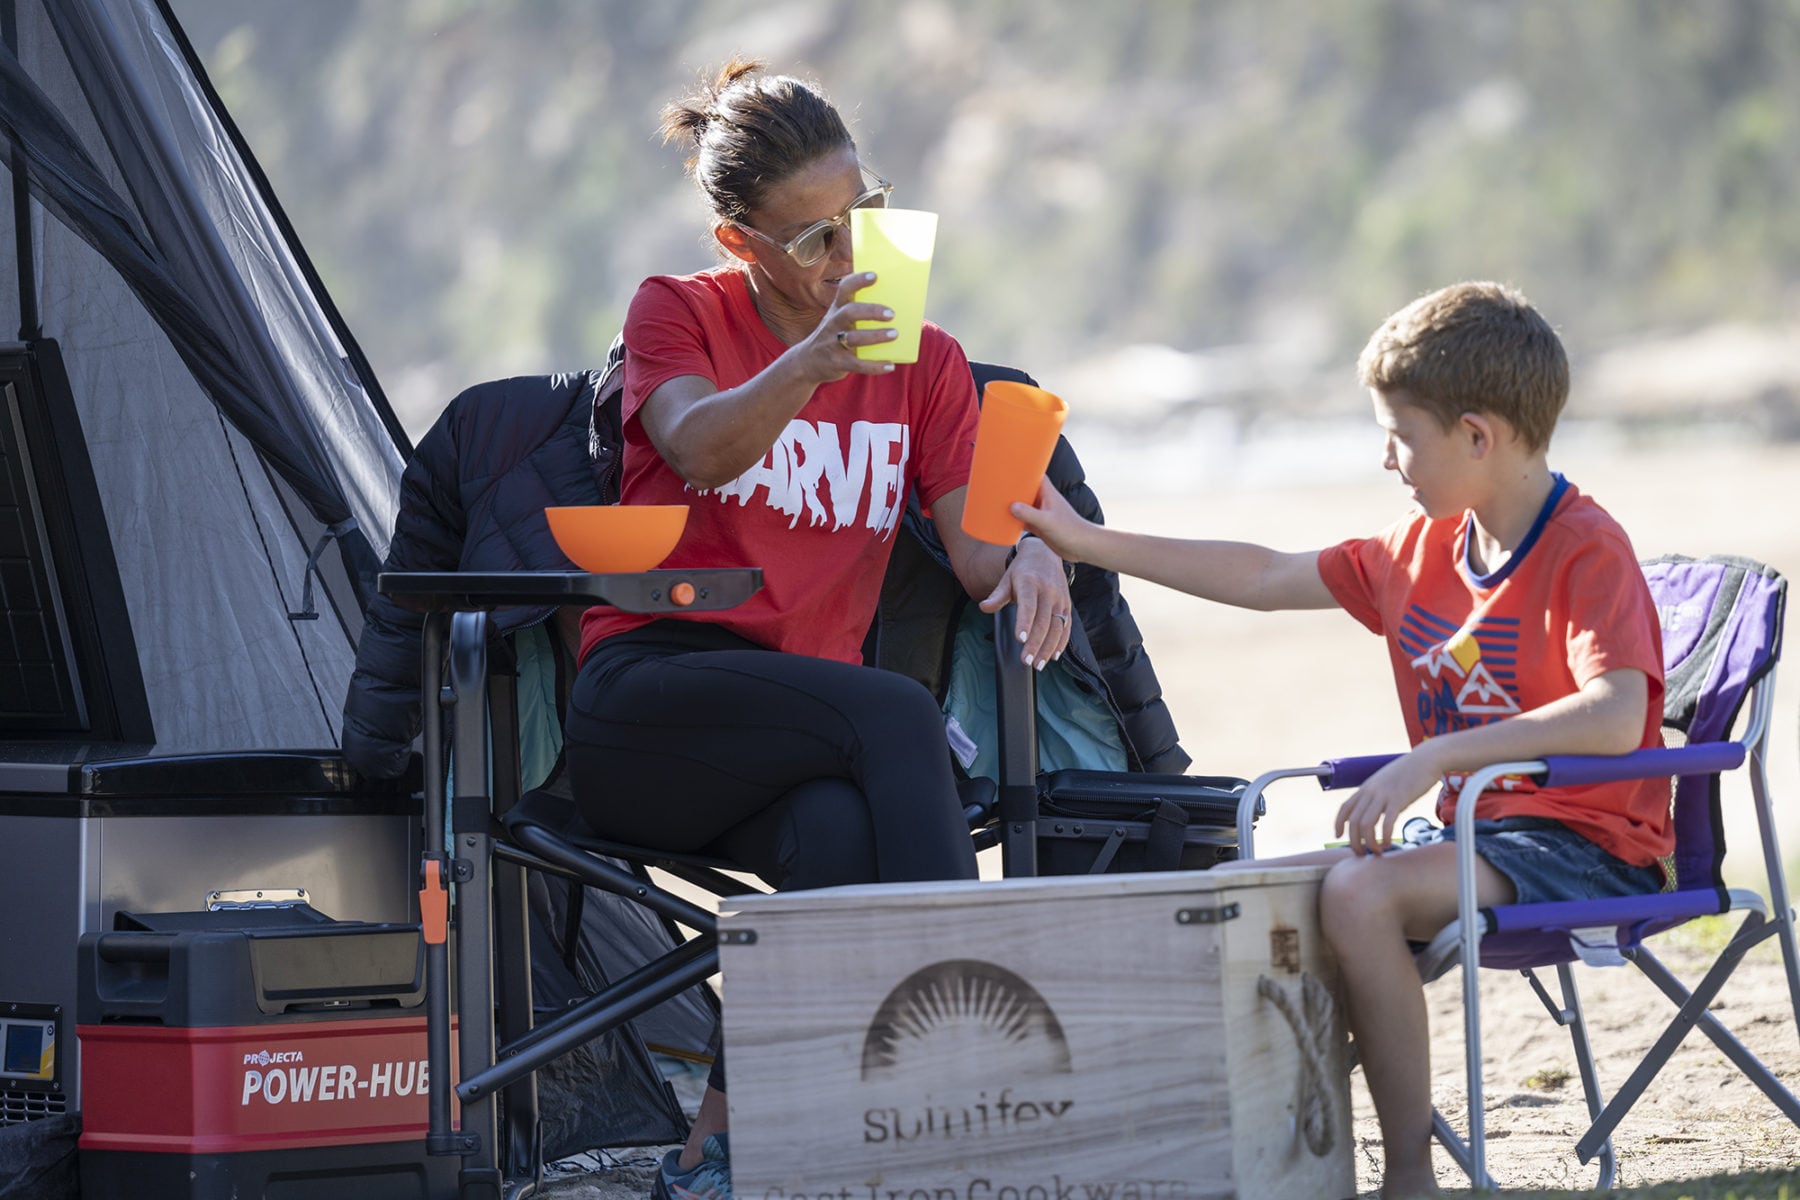
When looking for a camp chair, there are a few governing factors, ranging from how compact the camp chair is when packed down, to the materials used in its construction, through to the very important weight rating of the camp chair. This may draw a small chuckle but the rated weight figure of a chair actually offers a great insight into the quality of construction of said chair.
Styles: Camp chair styles range from the cheap fold-up designs with a flat seat and flat back (usually nylon material), connected by alloy tubing that also forms the four legs that are themselves all interconnected by hinges to assist in the fold-up/fold-out process. These will pack up the most compact, but these are also the least capable when it comes to bearing an adult’s weight, although they should be fine with children under 12.
The next step up in terms of style and design is the full-featured chair, such as the Oztent Mawson. This variant may include everything from bottle holders in the (often padded) arms and a sleeve at the back of the seat for magazines, through to a solid (fibreglass or alloy) fold-out table off the side of one of the chair arms. The base and back material in these models may vary; the more heavy-duty camp chairs will feature ripstop polycotton/canvas fabric that is treated against rot and mildew. These camp chairs will also feature sturdier metal tubing (alloy or steel) with larger/stronger hinges, bolts and attachment points, with the purpose of supporting an adult weighing up to 150kg (in some models; check weight ratings for any chair you’re looking at buying).
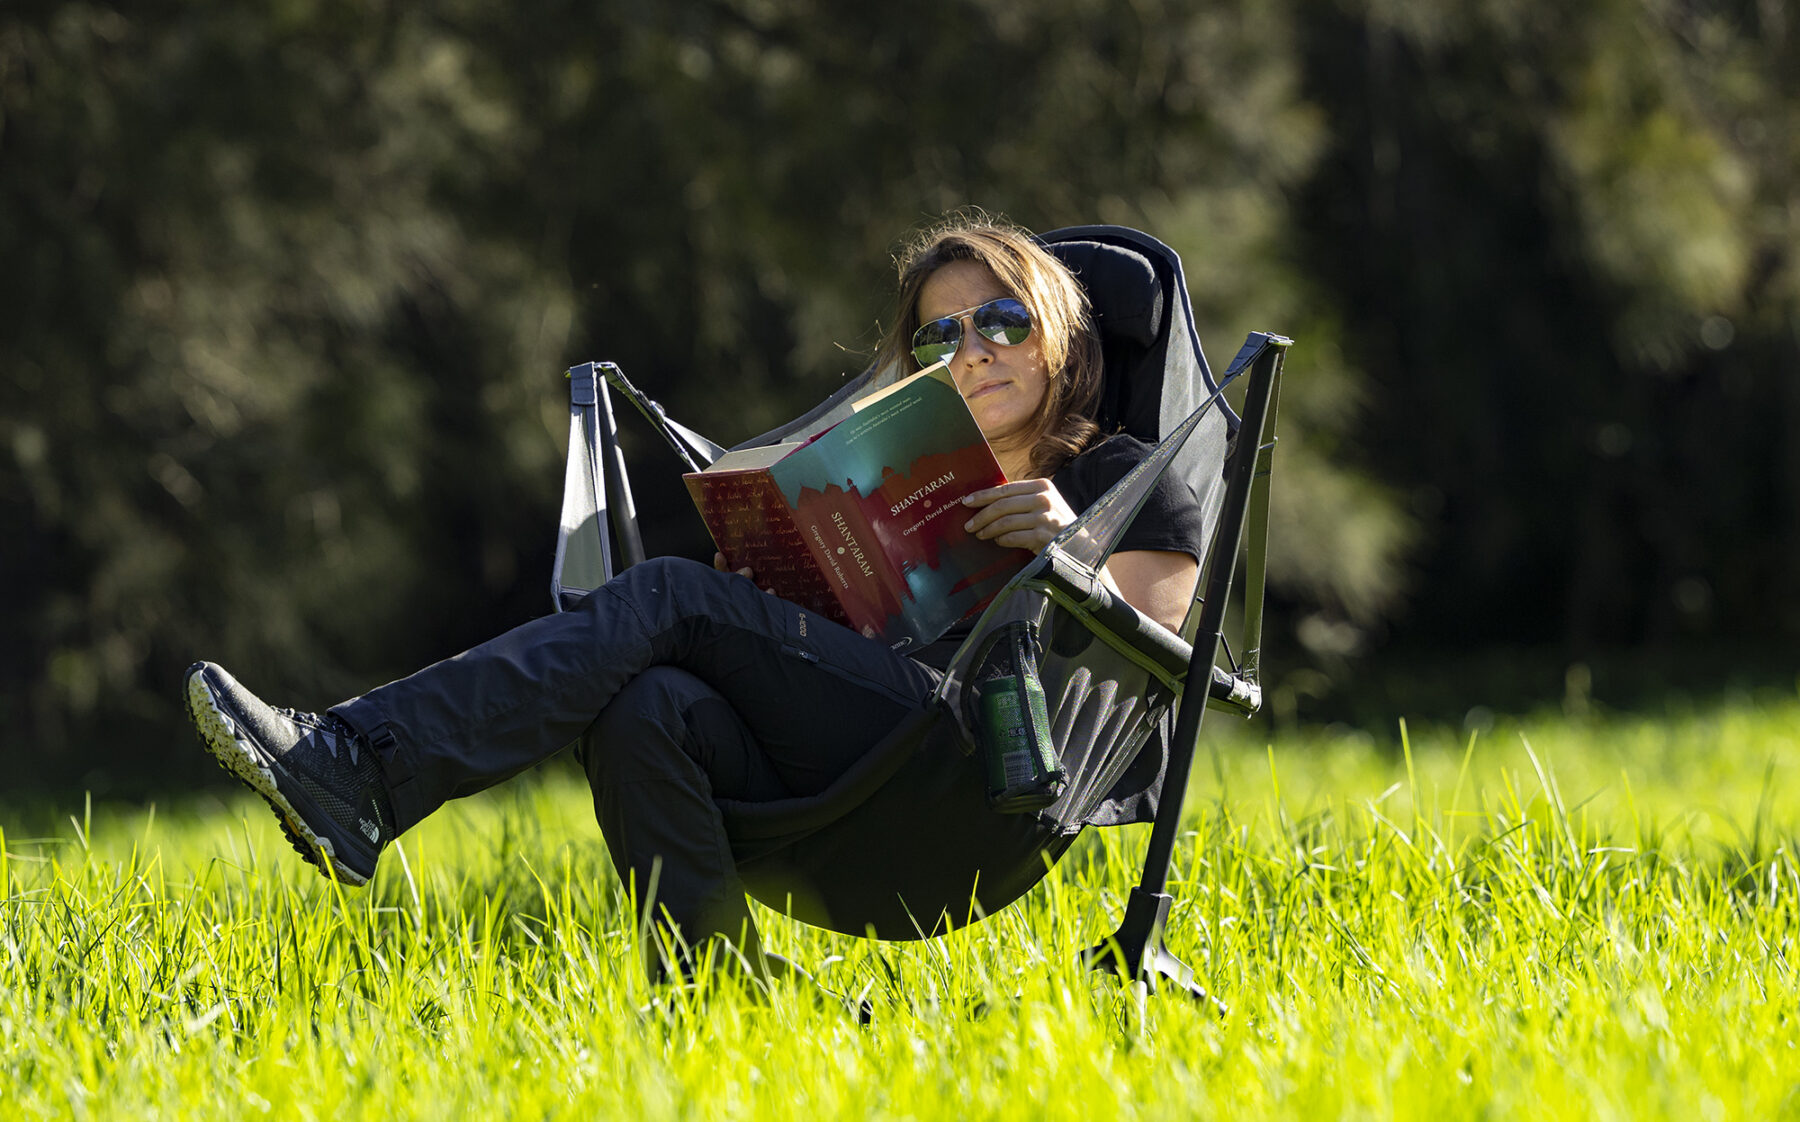
Materials: The supermarket camp chair uses narrow-gauge aluminium (or sometimes even fibreglass – steer clear of these), along with nylon and small (read: flimsy and weak) hinges, screws and other attachments.
Most popular camping brands, such as Oztrail, Oztent and Dune 4WD, offer a range of chair models. Some chairs may include powdercoated metals for more resistance to corrosion. Fabric is usually rot/mildew-treated poly/cotton canvas fabric. This fabric combo is the one we favour – a supportive robust material that is weather resistant, durable and doesn’t stretch over time.
Take it sitting down: The best advice we can give on camp chairs is the same we give any outdoor equipment: try before you buy. And by ‘try’ we really mean that; having the sales assistant run through the set up/pack up process is well worth the time.
It doesn’t hurt to have an idea of just how much storage space you have for camp chairs in your vehicle, either. It is no use buying the biggest, burliest and most comfortable camp chair only for it to take up half your cargo area.
Camp tables: This is an easy one. There are numerous camp table variants on the market so it will boil down to what is easiest for you to fit in your vehicle. The flat, hard plastic types that fold in half, are very popular due to their robust surfaces and sturdy metal legs (usually telescopic so they can be shortened, then folded into the base of the table for storage). The textured top surface of these tables ensures things like plates, bowls and drink glasses don’t easily slide off. These units can be stored at the base of your vehicle’s cargo area, or up on the roof. For longevity, we’d recommend this variant.
Another camp table option is the slat-type tables (either aluminium or plastic slats) that roll up. Surprisingly, even though they may look ‘flimsy’ when rolled up, they are quite robust when set up, and able to support decent weight. Plus, for those with less storage space in their vehicle, they are very handy. The only caveat here is they are a bit more complicated in construction but, if looked after, will last years.
Our final tip on tables is, if at all possible, have two or three. One large one for camp kitchen duties, with two mid-sized for eating meals at.
Sleeping bags and mats
Nothing beats a good night’s sleep in the wilderness. The quiet and tranquil nights on offer when you’re dossing down in the middle of nowhere are a big part of the attraction of camping. To make sure this is a regular occurrence on your camping adventure, you need to have your camp bedding sorted: a well thought-out sleep system – comprising a sleeping bag and mattress (or cot) – makes all the difference when you’re dossing down in the outdoors and ensures you wake up fresh and ready to roll for the next day’s adventures.
Sleeping bags
A sleeping bag is one of the most important pieces of outdoor gear to get right at purchase. Sleeping bags provide shelter, warmth and comfort, so buying the right one for the conditions you are going to experience is paramount.
Sleeping bag choice will be heavily influenced by how your body works; whichever one does the best job of keeping you warm and comfortable will be the bag you need.
A sleeping bag’s temperature and comfort rating plays a big role in your choice and, again, will be dependent on what conditions you are camping in. For most Australian conditions (including the High Country and the central deserts), a bag rated around 0 degrees (or three-season) is the best all-round option. However, because individuals’ bodies are all different, with some people being ‘cold’ sleepers and others happy in sub-zero temps with only a very light bag, you will need to test as many bags as you can to achieve the best ‘fit’.
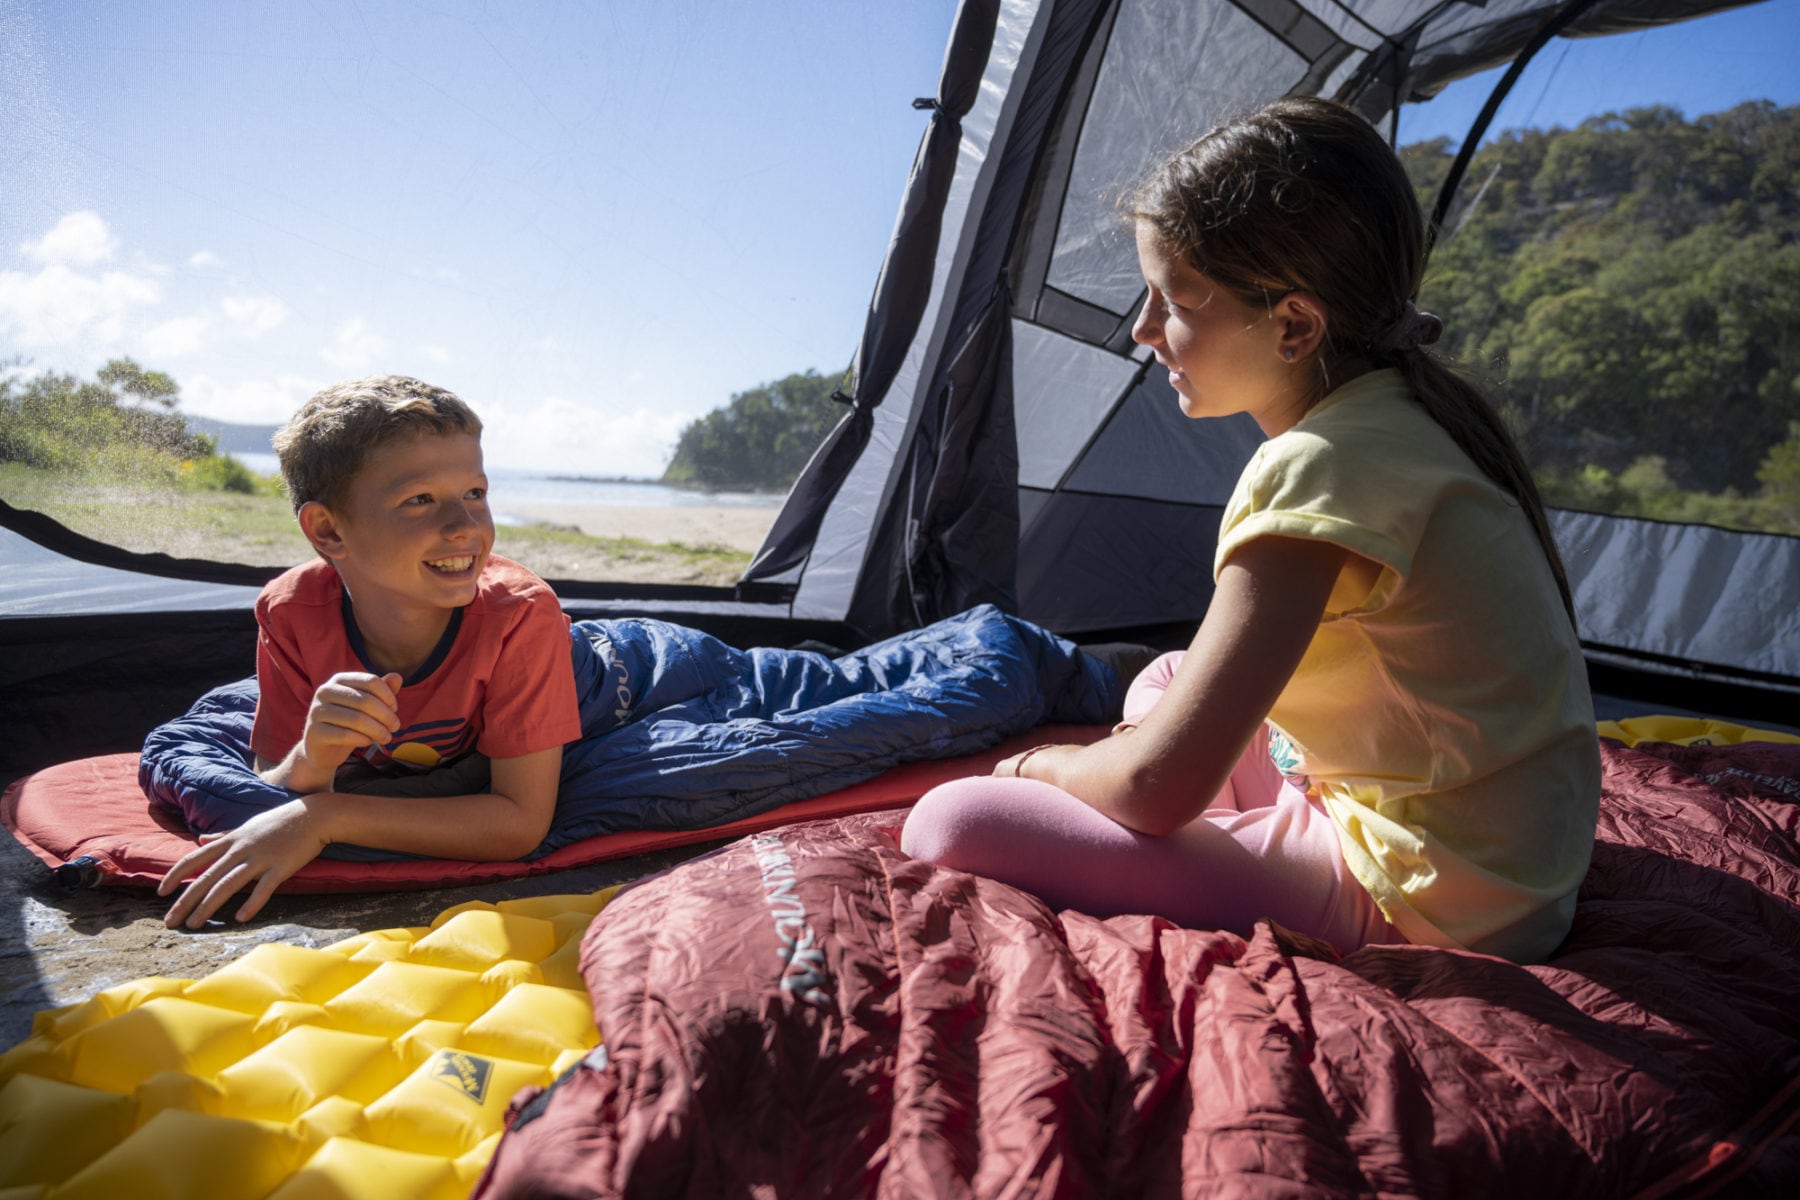
Whether to opt for a down-fill bag (usually goose-down) or a synthetic-fill bag is the main decision you will need to make. Either option has advantages and disadvantages (see Materials).
A bag’s fill weight, as opposed to its overall weight, and its ‘loft’ rating are two very important figures. The loft rating, measured in cubic inches, records the volume of the bag that is filled by expanded down. Basically, the higher the loft-figure (and the ‘puffier’ the bag when laid out), the higher quality down and better heat retention. Fill weight is important, too, as it tells you how much of the bag’s overall weight is actually fill (which creates the bag’s warming attributes). Again, the higher the better as more fill generally equals more warmth, as long as the loft figure is reasonable – between 600 and 800 is ideal for all-rounder sleeping bags.
Styles
Sleeping bag shape (or style) plays a major role in final choice. For the best warmth retention capabilities, a mummy-cut bag is the best option. This is due to its compact shape ensuring that there is minimal ‘spare air’ for your body to warm up. However, mummy bags can be constricting for some and make for an uncomfortable night’s sleep. Rectangular bags are the exact opposite: there’s loads of room inside, with the result being that your body has to work twice as hard to warm up all that vacant space. Semi-rectangular, or relaxed-mummy bags are the ideal compromise for those who don’t want to be overly constricted or spend the whole night trying to stay warm in a voluminous bag. For vehicle-based camping, the semi-rectangular one is a great option, with its combo of decent warmth for the weight, and still being relatively compact when packed up in its compression sac.
There are child-specific sleeping bags on the market and, for those whose little’uns range from three up to around 12 or so, these are worth checking out. Not only are they generally a bit cheaper, but they will be far more comfortable for a smaller body in terms of the ability to retain warmth, thanks to there being less ‘empty space’ to heat up. A note of caution for those thinking of going straight to an adult-size bag for their small child: Don’t do it. There have been cases where small children have suffocated inside a large bag as they’ve rolled around in it and not been able to get out again. That’s a very rare occurrence, but is that temporary saving in skipping the purchase of a child-specific sleeping bag worth it? No, we don’t think so, either.
Materials
How heavy a bag is – and how compact it packs – may or may not be important, but it is reliant on the materials used – with the biggest material influence the actual fill type that is used in the bag. The majority of sleeping bags use synthetic fibre (nylon or a variation of) for the outer shell, but buyers have two choices for the fill material: down or synthetic.
For decades, down-fill bags have been the preferred option due to down’s better warmth for weight performance – plus, it also means the sleeping bag will pack down more compact (down is more compressible). For vehicle-based camping, this may or may not be a huge issue, depending on whether you’re traveling in a big Land Cruiser, or a smaller, more compact Subaru Forester SUV, but it is still worth thinking about as it doesn’t take long for four (or more) bulky sleeping bags starting to take up cargo space in the back of your vehicle.
However, it’s worth noting that synthetic fill technology has advanced incredibly in the past decade, to the point now where a synthetic-fill bag is a viable option for even the fussiest sleepers; the latest synthetic fill compresses down quite compact, while offering close to the warming capability of down, albeit still with a weight disadvantage. Again, a 500-gram difference in sleeping bag weights may not be an issue for vehicle-based campers, and you’ll be paying a notable amount less for a synthetic-fill bag.
Down is still the optimal choice for most ‘serious’ outdoor sleepers. Its warmth to weight ratio, its compressibility, it has a longer ‘life’ compared to synthetic, and it is more resistant to odour retention. It does have its negatives, though: if you get your down-fill sleeping bag wet, it will just be wet and cold – it will not offer any warmth at all. There are sleeping bags with a water-resistant down fill now available on the market, but they are pricey. Plus, it is, as mentioned earlier, very expensive.
The most notable appeal of synthetic-fill sleeping bags is that they are (sometimes significantly) cheaper, can offer the same warming capability (albeit with a weight penalty), and will retain some warmth even when wet. The synthetic-fill technology is ‘nearly there’ in terms of its warmth when compared to down, but you will pay a weight and bulk penalty for a synthetic-fill bag. Plus, synthetic fill does not (as a rule) retain its warming characteristics for as long as down does (this writer has a down-fill bag that is now 20 years old and its still just as cosy as when new). No matter which fill option you go for, though, always remember to air out the bag once you’re back home. It will keep the interior odour and moisture free for longer, and thus prolonging the usable life of your sleeping bag.
Sleeping bag choice is, like most gear we spend time using, always going to come down to personal choice – and, of course, budget. The best bet when looking for a sleeping bag is to not be shy about testing them in-store – and test as many as you can. If you have in your mind a rough idea of what shape and fill you’re after, i.e., a semi-rectangular, down-fill four-season/0-degree bag, that will cut down the time you need to choose the right one. In terms of what to look for: an effective hood design; durable zips; sufficient fill; neck collar (for heat retention); sufficient fill (don’t skimp on this); efficient cut (figure out which you prefer: semi-rectangular or mummy).
And don’t be afraid to ask as many questions as you can of the store assistants. Most of these in the camping and outdoor stores are campers themselves, often with many years’ experience, so if you can give them an idea of where you will be using the bag and what you ideally want out of it, you’ll be snug as a bug in your bag, enjoying that starlit outback night before you know it.
Sleeping mats
As well as a warm sleeping bag, the other big influence on your outdoor nocturnal comfort is the sleeping mat. Sleeping mats are available in solid-foam versions or the more common (and more luxurious) inflatable air mats.
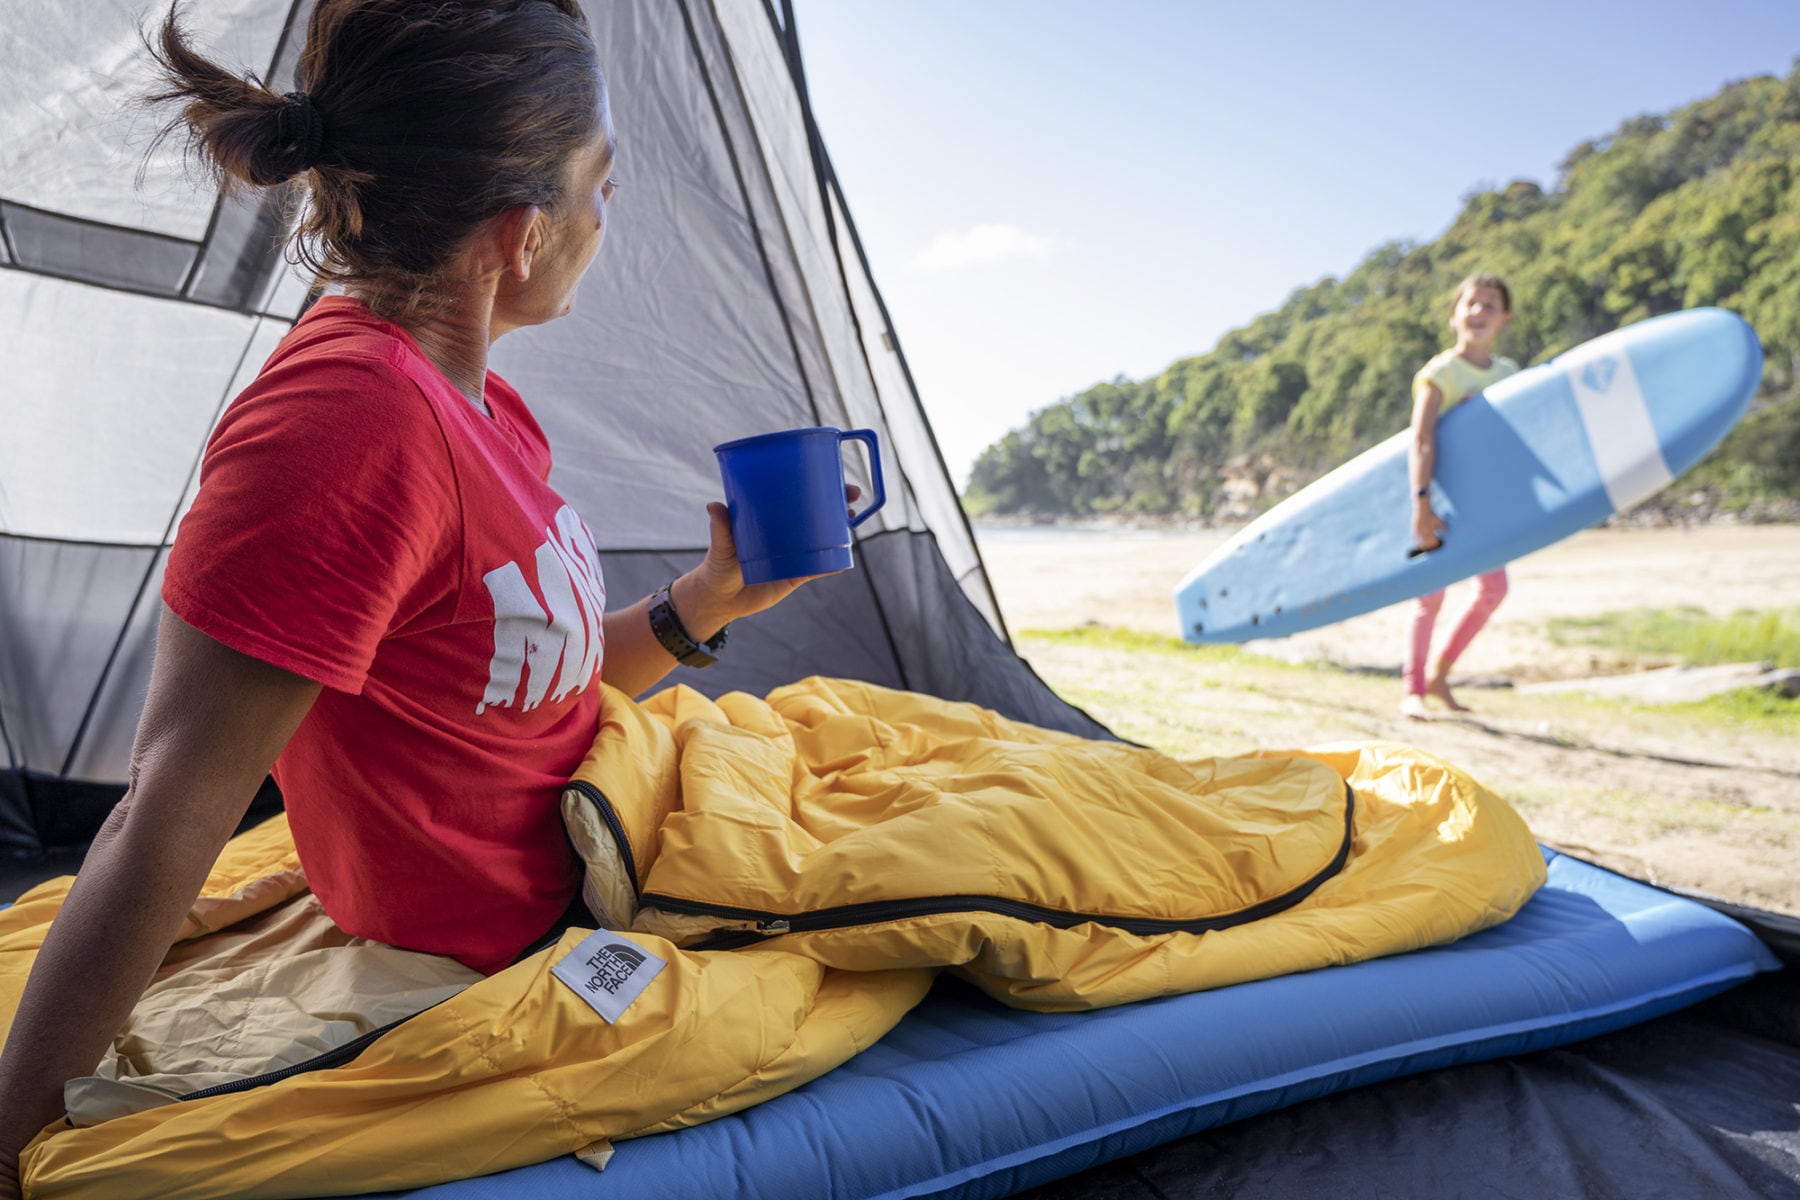
Inflatable sleeping mats – whether self-inflating or via a pump (or your lungs) – are more expensive than the solid-foam mat but raise comfort levels significantly. There are many variants, with some offering different types of insulation (natural, in the form of down, and synthetic), while others offer reflective material inside the mat that is claimed to reflect and retain your body heat. Then there’s the range of mat heights on offer; you can find mats with heights ranging from 25mm up to 100mm.
When shopping for a mat, you will see reference to ‘R-value’. This is the warmth rating and is a measure of insulation based on a mat being fully inflated. The higher the R-value the warmer you will sleep. The thickness of a mat doesn’t always correlate to one being ‘warmer’ than the other, so check the R-value of your mat before purchase and also remember to take into account whether you are a “warm” or “cold” sleeper. It is worth remembering that the majority of your body heat does not, in fact, dissipate through your head, but through the mat to the ground below.
There are a number of sleeping mats on the market that feature a down or synthetic fill so, even if it does puncture (which is highly unlikely) the mat will still offer some warming qualities due to its fill. Other technology now being used in sleeping mats includes reflective materials that are claimed to reflect a sleeper’s body heat back at them. This also means that mats have become lighter and more compact as this technology effectively “bumps up” the R-value of a mat without adding bulk to the packed size of the mat. How effective this technology is in real situations is hard to quantify and again could be the result of many other factors, such as the individual’s body temperature.
The best advice when looking at a sleep system is to look at both components – the sleeping bag and mat – as one unit, and especially regarding warmth and comfort, as the two ‘work together’ to provide these. This allows you to potentially get away with a slightly less-warm rated sleeping bag if the air mat you choose has a slightly higher R-value.
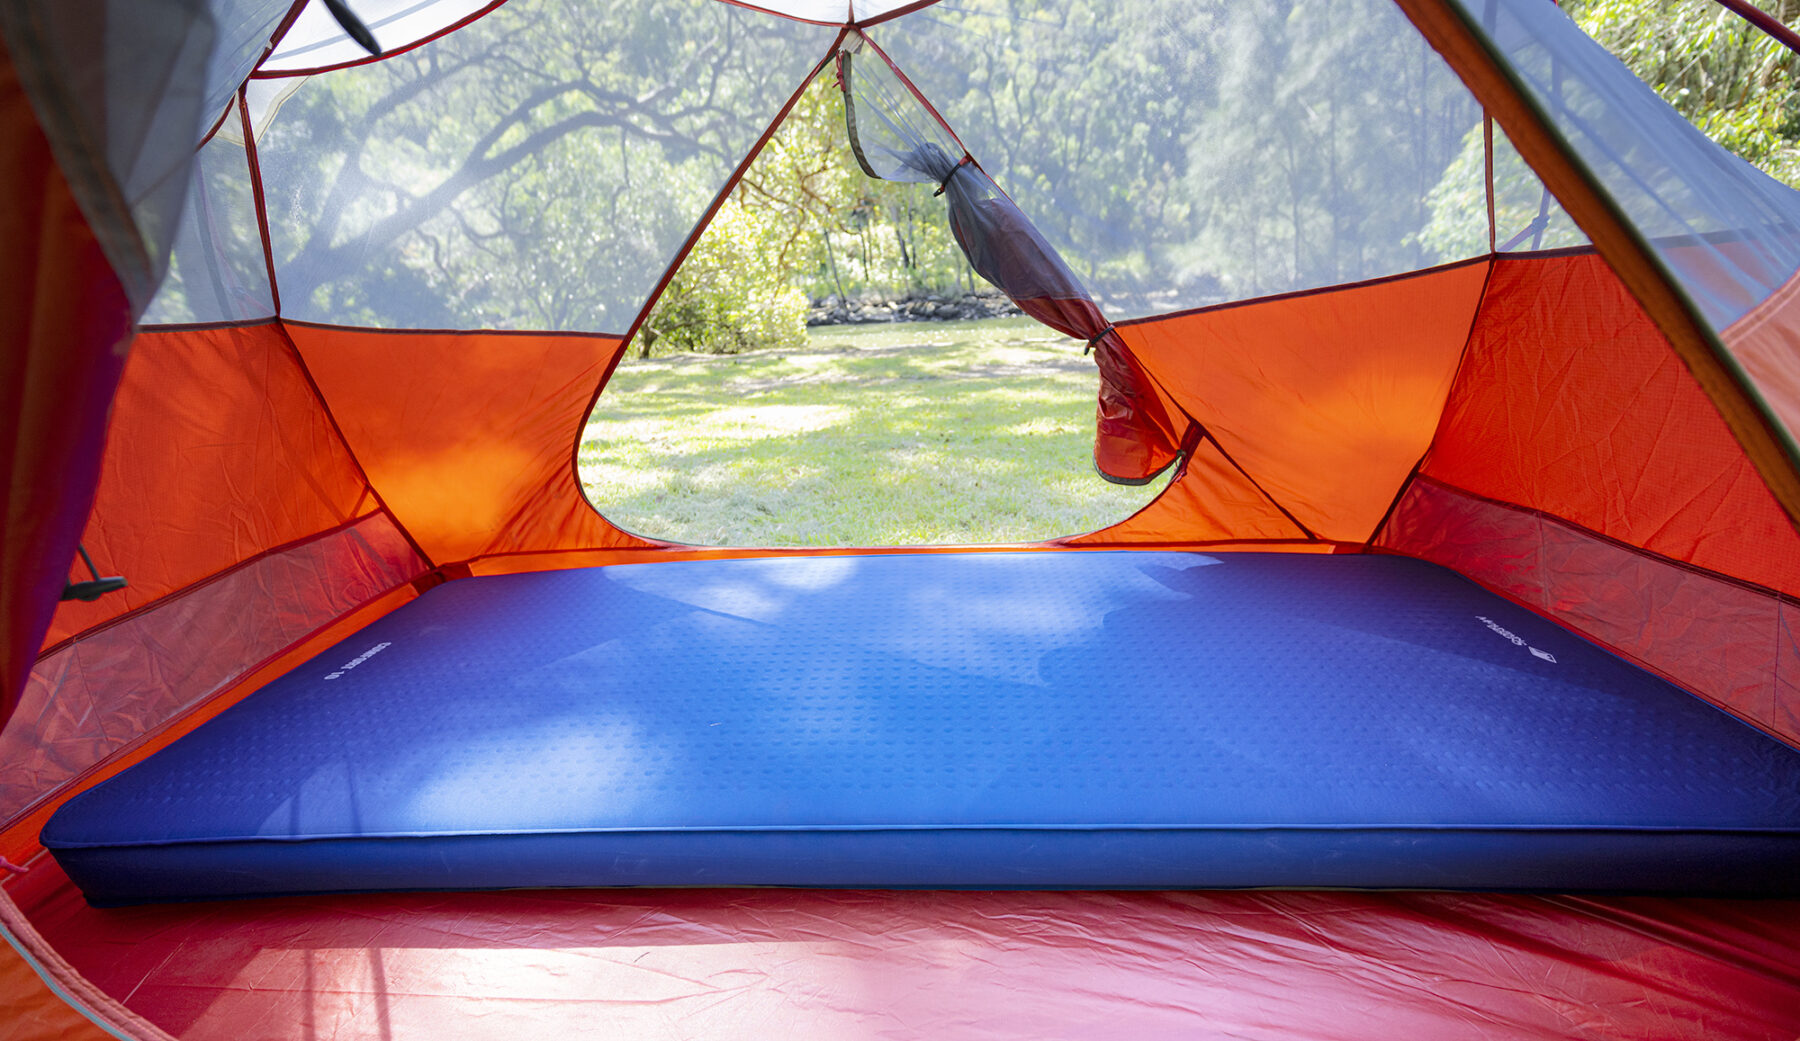
Sleeping mats are available in a number of configurations that reflect their intended use; car-camping mats will invariably be larger as they are usually taller (from 70mm to 120mm of height) and have a softer material layer on the top surface. Some car-camping mats are powered, either by battery or mains, making inflation easy. For adventurers that need to ensure all their gear is compact and light, there are still many different types of air mat to choose from. Having said that, we’d highly recommend purchasing a mid-priced mat at the least; cheap budget models don’t hold their shape and fail quite easily due to fragile construction.
This does not mean you have to pay a fortune for a sleeping mat: buying from a well-regarded brand that has been producing air mats for years is the safest bet and most of these brands have a wide range of models with pricing that is more palatable. For most Aussie conditions, a three-season mat of around 50mmm thickness is more than enough.
One other option – and a great one if you have the storage space in your vehicle – is a camp cot. Well, really, it’s a fold-up bed that gets the sleeper off the ground and can offer more comfort – but they are fantastic if you are planning on camping at one location for more than a few nights. The other advantage is that, due to these cots being higher off the ground, it’s easier to get up/down from bed. Or is that just our, ahem, slightly advanced age talking there…
The outdoor chef
No matter what outdoor activity you’re into, if you’re out in the bush for more than a day you’ll eventually need to cook something to eat. While making fire is one option, it’s not always practical, advisable, possible or even legal. What you’ll need then is a camp stove – and there are a few types worth considering.
Box stove
One of the most popular camp stoves is the single- and double-burner butane variety, sometimes referred to as a lunch-box style cooker. With prices starting from less than $20, and features such as a convenient disposable butane cartridge, Piezo ignition and a compact plastic carry case for easy transportation, it’s little wonder these things can be found in just about every campsite around the country.
A butane stove is a reliable and safe option – especially for those folks who may only go camping a few times a year. Another positive is that refill canisters are readily available at camping store, service stations and supermarkets.
These stoves offer excellent simmer/boil control, allowing the camp chef to create any type of meal with a bit of time and patience. Models to look for should ideally have enough space between burners to allow for medium sized pots/pans; there’s nothing worse than a ‘two-burner’ model that can only fit one decent-sized pan/pot on it. This is why we recommend a reputable brand stove, with the Dune 4WD Dual Butane Stove a great example, and others from Spinifex and Coleman that are also worth a look.
Another reason to opt for reputable brands only is to ensure utmost safety. When these stove-types first arrived on the market, there were several incidents resulting in injuries. The main issue with problematic models was found to be a faulty safety-release mechanism, which is designed to eject the butane canister when it overheats. As the canister is located right alongside the cooking area, overheating of the canister is not uncommon, and can be caused by using an oversize pan which can reflect heat back towards the canister. This also means you, as the owner of the stove, should be sure not to ‘overload’ the stove with too large a pan. It sounds more dramatic than it is – it just takes a bit of commonsense, but it also brings us around to a second reminder to purchase a well-known, reputable brand of stove in this instance.
LPG stoves
If you have the storage space in your vehicle to carry it (or a roof-rack), a bottle-gas stove is a great way to cook, and there’s a huge range of models and sizes available, from single-burner units to four-burner set-ups that would rival your home BBQ for cooking performance.
The gas bottles are filled with LPG (Liquefied Petroleum Gas), which is a combination of butane and propane, and there are a variety of reason to opt for such a fuel: the bottles are refillable; it’s a cheap fuel; it can be purchased at most service stations; gas bottles range in size from 1kg to 9kg; LPG offers loads of cooking power; it’s a proven and robust set-up.
The gas bottles themselves have a lifespan of 10 years, after which they must be inspected and re-stamped, or replaced altogether. Depending on the stove type, the gas cylinder is either connected directly or via a governor.
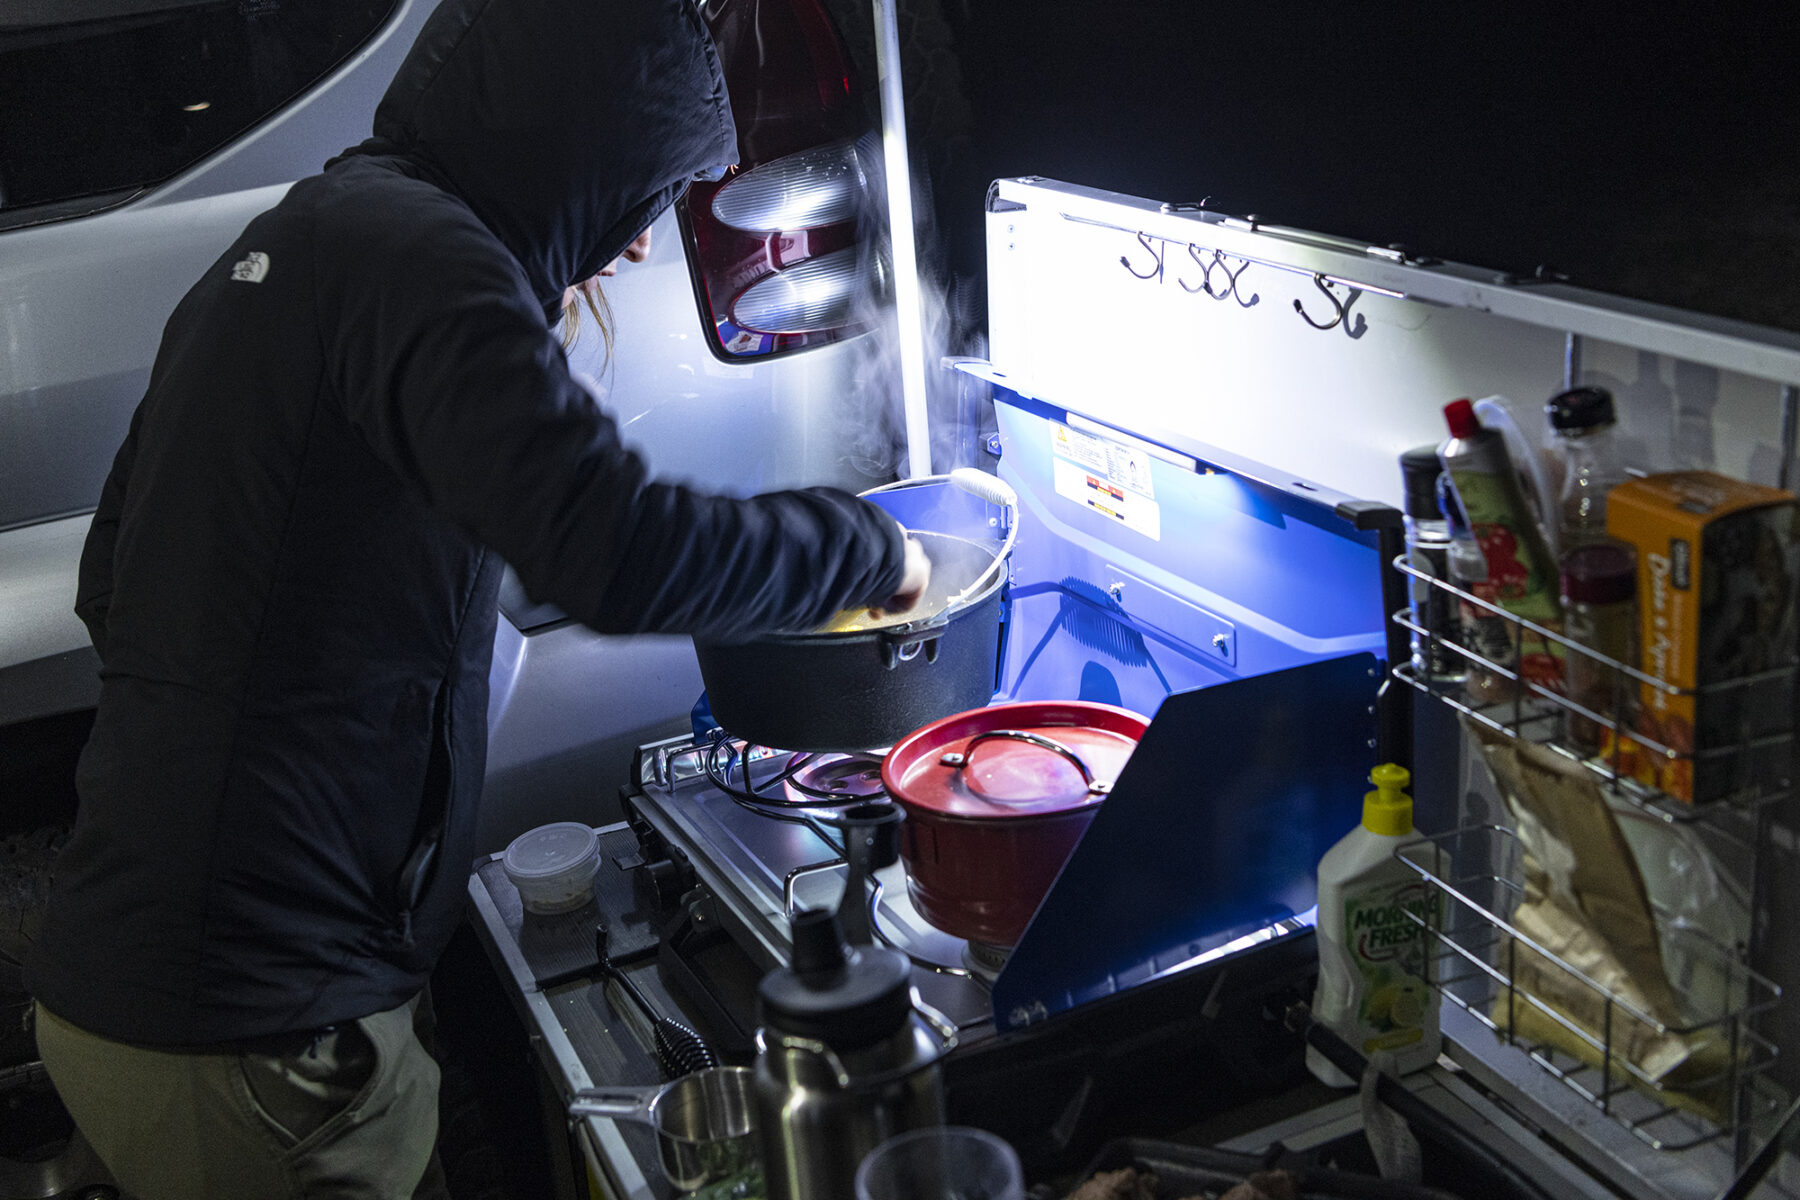
The simplest gas stoves consist of a burner that attaches to the top of the gas bottle. Other direct-connect designs offer large cooking plates and posts, which raise the cooking surface to a more convenient height. A popular and relatively compact set-up is the traditional two-burner gas stove (the Spinifex 2 Burner compact stove is an example). This design has been around for many years; it packs away into a small, self-contained briefcase-size unit and when unfolded it has legs and the lid and side panels act as wind buffers. Another excellent example is the Companion Outdoor Proheat 2 Burner Stove (read our review, here).
If you opt for a gas bottle set-up, there are a variety of other outdoor accessories that can be powered by the same fuel source, including camp lighting and three-way portable fridge/ freezers. If you have the space, it’s always advisable to carry a spare gas bottle with you – after all, they only ever run out of gas when you’re using them.
The campfire
If there’s one thing in your camping life you must do at some point, it is to cook on an open fire. This is not always easy in Australia for the obvious reasons of bushfire risk and the lack of available firewood (please don’t even think to cut down a tree for your fire; green wood doesn’t burn, and it is – obviously – incredibly irresponsible). All that aside, in the proper conditions and season, cooking over an open fire at camp is brilliant. A lot of national parks campsites do supply fire rings these days that have post-mount swing-away arms to hang pots and kettles and you can purchase firewood for your trip if needed.
In terms of what to cook with, a fold-out cast-iron hot plate is brilliant to use and works very effectively in tandem with those swing-away pot/kettle holders found in the aforementioned national parks fire rings. You can also purchase a similar setup for when you are in more remote areas, bush camping. As well as these products, a cast-iron camp oven is an absolute must we reckon for fire-based cooking. Using one of these to cook meat and/or vegetables (or a stew) is another Aussie bush camping experience that you must have – plus, the resulting cooked meal is simply brilliant.
Food storage
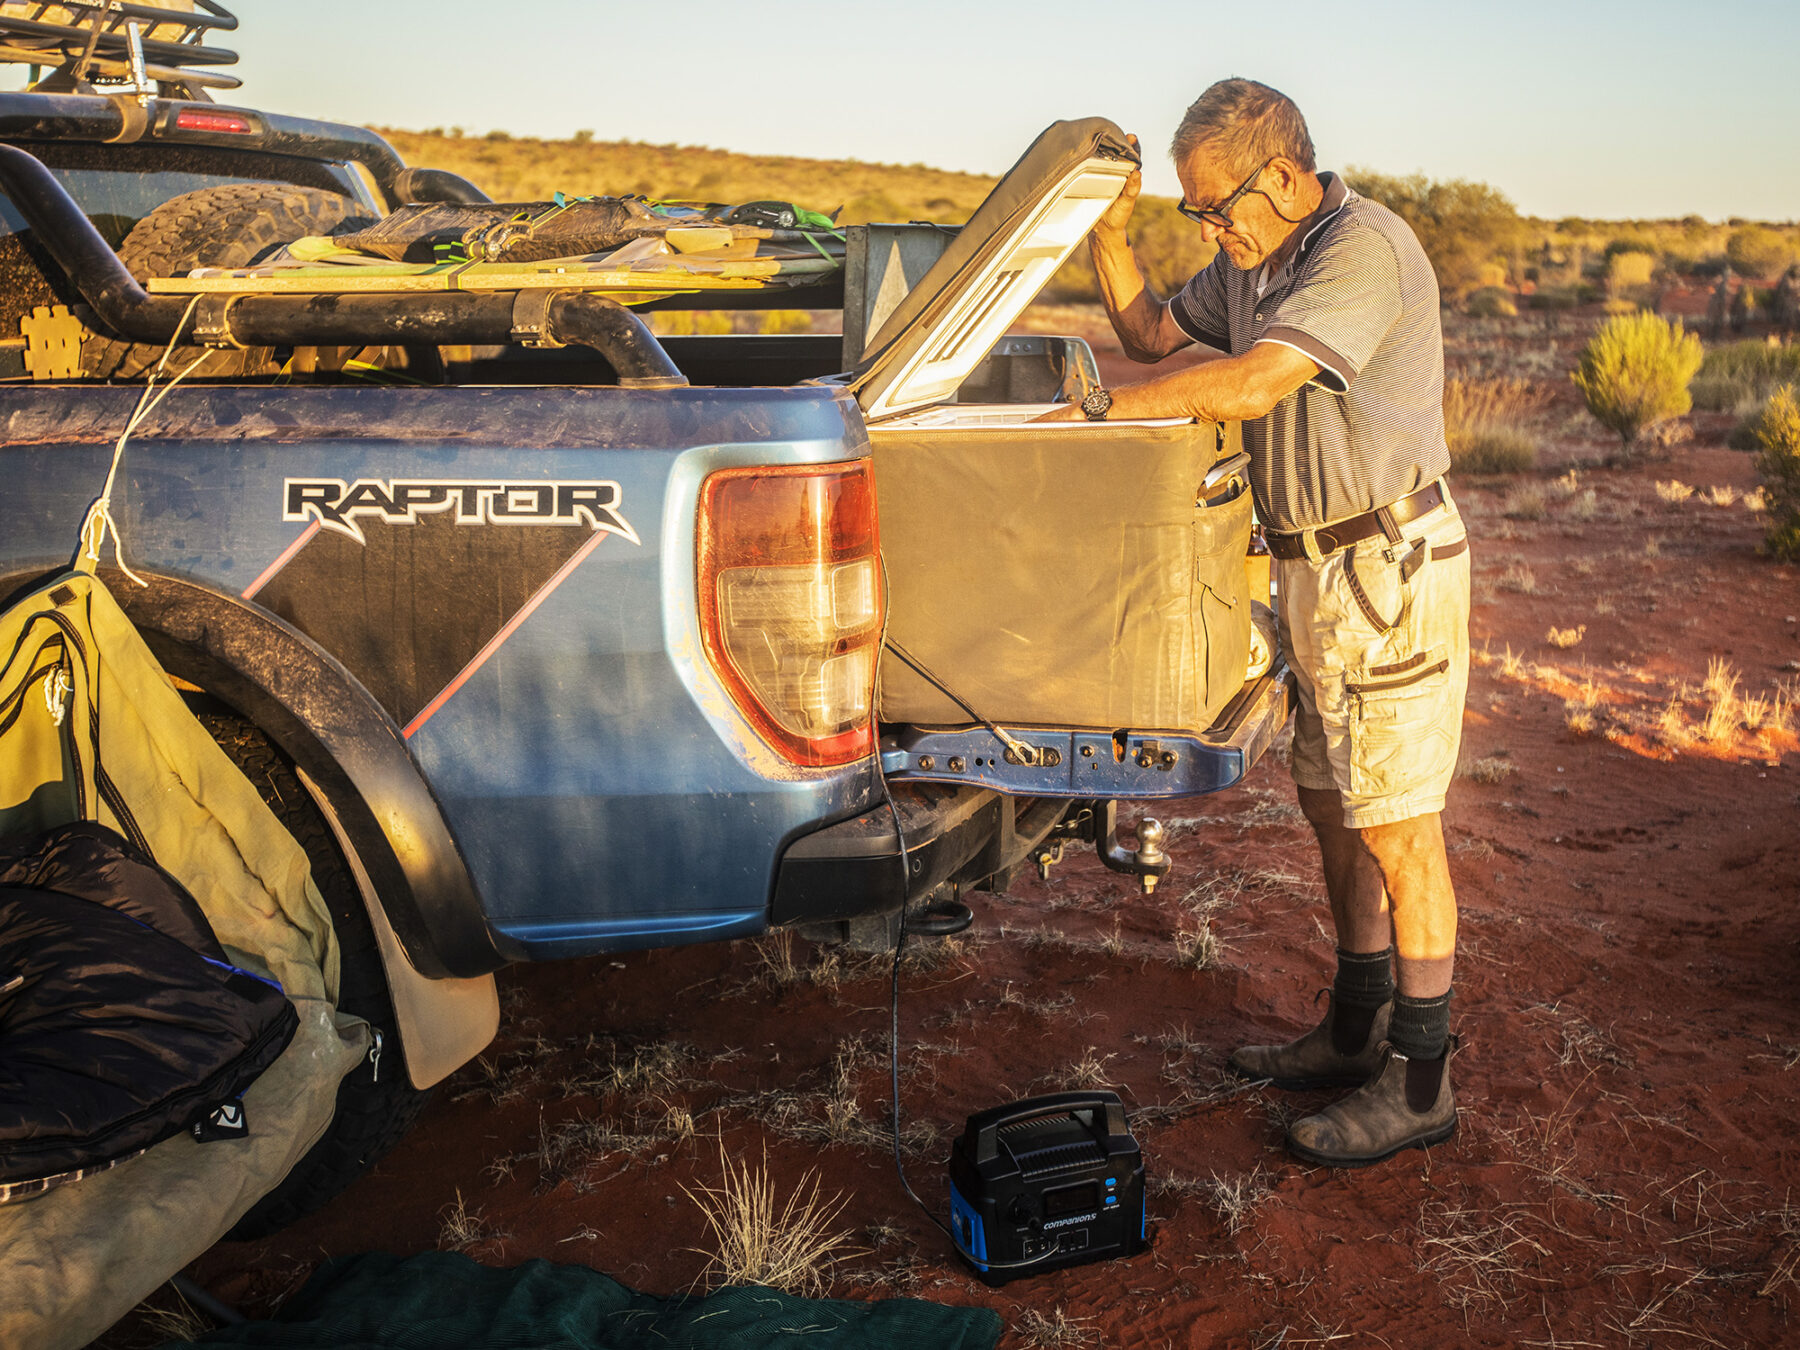
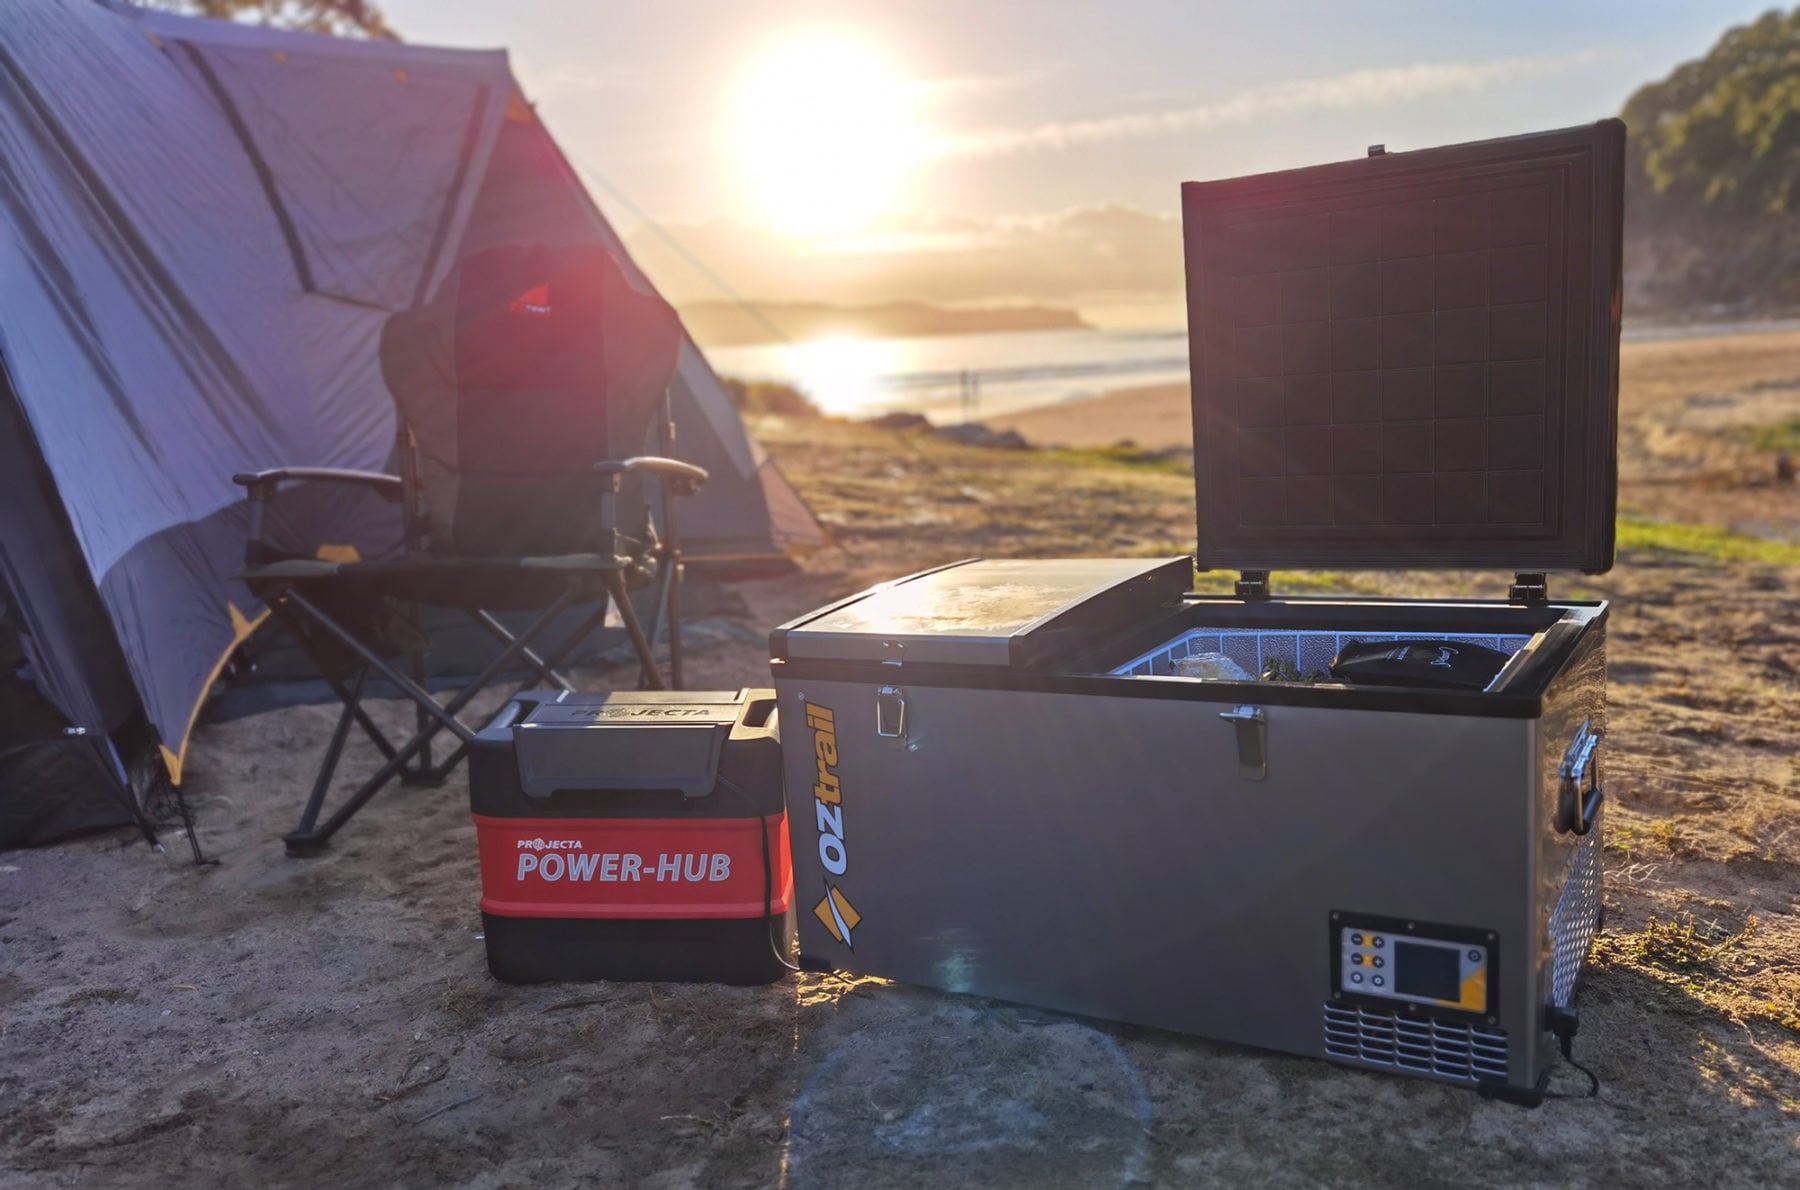
When it comes to food storage, there are two choices: the ubiquitous Esky packed with ice to keep your food fresh, or –if you have the space – a portable fridge-freezer. The Esky is ideal for weekend trips where there is a shop nearby to top up on ice, but for anything longer than that, a portable fridge-freezer is a must, with these units available in a number of sizes/capacity, from 30 litres up to a monstrous 125L. This does, however, mean buying a power-pack or, in the case of a 4WD, perhaps fitting a dual-battery system. You can power a fridge from a car’s auxiliary 12V connection but be aware they draw enough power to flatten a battery in a day. It sounds like a hassle but, having been on several multi-week outback expeditions, I can tell you they’re simply the best option.
Camp cookware
The cookware you use will be governed by storage space, durability, ease of use, etc. For this writer, my go-to cookware is stainless steel or cast-iron. This is purely due to my preferred camping being fully remote, which means you need gear that doesn’t fail. For weekend camping trips, we have a separate kitchen box filled with aluminium cookware and light plastic plates, bowls and mugs, along with a smaller stove and a pared-down menu that suits this setup. In short, it comes down to your menu preference when camping. Some folks love the full three-course dinner, and will no doubt choose their cookware based on that, while others will be happy to get back to basics over the weekend away.
Camp lighting and power
Gas, fluoro and LED – you’ll find all three of these lighting types at campsites around Oz. Currently, lighting technology is focused on bang for your buck in regard to how much “throw” (how much area coverage the light has) a particular lighting system possesses. This basically means how much area coverage a light has. Historically, gas lights have been the best illuminators when it comes to lighting up campsites, but they are also the least energy-efficient due to the amount of heat they give off (heat loss from a light is wasted energy) when compared to “cooler” lighting technologies, such as fluorescent and LED (Light Emitting Diode).
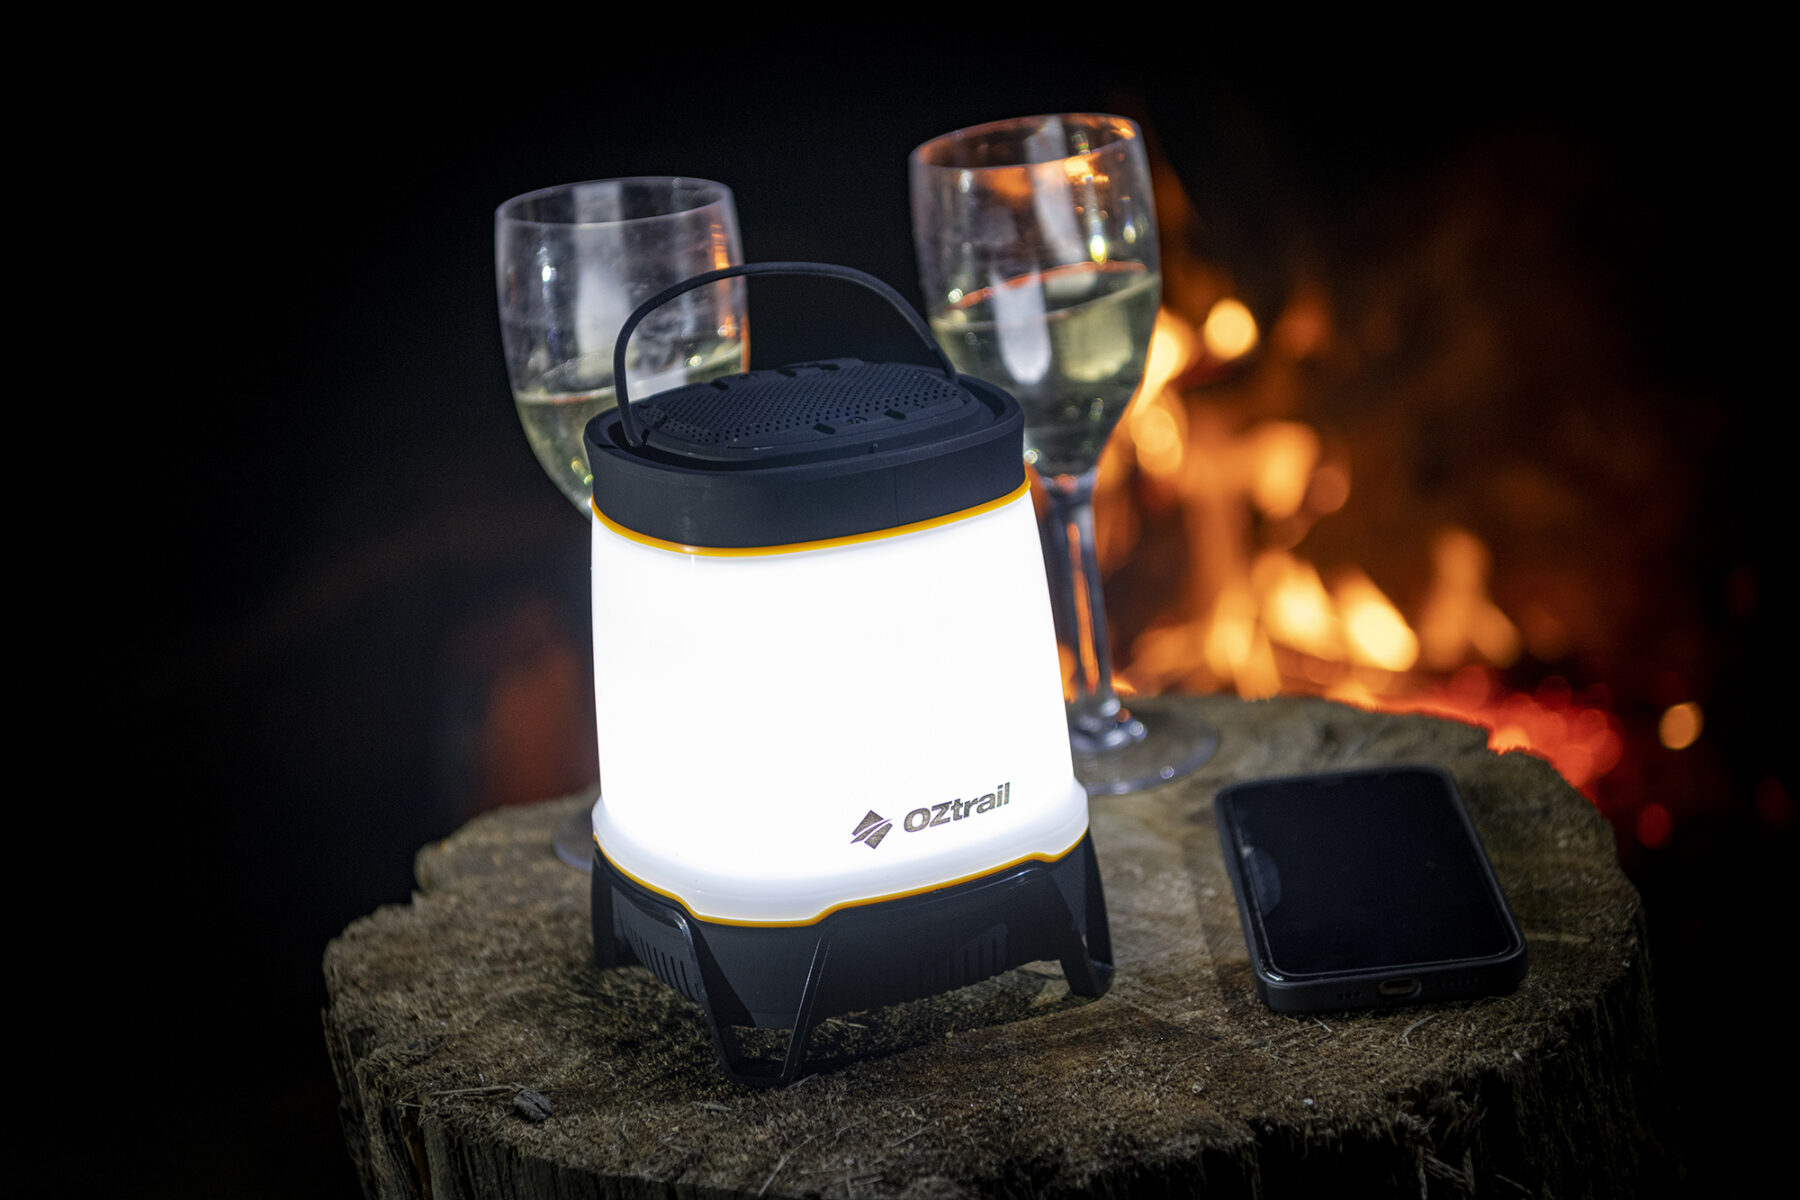
In terms of hi-tech developments, it is mostly in LED lighting, as manufacturers try and simplify the complex construction process of LED lighting (to reduce consumer costs) while also figuring out how to boost the LEDs’ wide-area lighting capacity, its main disadvantage compared to gas and fluoro lights. LED lighting still lags well behind the other two lighting options when it comes to amount of light thrown but, with its many positives – it can be made into strips of any length, or clusters; it has a low power draw – LED lighting continues to see plenty of hi-tech investment from manufacturers, which is a win-win for campers. LED (Light Emitting Diode) lighting is considered the primary choice for outdoor activities in general and especially for vehicle-based camping. The negatives are few but include the fact that LEDs require battery power, so you’ll still need spare batteries or charging facilities for longer trips.
For some, the tried-and-true gaslights, running off a portable gas bottle, are preferred. The reason for this is not only excellent lighting capacity but also the fact the gas bottle fulfils the double-duty ethos of car-based camping, as it also powers your camp stove(s). Brands such as Coleman have a wide range of gas-based lighting options. The negatives of gaslights are the fact the mandibles (the pipes connecting the light to the gas) are fragile and, if broken, cannot be easily repaired, hence the need to take spares. Of course, you’ll use more gas with a gaslight, so you’ll need to carry a bigger/extra gas bottle.
You can, of course, just use head- and hand-torches around camp. In some ways this is both easier and ensures your camp lighting source takes up minimal space. With the amazing outputs of some head- and hand-torches these days (they are primarily LED-based), you really don’t need any more lighting; most use will revolve around night-time camp duties such as cooking and eating, as well as the odd sojourn to the toilets or vehicle. Being head-mounted and thus directional, a head-torch is our favourite camp lighting option – we always have four of them in our vehicle.
Campsite power
Anything electrical will need power and yes, that is stating the bleeding obvious. Portable power options – solar-, electrical- or fuel-based – are more efficient than even those of five years ago, thanks to continued technological improvements in efficient power draw (with less of the actual power lost during draw) and overall reliability in operation. There has also been increased focus on offering more from less, in terms of the size of the actual powering unit and its power output. Whether it is fold- or roll-up solar panels, a more fuel-efficient (and quieter) generator, or more powerful – but also more compact – battery-based power packs, there’s been plenty of technical investment focused on reducing the physical footprint of portable power. A more compact power source that does the same job as that 10-year old, leviathan-like gennie, will always win out.
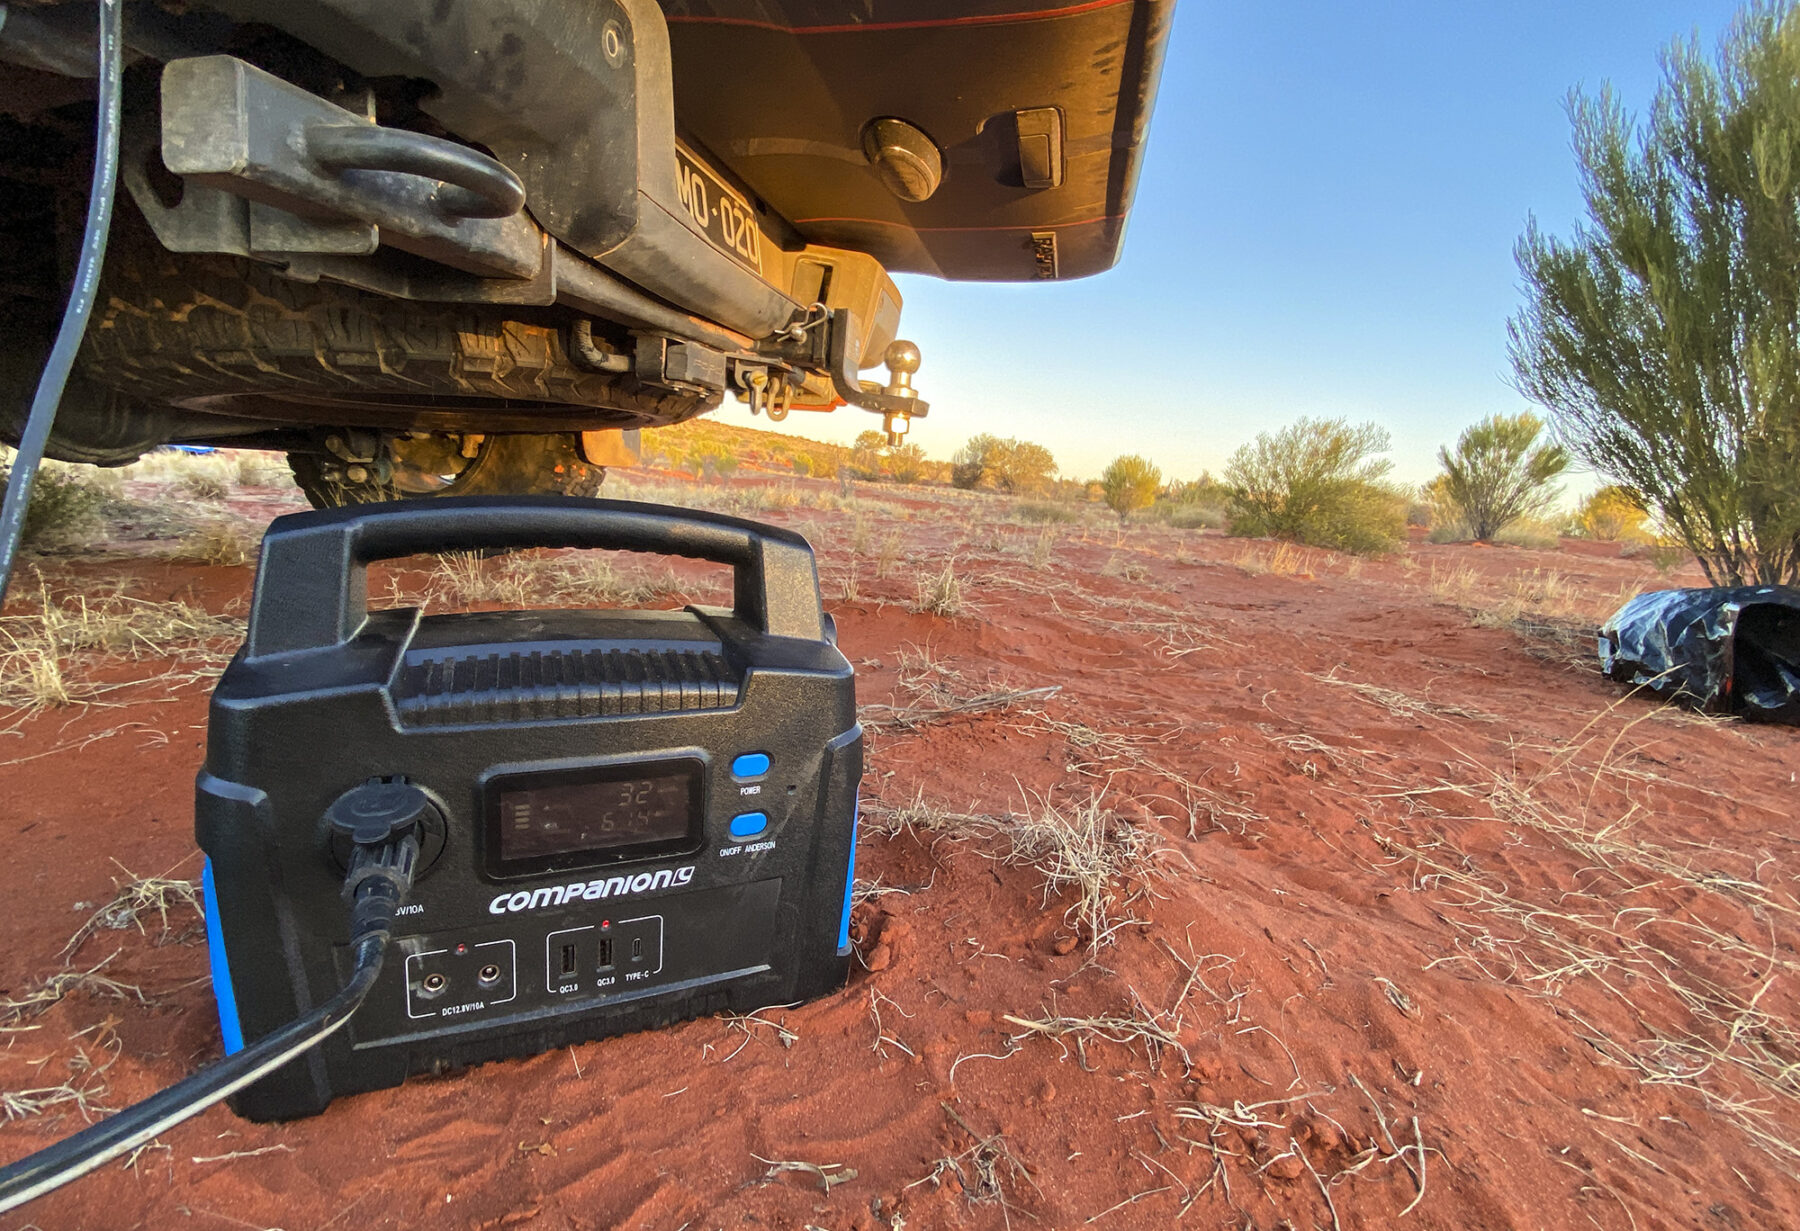
Portable solar power has seen the fastest expansion in the market, due to improvements in the technology that result in ease of use, as well as making the solar panels (whether solid or foldable) smaller in size. Whether you opt for a solar panel affixed to the roof of your vehicle or trailer, a fold-out panel that you can set up on a stand or a solar blanket you can lay across the bonnet or windscreen, you’ll need to ensure it has enough output to meet your power requirements. You’ll also need to make sure it’s equipped with a regulator to safely charge your vehicle’s battery, smart battery box or power pack, and that it comes with a long enough cable to reach your batteries charging input.
A dual-battery system is a brilliant accessory to fit to your vehicle (primarily a 4WD, due to space needed). But, if your vehicle doesn’t have space for a traditional dual battery system, or you want a backup power option that is portable, a battery box is an option worth checking out These boxes are designed to accept a variety of battery types and they can be hard wired to the vehicle’s electrical system or in some cases plugged in to a 12V power outlet. Some can also be charged from a 240V mains source and others feature external battery terminals for charging, as well as Anderson plug inputs for charging via solar panels, which are a handy feature.
Smart battery boxes offer a combination of power outlets including USB ports, 12V DC ports and, if fitted with a built-in inverter, 240V AC outlets. Some also incorporate a smart DC to DC charger, power management display and a low-voltage cut-out to prevent accidental drainage of the starting battery.
Portable power packs are similar to smart battery boxes but feature built-in batteries, usually of the AGM or Lithium variety. Most portable power packs will offer charging via a 240V mains source, 12V DC or Anderson plug (for solar panel input), and have outputs including 12V accessory plugs, USB ports and merit sockets. Other features will include a voltage/amperage display, low battery warning (light and alarm) and overload protection.
There are power packs on the market ranging from 33Ah capacity to over 100Ah. AGM power packs around the 44Ah capacity cost around $400, while Lithium power packs of the same capacity can cost more than $1000.
Whether you opt for a solar panel affixed to the roof of your vehicle or trailer, a fold-out panel that you can set up on a stand or a solar blanket you can lay across the bonnet or windscreen, you’ll need to ensure it has enough output to meet your power requirements. You’ll also need to make sure it’s equipped with a regulator to safely charge your vehicle’s battery, smart battery box or power pack, and that it comes with a long enough cable to reach your batteries charging input.
Camping with kids
It will be the biggest adventure of their young lives – and you can start it from whatever age. Heading out bush for the first time with your children for some camping is a pretty exciting – and slightly daunting – prospect. But the rewards can be many; instilling a love for camping and the Aussie bush in your kids when they are young and impressionable (and still listen to you) is one of the best things you can do. It also provides the perfect excuse to get out and explore this country. All it takes is a bit more planning. Here are 10 tips for creating camp-loving kids.
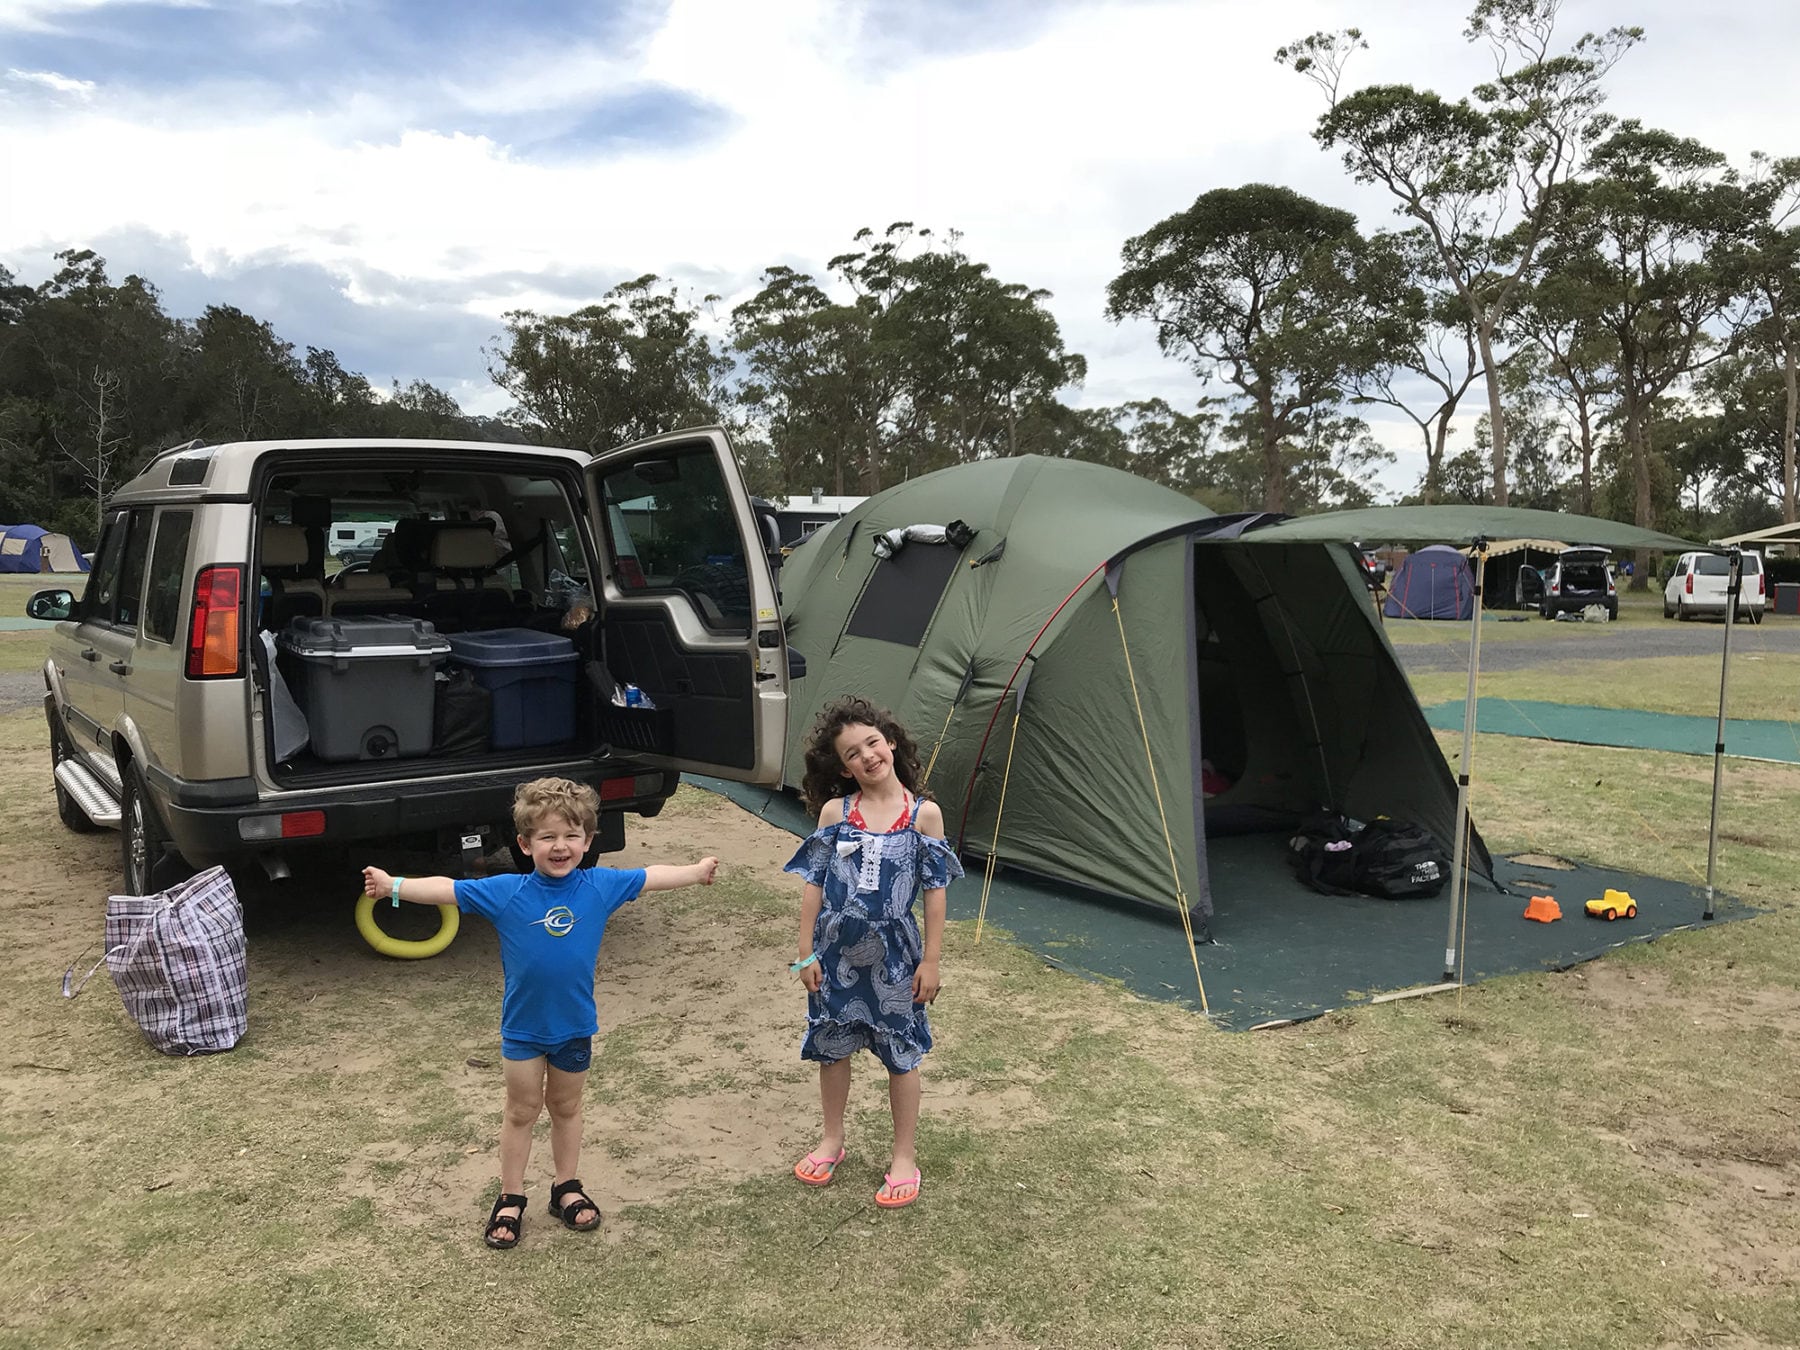
1. Be prepared: If anything is going to ruin that first camping trip with your children, it is a lack of preparation. It sounds amusing (well, I thought so until I had kids of my own) but the best way to prep for the first trip is – no, really – to treat it like a military operation. And that starts with researching the whole ‘camping with kids’ thing (and ask other parents!).
2. It’s about the gear: Bring them along with you when sourcing their camping gear. This is a great way for your kids to feel more involved in the whole bush-camping process, even before you’ve headed out. Knowing they have been a part of selecting their own gear “especially for camping” immediately invests them in the upcoming adventure.
3. The shelter: The bush accommodation option you go for will depend on the age of your kids. For the real little’uns (from toddler to around six years of age) a large tent or camper-trailer is the best bet. Everyone under the same roof reassures the young first-timers at night and adds to the adventure as they’re sleeping right next to mum and dad. Whether you go tent or camper-trailer, however, make sure it includes a large vestibule/covered area – or take an additional tarp. Nothing will kill the fun of that bush camping adventure more quickly than a day or so of rain, with parents and children all couped up in a small space. Having large covered areas does double-duty for not only rainy weather, but also as a space in which to store kids’ toys, the Esky/fridge-freezer, dining tables and more. It is also very handy on particularly hot summer days to ensure you and the kids don’t cop sunburn (of course, pack sunscreen as well). For older kids, separate tents (a hiking tent, for example) are worth checking out.
4. Bring the toys: What toys/gear you do bring for your kids to keep them occupied will be governed by where you plan on camping. However, there are a few things we’d suggest as absolute essentials for that first camping trip. Digital cameras are dirt-cheap these days; on her first outback camping trip our daughter was given a small digital camera and loved it – she blazed away taking photos the entire trip. It didn’t matter in the slightest that the photos were sometimes blurry or tilted, she was having a great time recording her first outback adventure. I lost track of the number of times I heard “Dad, can you wind down the window so I can take photos?” but I never got sick of it; obviously it was something she was enjoying, and it related back to the whole experience. Other ‘toys’ we’d recommend include a head-torch (for around camp at night), binoculars (spotting wildlife) and a diary.
5. Ease into it: It would be awesome to head straight out into the desert or tropics for your first bush-camping trip with the kids, but if there’s one part of the whole preparation process that needs a bit of extra attention, it is where to go first. For that initial experience, we’d recommend a caravan park/campground, and be sure to stick close to home, just in case it all goes pear-shaped. Opting for your first camp to be near home covers any unforeseen eventualities, whether it is your kids freaking out, or that the weather turns and you don’t want their first camp memory to be of crap weather. It also allows you to fine-tune your camp set-up without the pressure of having to move on to another campsite the next day. Next, try a few weekends of camping in nearby national parks – it is the best way to give your kids that initial taste of bush camping, while also figuring out if your set-up is working how it should. Once you’ve nailed the camp set-up, then you can look to longer camping trips to more distant locations, knowing that no matter where you go, the potentially stressful part of camping – setting up at camp – will be nearly eliminated.
6. Keep it simple: Some people may think that a family camping destination has to have plenty to occupy the kids, but this would be doing them a disservice. You’ll be surprised how easily they can be occupied with exploring the area around camp. And this is where bush camping – as opposed to caravan parks – is a real winner. Simply being in a remote location, whether desert, high country, or the tropics, will be amazing enough for kids – especially once they start wandering around checking everything out in their new surrounds. From “that big rock over there” to a bird’s nest in a low-lying shrub that the parents have not seen, kids will soon find things to keep them occupied in the natural environment. Speaking of which…
7. Keep them busy: It’s dead-easy to pack little’uns a small daypack (and one for yourself) and head out for a quick bushwalk, jump on the bikes for a ride further along the tracks or, if you’ve got one, float down that river in your canoe. Once you are at camp, you can involve kids in the setting up (rolling out their own sleeping bags and setting up beds is a winner), plus extra duties/activities, such as collecting firewood.
8. Outdoor education: Being at camp also means you can teach kids some essential around-camp rules; ensuring they are fire-aware (don’t go near the camp fire), river/waterways educated, but also to remember to zip up the tent fly, stay away from snakes/spiders/creepy-crawlies, avoid tent guy-lines so as not to trip, and to help with the washing up of plates after dinner (this always seem more ‘fun’ for kids at camp than at home!). All of this immerses them in the camping culture where everyone pitches in to get jobs done so they can get back to the main purpose of having plenty of fun.
9. Don’t rush: One thing we’d definitely recommend (although it’s not always possible) is to try and stay more than one night at each camp. This is where those who have previously travelled adults-only will notice the biggest difference: your daily driving/travelling times will be significantly shortened. Little people can only stand being in a vehicle for short periods at a time, so stopping more regularly to stretch legs, give them more food, change nappies etc., should be factored into your plan. Staying a few nights at one campsite also means everyone is not constantly on the move, driving, and no-one becomes overly tired and/or irritable.
10. Return on investment: Camping with kids can be a big job. If you’d asked this writer nine or so years ago (pre-kids) what I thought of the whole idea I would have shaken my head, and simply said “No”. But that was sheer ignorance. When I look at the many benefits – for kids and parents – that camping offers, it’s hard to find a negative. Even the daunting prospect of that first “test” bush-camping trip can be viewed in a positive light: it gets you out there, in the awesome Aussie bush, regardless of the fact you will probably spend half of it cursing your tent/camper-trailer choice and wondering where the hell Item #54 from your camp gear list has disappeared to. It gets better fast, and by focussing on how much fun camping is for everyone each time you head out, your kids will come to see it as an integral part of growing up. Just get ready for the nagging: even a few years after our big NT desert camping trip, we’re still being bombarded weekly with this: “When are we going out to the desert again, dad?” I can think of far worse questions to be asked.
Carrying your camping gear
It’s a satisfying feeling; placing that last bit of gear in the back of your vehicle or up on the roof racks, then twisting the key to start the engine, and heading off on your family’s camping adventure.
Well, it is satisfying if you’ve managed to pack all the essential gear you need for where you are going – and you’ve also loaded up the ‘extras’ that will guarantee a memorable time away. It is this conundrum that faces vehicle-based adventurers who want to add extra activities, whether in the form of watercraft if you’re camping near the river or ocean, or bike and hike gear for that wheel- or foot-borne foray. So, to pack everything in without exceeding the legal Gross Vehicle Mass (GVM) figure of your car (basically the total additional weight a vehicle is legally permitted to carry; this includes everything – and yes, that means passengers as well) you need a plan.
The key to a stress-free and fun camping trip is to keep it simple. By that I mean not only in what you want to do when you’re away, but also in what you take along with you. You also need to be aware of expected weather conditions (always a toughie to pick).
When we are planning a family getaway, we try and pack as light (and compact) as possible, regardless of the season, allowing each family member one large (70-90L) duffel bag in which to store all their clothing, and then focus on the essentials: a good shelter, adequate clothing, cooking equipment and sleeping gear.
It is here, with the essentials, that you can save the most space – and weight. A family-sized tent no longer has to be a heavy, bulky thing that takes two adults to lift on to the roof racks or to unpack/pack, and the same goes for cooking equipment and bedding.
With a huge variety of roof rack and tow hitch-based carrying systems on the market, it is now second-nature to load up the bicycles, kayaks or canoes to add another dimension to your family’s camping trip. There are roof-based carrying systems for all vehicle types, whether small hatchbacks or serious outback-ready 4WDs.
For water-based activities, fitting a watercraft-carrying system to your vehicle is a no-brainer. Brands such as Yakima offer a number of systems designed to carry your kayak(s) or canoe that are easily attached to your roof-racks (or the bed of your ute), making loading said watercraft easy. The same goes for those who prefer extracurricular camping activities based around pedal-power. A family of four means a lot of bikes, but with four-bike carriers readily available for towball or hitch attachments it is, again, too easy. We drive a compact SUV and utilise a hitch-mount bike carrier and roof-mounted luggage pod to ensure every camping trip includes partaking in our favourite outdoor activities.
If you’re looking at that around-Oz adventure, and you own a 4WD wagon or ute, another load-carrying accessory worth investing in is a cargo drawer system. These fantastically handy systems – we’d opt for a two-drawer system with a fridge slide on top – allow you to store bulky camping gear (think: tents, lighting, stoves, spare parts, air compressors, puncture repair kit, etc.) in one drawer and your food in the other. Adding the fridge slide means easy access to food and cold drinks from inside your fridge-freezer. For those who own a station wagon or hatchback, we’d recommend setting up some type of system based around plastic boxes that can hold your camping equipment and food, and also leaving space for the Esky.
The final word
Yep, there’s plenty of advice to work through here. Hopefully, you’ve got to the end, absorbed it all, and then started planning for that great family escape. Believe us when we say all that hard work initially, working your way through the local Anaconda store (or other outdoor retail outlets) to source all your gear, doing short trips away with the kids to get them used to camping, will pay you and yours back in spades. Spending nights in the Australian outdoors is a privilege, and loads of fun with it. Plus, it’s a privilege we can all experience. Now get out there!


