
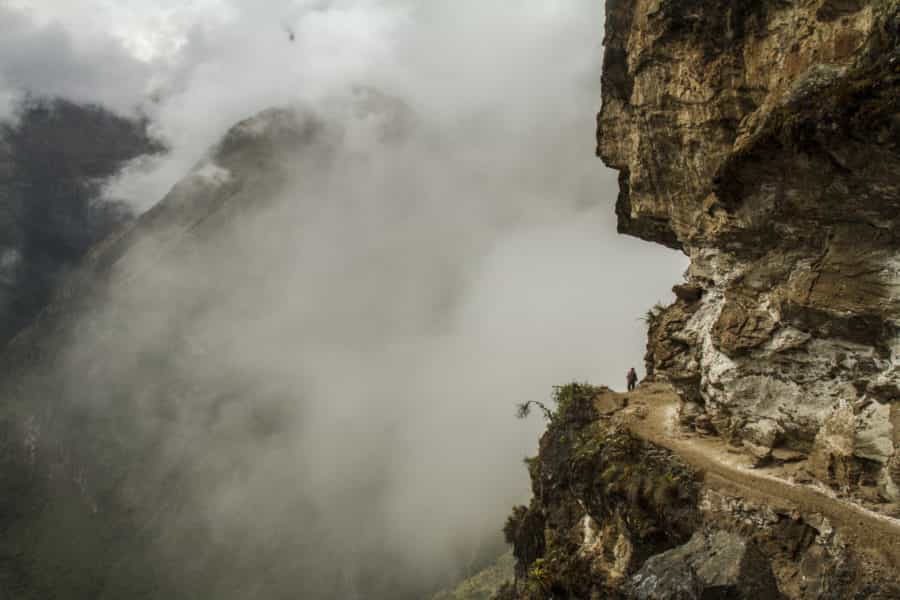
Hiking will take you all over the world and it is the most immersive way in which to truly experience a destination, whether that is your nearby national park, another state or country. The slow pace of hiking means you get to really soak up your surrounds and enjoy the enrichment that being a part of a different landscape and culture provides. Overnight (and longer) hikes don’t have to be too extreme, or too easy; it will all come down to what you’re most comfortable doing, which will depend on your fitness level, knowledge of essential skills, the right gear and some expert advice. Speaking of which…
The perfect hiking plan
A memorable adventure begins with thorough planning which, itself, can be half the fun. Whether it is a short overnight hike with mates or a longer, more remote hike, knowledge of your destination and what the actual hiking will be like (terrain, weather, water availability, local assistance etc.) is key – and that means research. By ‘research’ we mean all the tiny details that can make or break your experience, and the further away, the more important it is to get the ‘small things’ right.
For that first overnight/weekend foray, take the smart option and choose a destination that is nearby. It’s hard to emphasise just how much is gained by being more familiar with an area’s terrain, access points and distance from/to emergency help if needed. If your planned hike goes through a national park or state forest, contact the local office and ask them for advice – and check out any bushwalking clubs in the region; often, these clubs are a veritable goldmine of on-track info. Don’t be afraid to sound a bit ignorant and ask the ‘basics’ first: best time of year, availability – and location – of water; campsite locations; and the expected time needed to complete the hike. And don’t forget to ask about a map. You don’t want to get lost…
Of all the essential hiking skills, map reading is one of the most important. And by that, we mean the ability to follow and navigate via a paper map and compass. In this day and age of GPS receivers and an ‘app’ for everything, map reading may seem a bit archaic, but it’s anything but. Once learnt, this skillset not only provides you the ability to navigate using a map and compass, but it also aids using modern navigation tools such as a GPS or smartphone app. We’re not against GPS/satellite navigation at all; these technologies are highly advanced and accurate, but there will come a time when your GPS batteries die (and you didn’t pack spares), or you cannot get a satellite signal, and that’s when being able to take a bearing from a map and compass could be a lifesaver. Or at the very least, it can reassure you that you’re on track. During a day walk, basic navigational skills are handy; on a multi-day trek they are essential. Undertaking a bush-navigation course before you step up to a multi-day adventure is even more of an absolute essential.

Sleep easy
As with tents, a three-season sleeping bag, such as the Mountain Designs Travelite 320, is the best all-rounder option and, if you can stump up for it, go for a bag with down fill; down offers the best warmth-for-weight. But there’s a caveat: up until very recently (with the advent of water-repellent down fill) if your down-fill bag got damp through moisture, it would lose its warmth-generating capacity. The latest development in sleeping bag tech has been water-resistant down fill, which is claimed to not absorb as much moisture and is quicker to dry too. It is avaialble in a number of higher-end brands’ sleeping bags and adds more protection alongside the usual Durable Water Repellency (DWR) treatments that are applied to the bag’s outer shell.
Synthetic-fill sleeping bag technology has advanced considerably in the past few years and these bags are worth considering if your budget is a bit tighter. The latest synthetic-fill bags also compress down quite small and, as a bonus, if wet can still offer some warmth. To prevent a wet bag, double-bag it in two dry bags.
Bag shape is a personal choice; if your main concern (besides staying warm) is comfort, go for a relaxed mummy (semi-rectangular) shape, which combines the best of the mummy-shaped bags (less empty space for the body to warm up) with a slightly roomier interior. A bag’s weight should not be your main concern: durability and robust construction are the two big factors after warmth – surprisingly, sleeping bags cop plenty of wear and tear in just a few treks.
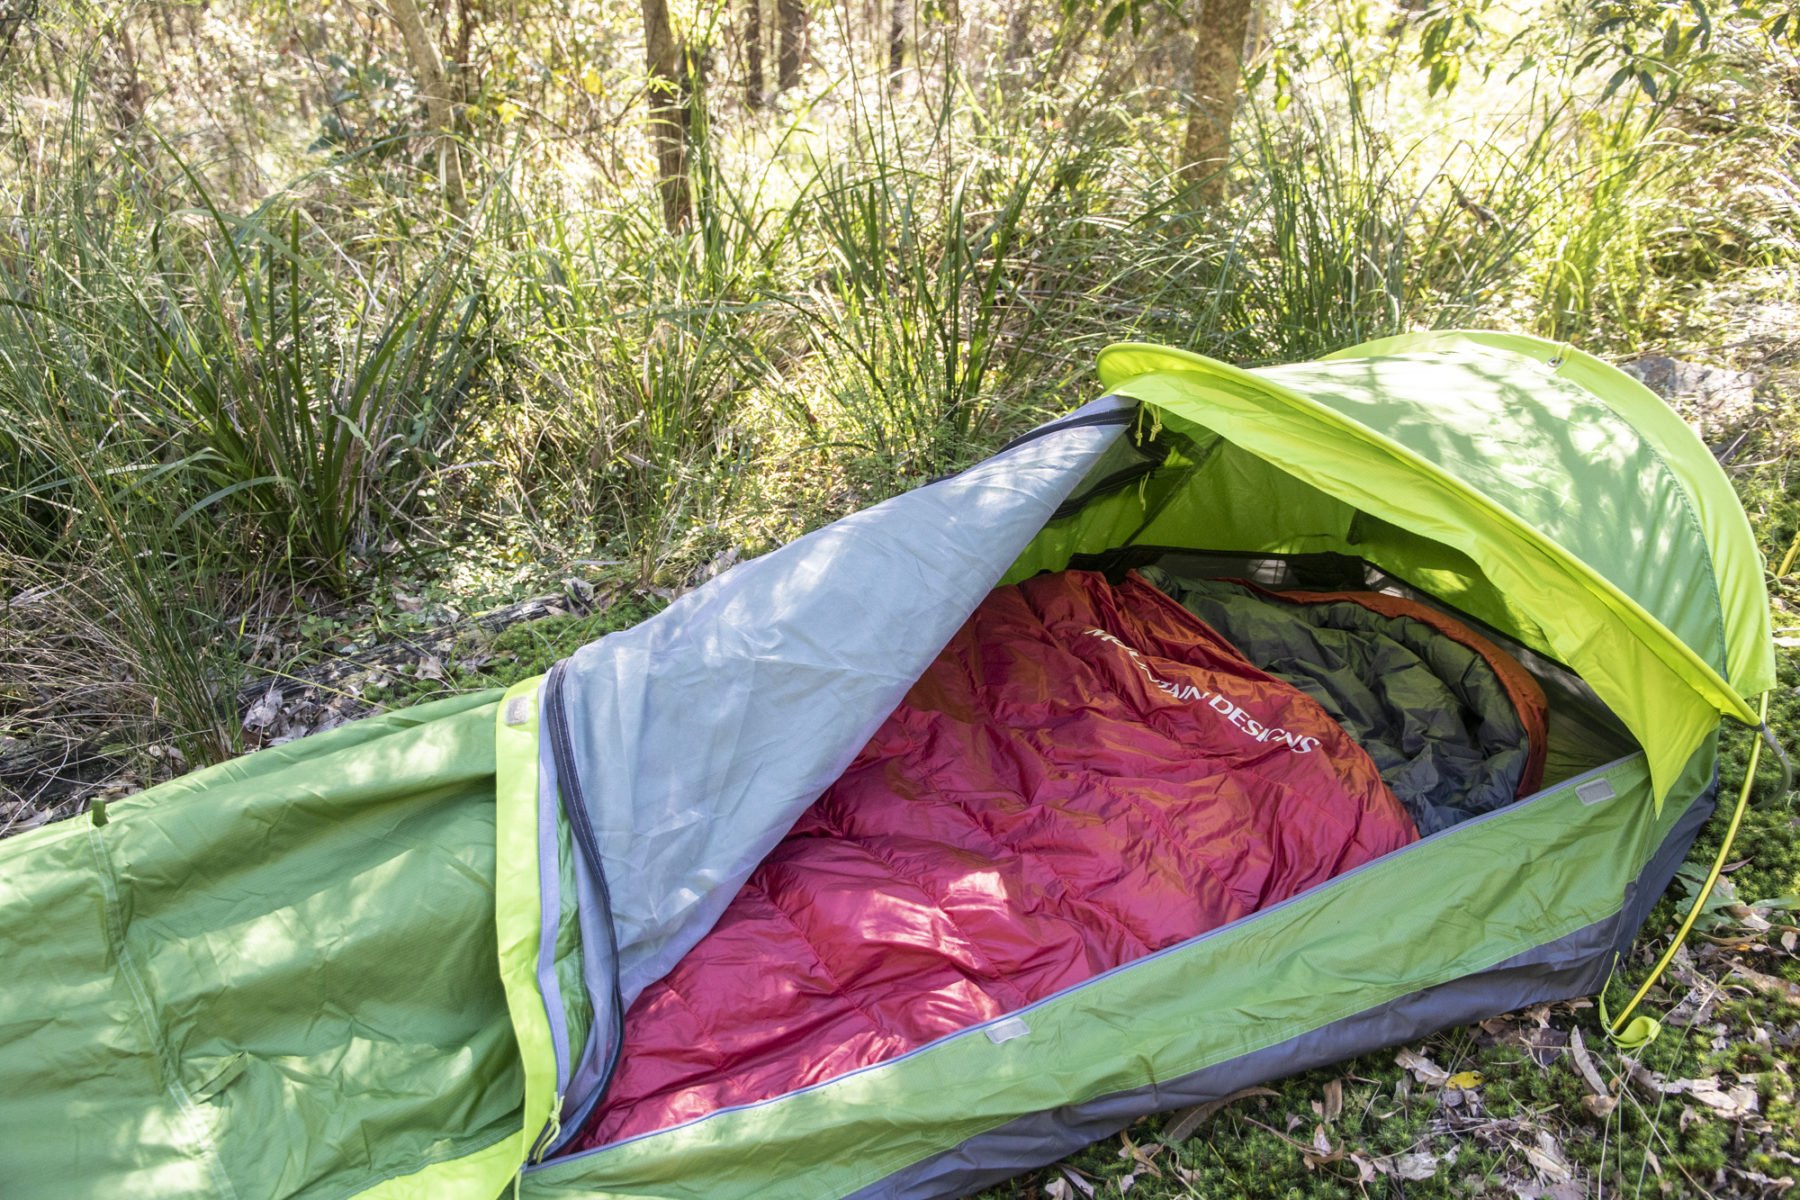
As well as a warm sleeping bag, the other big influence on your outdoor nocturnal comfort is the sleeping mat (point of fact: the majority of your body heat dissipates through your mat/sleeping bag into the ground, not through your head). Sleeping mats are available in solid-foam versions or the more common (and more luxurious) air mats, of which there are self-inflating variants or ones that require lung power to inflate. Some sleeping mats include down or synthetic fill, while others rely on ‘heat reflective technology’ (basically a reflective material inside the mat) to bounce your body heat back at you. The mats are available in a number of thicknesses and cuts (narrow, mummy-shaped through to expansive rectangular models) for a variety of purposes. For trekking, we’d opt for a semi-rectangular mat (as per our sleeping bag choice) of 5cm thickness, for that best combo of comfort, warmth, space and packed weight. Sleeping mats are quite robust, but it does pay to shell out for one from a reputable outdoor brand – and also pack a repair kit, for that rare occasion that you might cop a puncture.
The outer shell
A comfortable, tough and breathable outer shell jacket is a must for any hike, whether a short day-walk or a 10-day epic. The outer shell jacket is the barrier between your body and the elements, and should be chosen accordingly. There are myriad waterproof/breathable fabric technologies out there, including The North Face’s FutureLight fabric, all designed to combat the problem of keeping the wearer dry from external moisture, and also internal moisture, the latter caused by body heat and sweat. Breathability and ventilation is key – look for pit-zips and chest pockets that double as ventilation points and also check the high-wear areas of the outer shell – namely the shoulder and elbow areas, as these cop the most abrasion and overall rough treatment during a long hike. Ideally, these areas should either have a more robust material or a tighter/stronger weave to cop with the extra abrasion. The elbows should also be articulated, i.e. allow for free movement without pulling up the hem of the jacket that would otherwise expose your body to cold winds/rain.
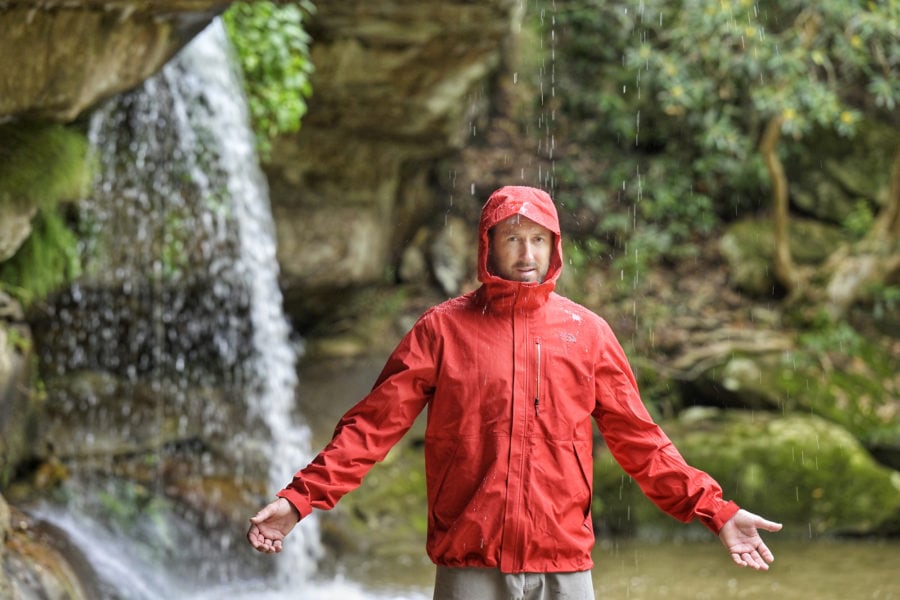
In regards to jacket length, go for – at the minimum – hip length, or preferably longer, which is a must for pushing your way through harsh vegetation. The other key to outer shell longevity is care; washing the outer shell with the recommended fabric cleaner and regularly re-treating the DWR coating will ensure years of protective service from your shell.
Hiking: Getting started
As with any outdoor activity, the best way to get fit enough to do it comfortably is to, er, do it – but to start slowly. For those who are tackling their first (recommended) overnight sojourn, the best advice is to take it slow. Compared to a day walk, where you are often pressed for time, on an overnight walk you can plan it so you’re only walking a similar distance to a regular day walk, but in the one direction, allowing time to set up camp etc.
A good way to build up to the first overnighter is to progressively extend your day walks, or devise a walking circuit near home that has undulating terrain; walking on flat, even terrain, such as footpaths, is best avoided. Not only will it not benefit your cardiovascular fitness as much as tackling hills etc., it is not the best surface when wearing hiking boots.
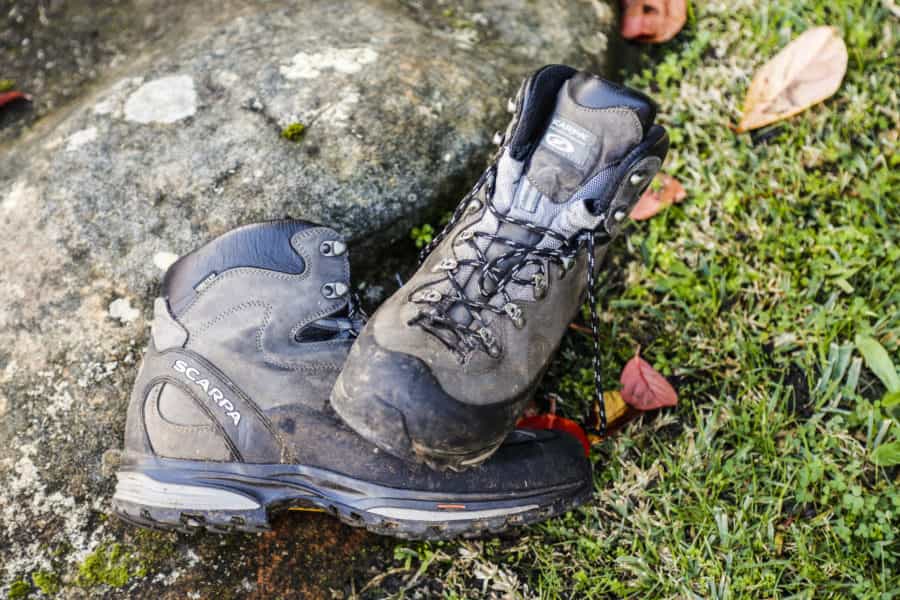
A pair of broken-in hiking boots are essential for multi-day hikes. There are a number of styles/designs out there, but your best off sticking to a reputable brand – Scarpa, La Sportiva, The North Face, Asolo are some examples – and making sure you try as many different pairs on as you can before purchasing. A well-fitted pair of hiking boots will provide years of service – and also assist in lugging those heavier loads. Yep, one of the less-pleasant aspects of multi-day hikes is the fact you will be carrying all your camping gear with you, on your back…
Pack it in
Along with the best shelter, boots and clothing you can afford, a properly fitted backpack is a must-have. Pay close attention to a pack’s harness system – both its adjustability and recommended load weight – and how it fits to your body. Then you’ll need to ensure you can fit all your kit in the pack. For a week-long trek, a 60-plus litre pack is the minimum, with some packs around this capacity offering an extendable section of (usually) 20 litres. Loading your pack will take trial and error but as you gain experience, you will fine-tune your packing system and (hopefully) drop some weight out of your pack.

As well as harness and capacity, pay attention to the material used; heavier canvas is the toughest and will last the longest, but synthetic fabrics have closed the gap significantly in recent years in terms of strength and durability. Regardless of the manufacturer’s claims of waterproofness, make sure you still use a bag liner (preferably a dry bag) to protect all your gear inside your pack. We’d recommend making this a habit; a permanent waterproof liner inside a backpack removes any concerns of wet gear.
Cooking up a storm
For some reason, food always tastes nicer when it’s been cooked in the outdoors. When you’re on a big hike, food choice is important for a few reasons. Firstly, food is heavy, so you really need to balance out the ideal of eating ‘fresh’ every day with perhaps mixing it up a bit and including a few dehydrated meals with the nicer stuff. Dehydrated meals are now at the point where they really are close enough to the ‘real thing’ for most people not to notice, and often simply require boiled water poured into their bag and, minutes later, you’re noshing down with some gourmet dish.
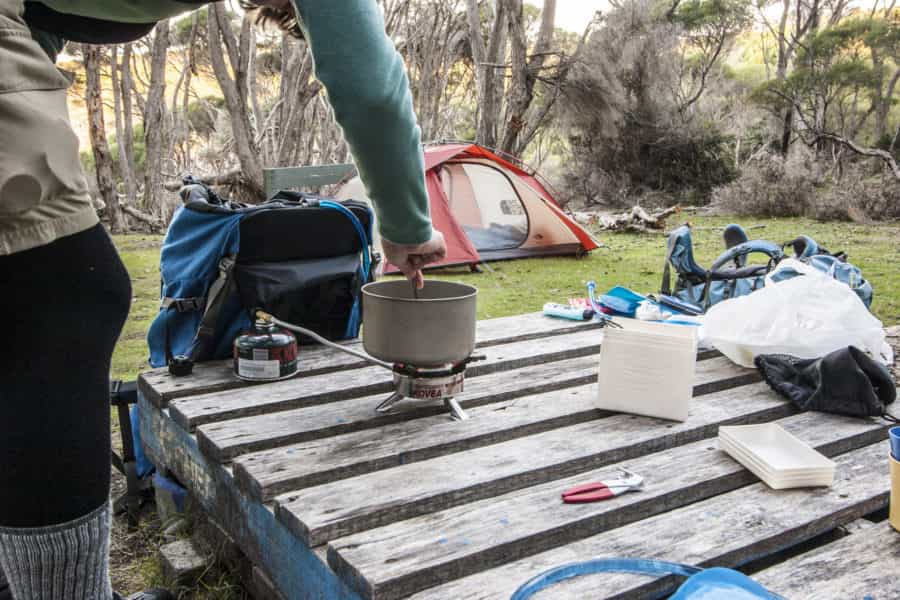
The portable stove choices for hiking are several. There are three main types of hiking stoves – canister (liquid gas) based, liquid fuel based, and natural fuel based – with each having its pros and cons.
Canister stoves can include fuel types such as propane, butane and isobutane (or a mix of these) and are generally very quick to bring water to the boil. Be aware, however, that these fuel types boil at different temperatures, which will be a consideration if you’re heading for colder environs; butane boils at -0.5°C, while propane boils at around -42°C – a big difference. For this stove type, the canister generally screws into the burner itself and they are set up in an upright position. There are also, however, canisters that connect via a hose to the burner, aiding stability and allowing users to invert the canister for better performance in colder conditions.
Liquid-fuel stoves are more ‘cold-friendly’ and (depending on the model) can burn different fuel types, too. These stoves comprise a pump, tank, fuel hose, burner and a valve to control output. Operation is only slightly more complex than the canister stove (basically screw-in and light procedure) whereby you have to use the pump to pressurise the fuel bottle, forcing fuel down the hose to the burner. Fuel used is most commonly Shellite (also known as ‘white gas’), but some units can use kero, diesel or petrol, which is super handy in more remote areas where gas canisters (and even white gas) may not be available.
A less popular stove option is the alcohol-fuelled variants (methylated spirits is the most popular fuel for these). These stoves are very basic in operation but slower than a canister or liquid fuel option.

If you’re a bit hesitant to strike out on your own (with friends) on a self-sufficient adventure, the other option is a guided hike. You do pay for the privilege but guided hikes can be a great way to glean advice and experience from the guides themselves, and fellow hikers in the group. A guided hike takes away many of the concerns beginners may have around the logistics of transport, navigation, food preparation, campsite finding, etc. – especially if the destination is overseas – and can make for an enjoyable experience. Most guides are happy to divulge their trade secrets to those who ask; they are generally very experienced outdoors enthusiasts – and gear fanatics – so asking questions or just observing their equipment – how they set up camp etc. – can then be applied to your own skill set.
Hiking for more than a day can sound like it is a hell of a lot of work – even before you get out there – but it really isn’t. Learning as you go, asking plenty of questions, taking each well-considered step at a time, as your knowledge increases, and tweaking your ‘hike kit’ as you go along, is all part of the fun. Get the basics nailed – navigation, appropriate gear, fitness – and you can apply your skill set to any hike, anywhere in the world.