
Photographing the forests

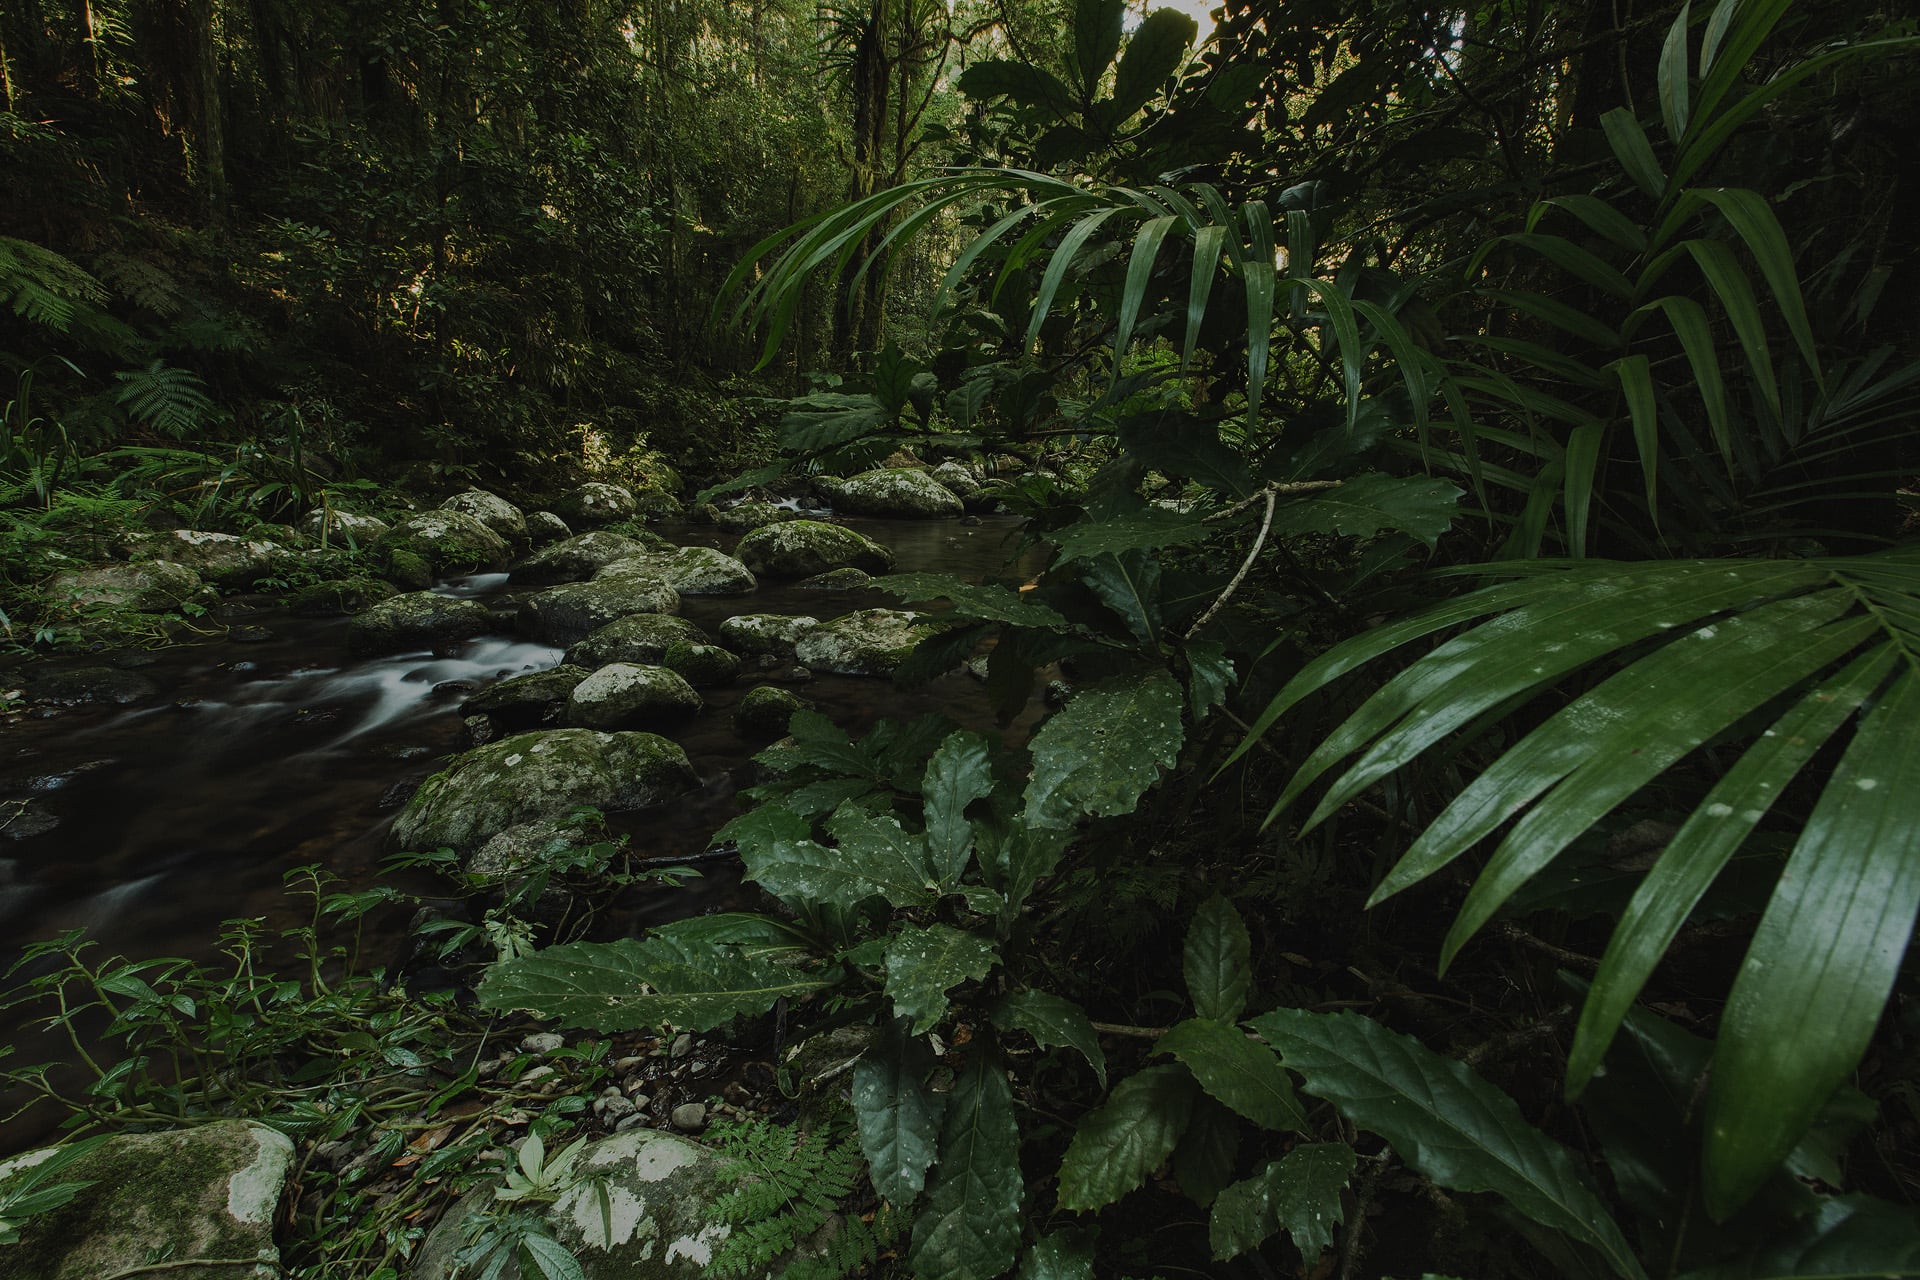
Australia is home to some of the most extensive areas of subtropical rainforest in the world. These protected environments are often the highlight of many international visitors who travel thousands of kilometres to experience the unique flora and fauna. The best part about these botanical wonders is that there’s always something new to discover and they make ultimate subjects for nature photographers. Over the years I’ve developed a strong connection for these natural environments, and I will happily say some of my best work has come from countless hours of trekking through these lush environments in search of those raw and beautiful moments. Here are my tips to help you on your next rainforest adventure.

Time your visit:
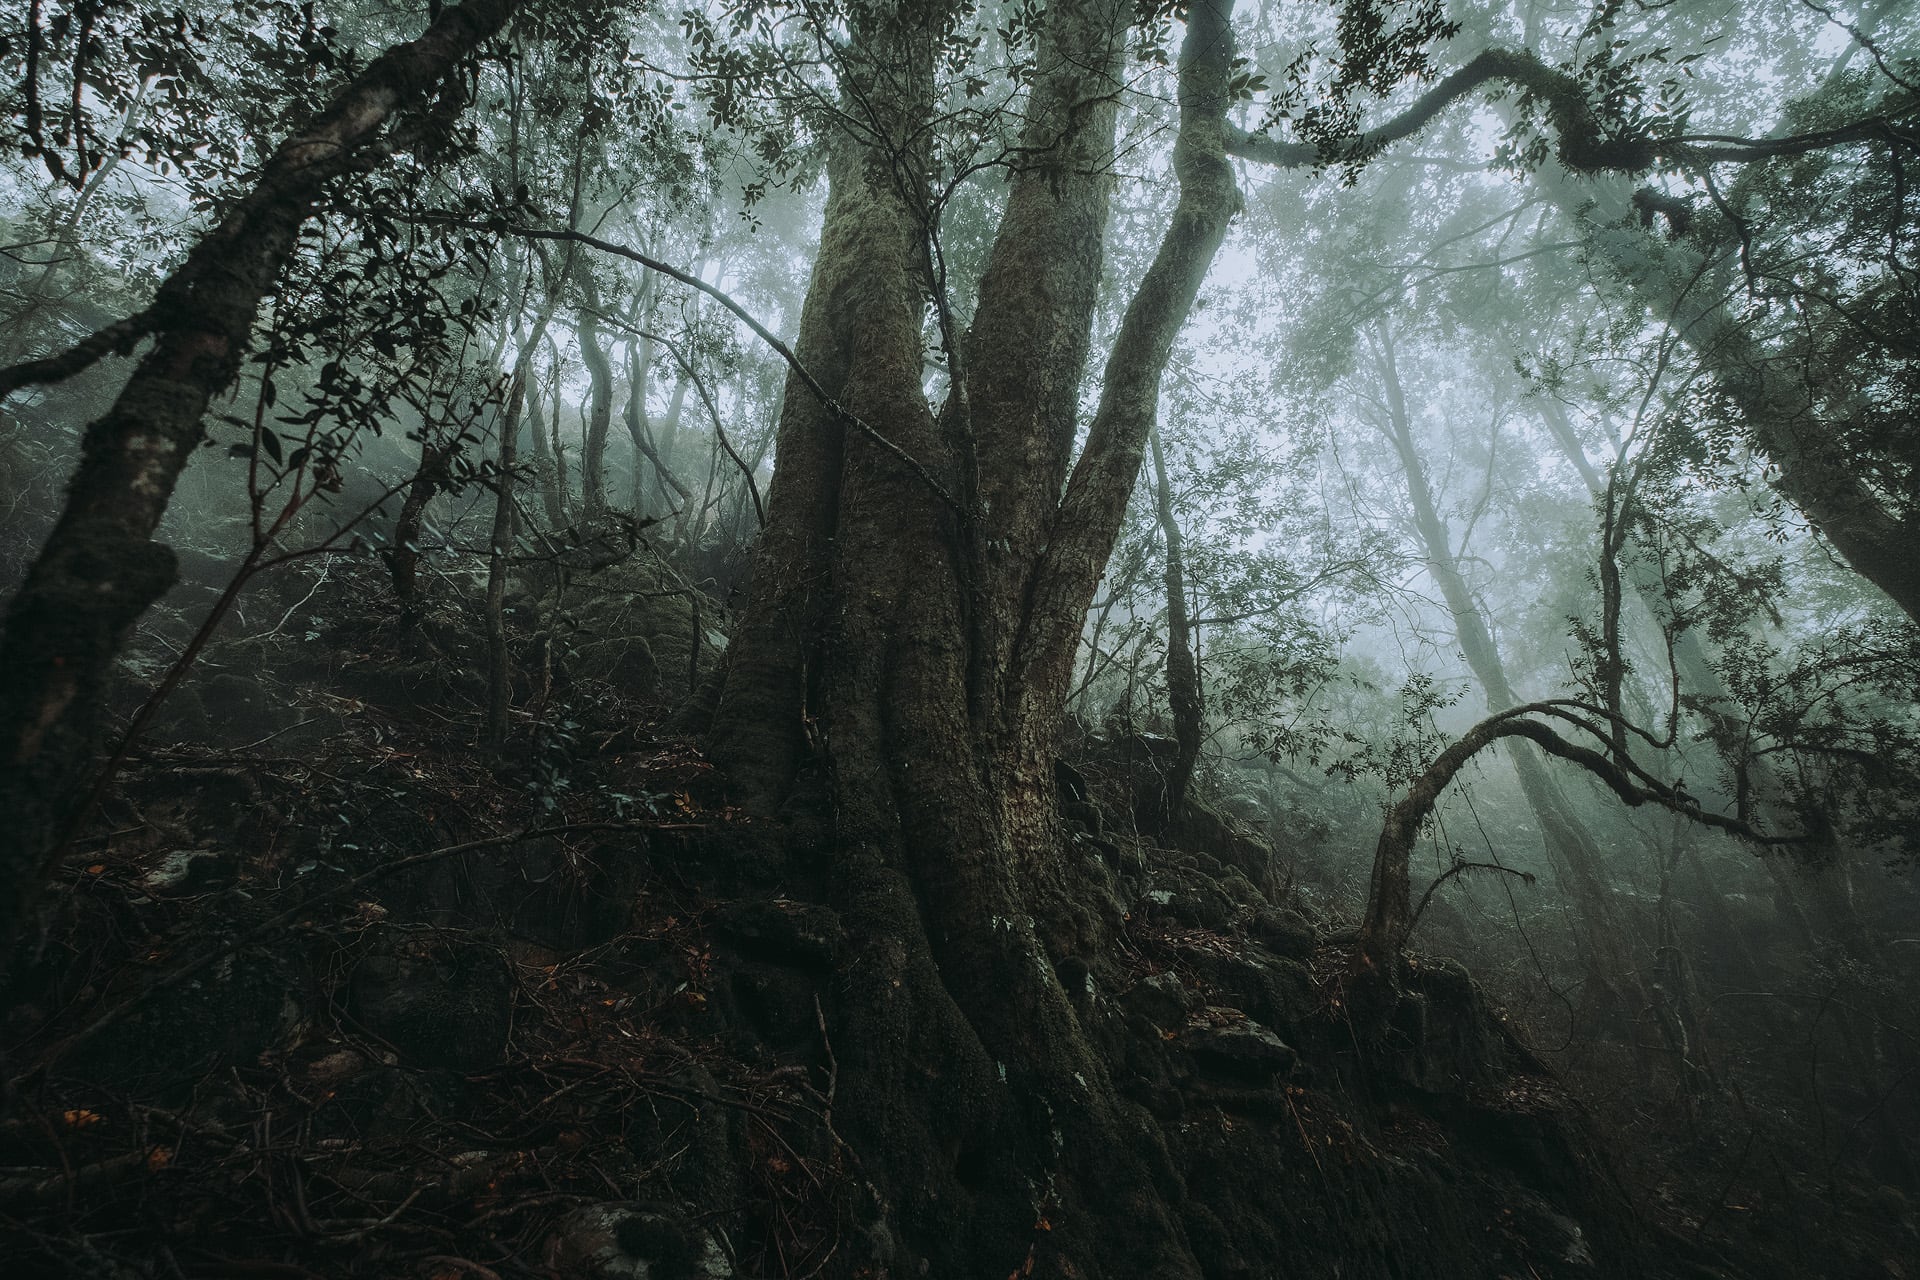
Shooting in a rainforest is all about timing. It’s best to be in a forest when it’s overcast or raining. On an overcast day the clouds act as giant diffuser, softening the light, which helps prevent harsh highlights and deep shadows. If there’s moisture in the air you’ll also most likely find mist enveloping the forest, which is ideal for capturing those atmospheric shots. Unfortunately it isn’t always possible to be in the forest when it’s overcast or raining. If you’re holidaying, you may not get the conditions you would like. As a general rule of thumb it’s a good idea to visit early in the morning when the light is low and the air is cooler.
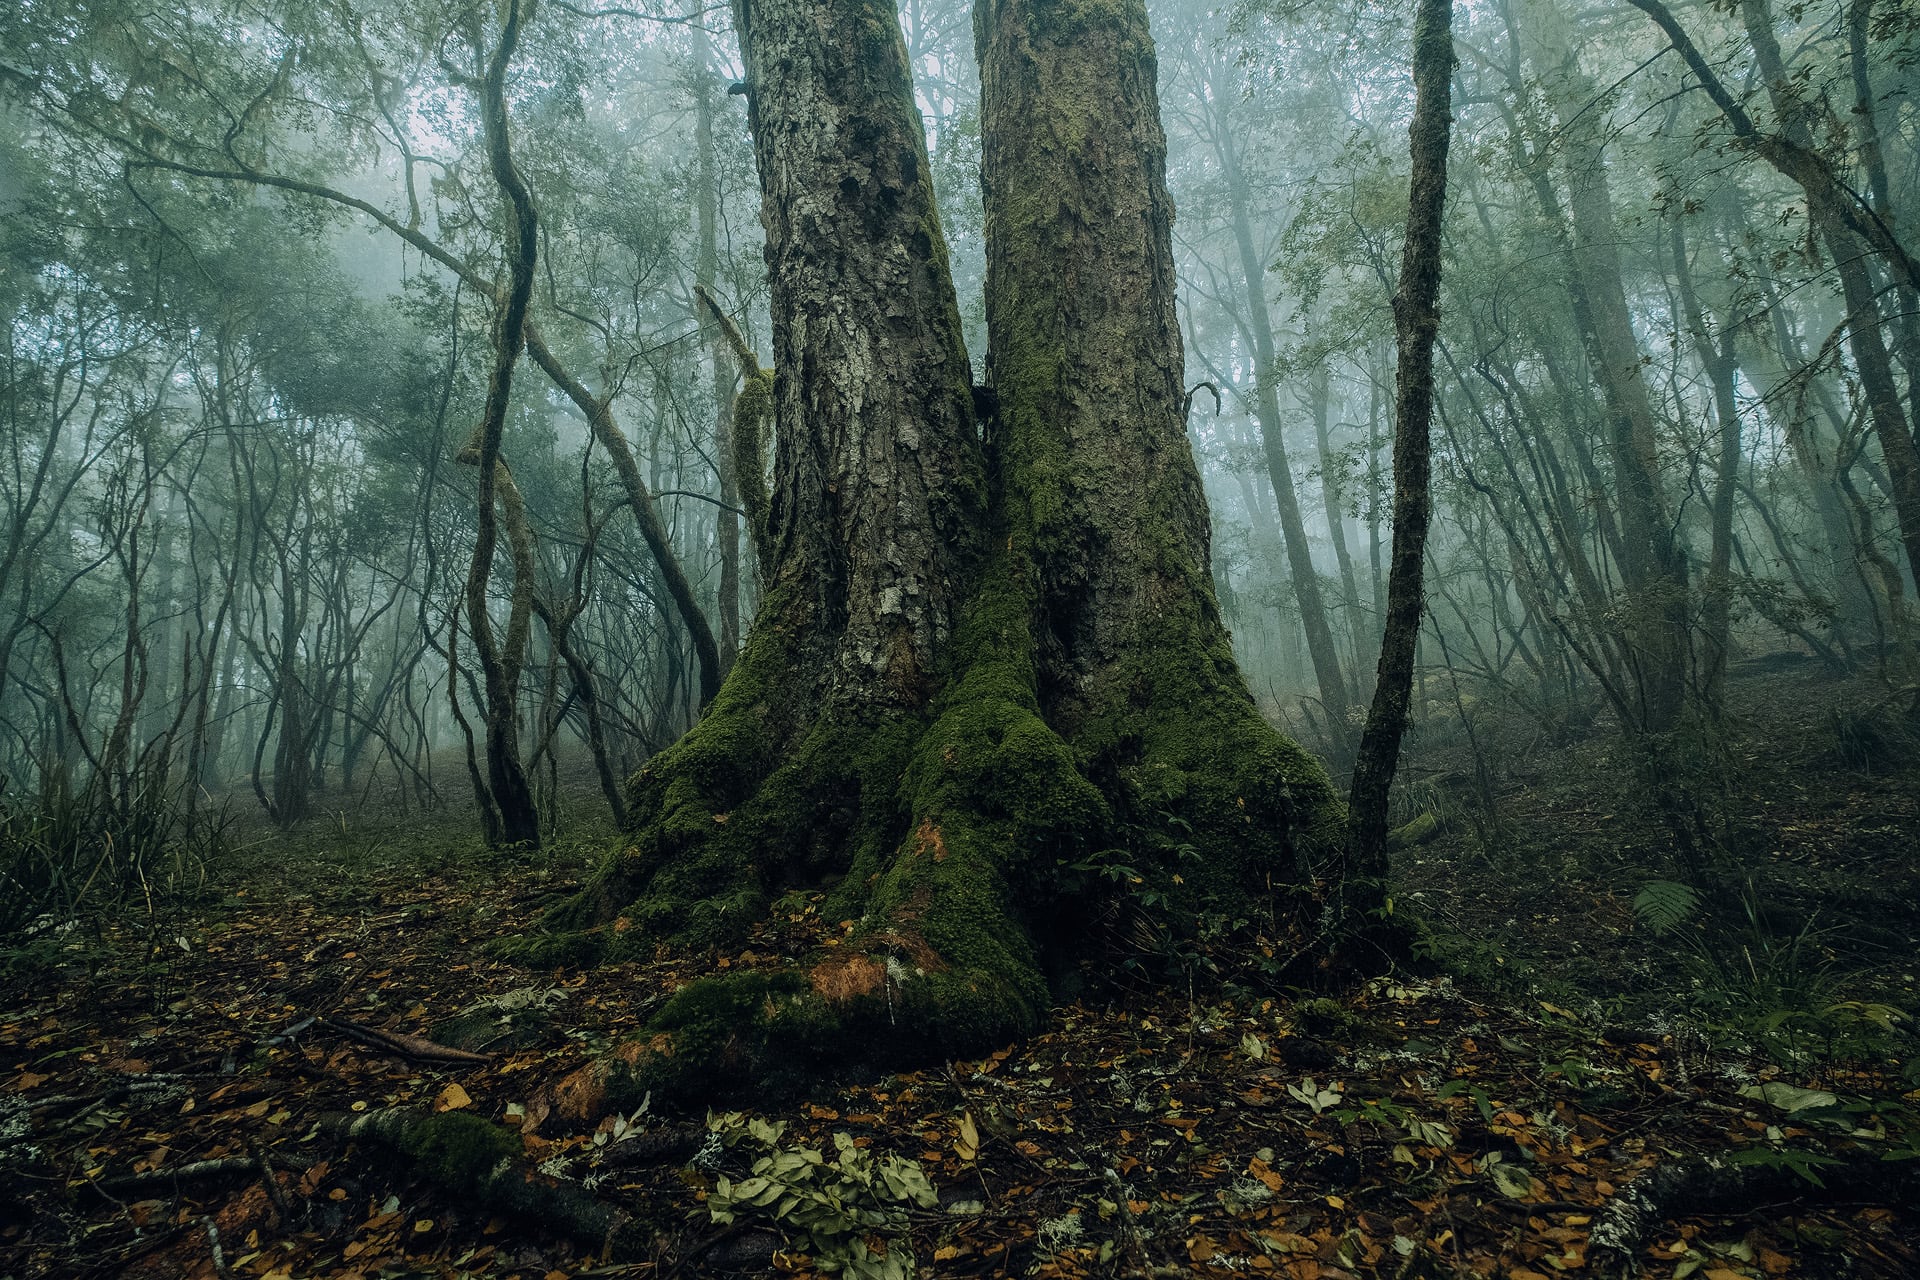
Go wide:
My choice of focal length is always to use a wide-angle lens because they have several advantages in a rainforest. Firstly, they exaggerate a sense of perspective, which can help give the viewer a sense of being in the middle of the forest. Another advantage is the ability this type of lens offers to capture everything in the frame. For example it’s great when shooting from a low angle and looking up at the canopy. Trees or people standing in the centre of the frame make great subjects when shooting from low angles, giving an undeniably surreal feeling to an image.
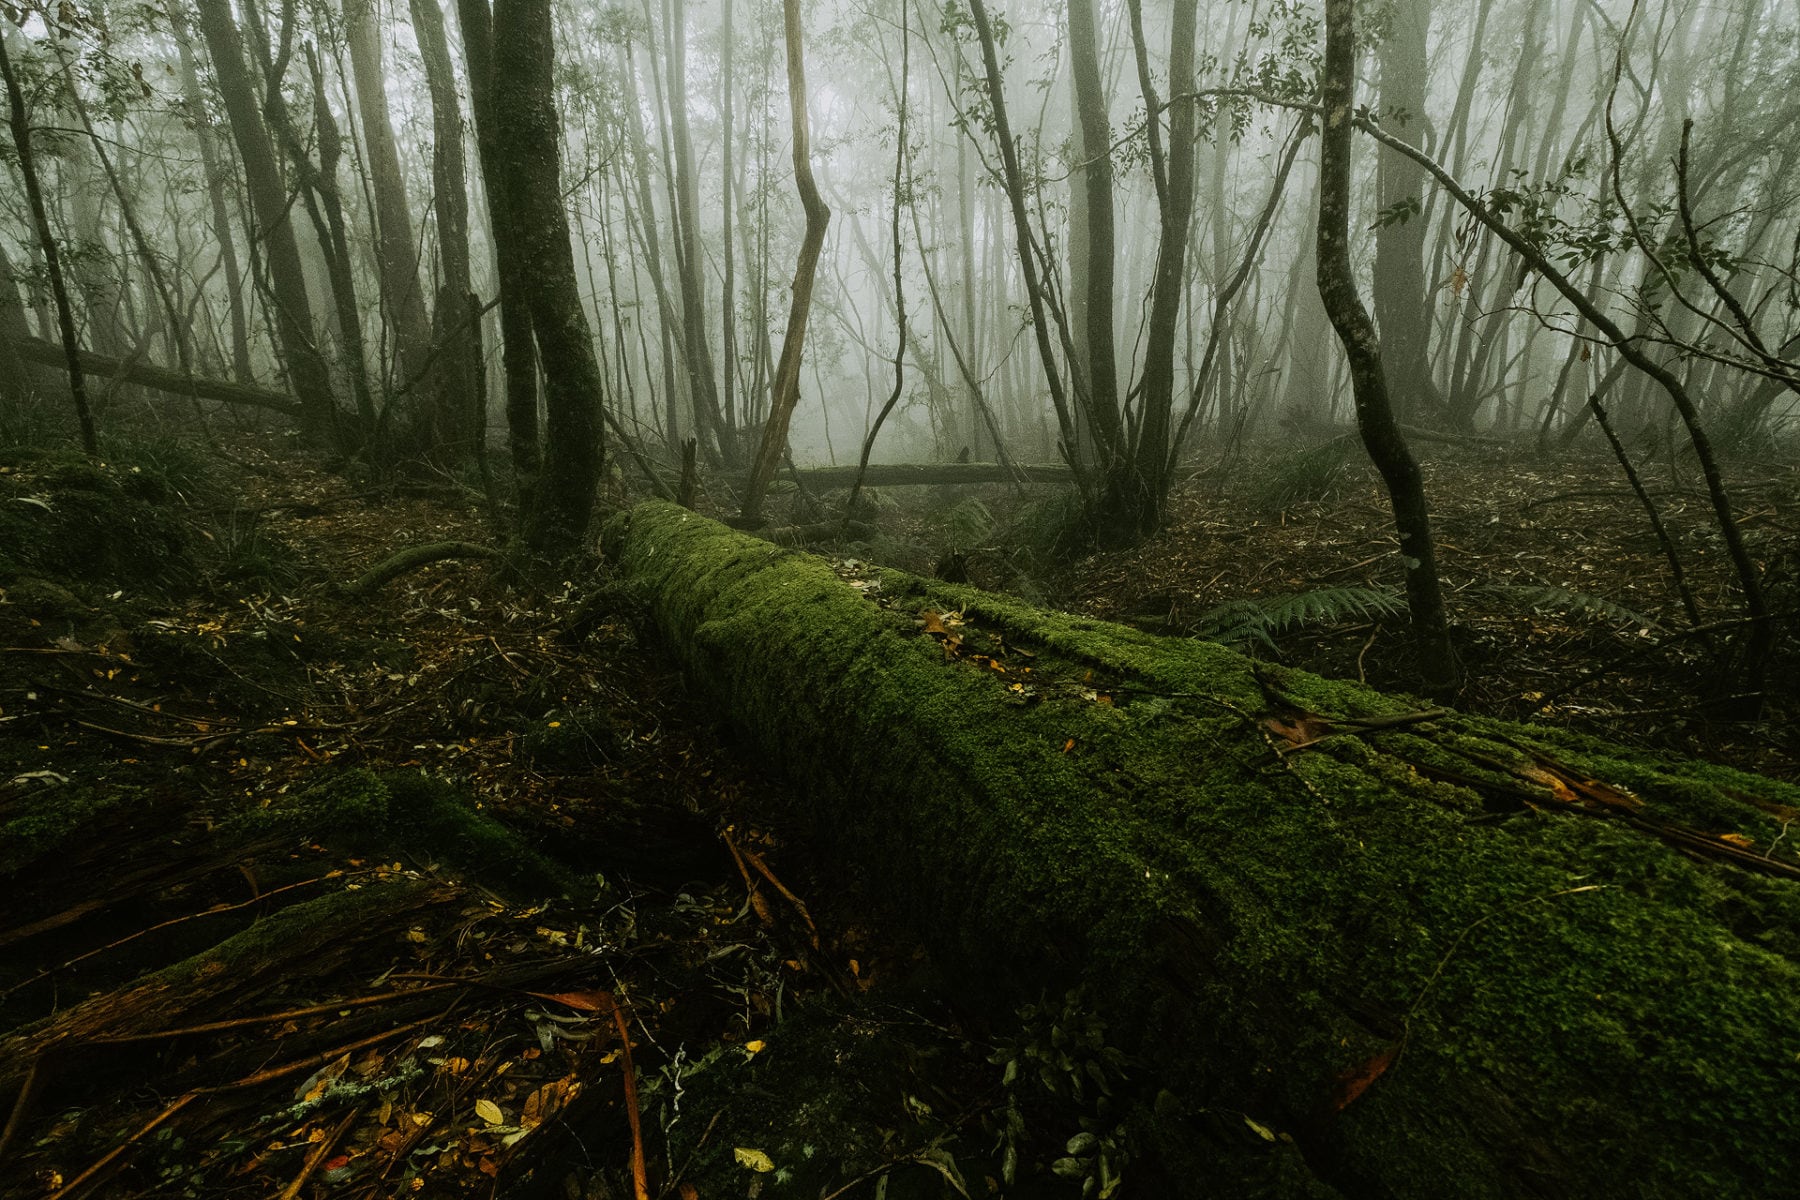
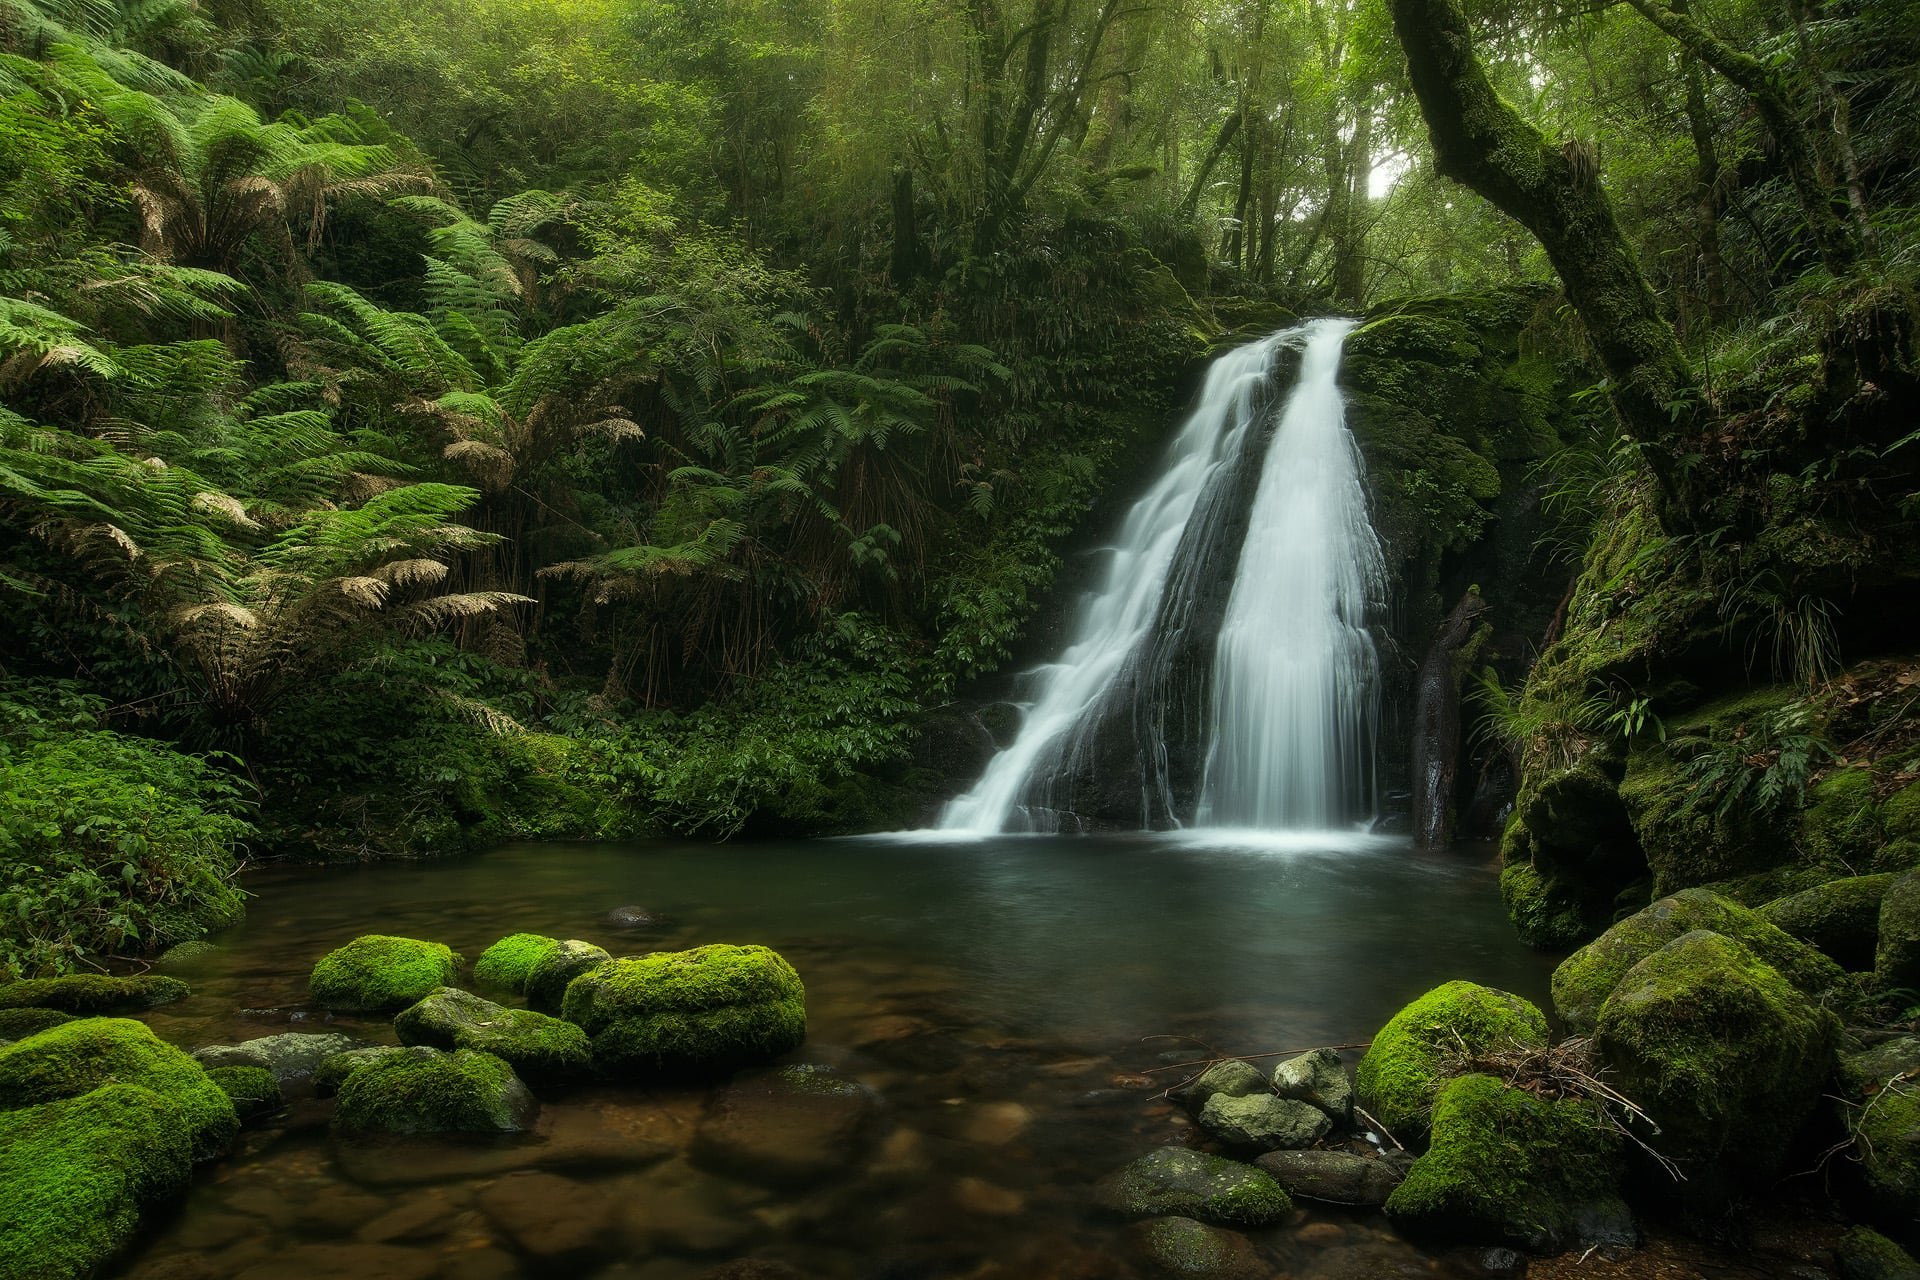
Use a Polarised filter:
One of the most important items you can own apart from your camera and lens. Polarisers help reduce the glare on water and saturate the green foliage to give your images more impact and eliminate unwanted distractions. Even on a sunny day a polariser can dramatically improve your photos.
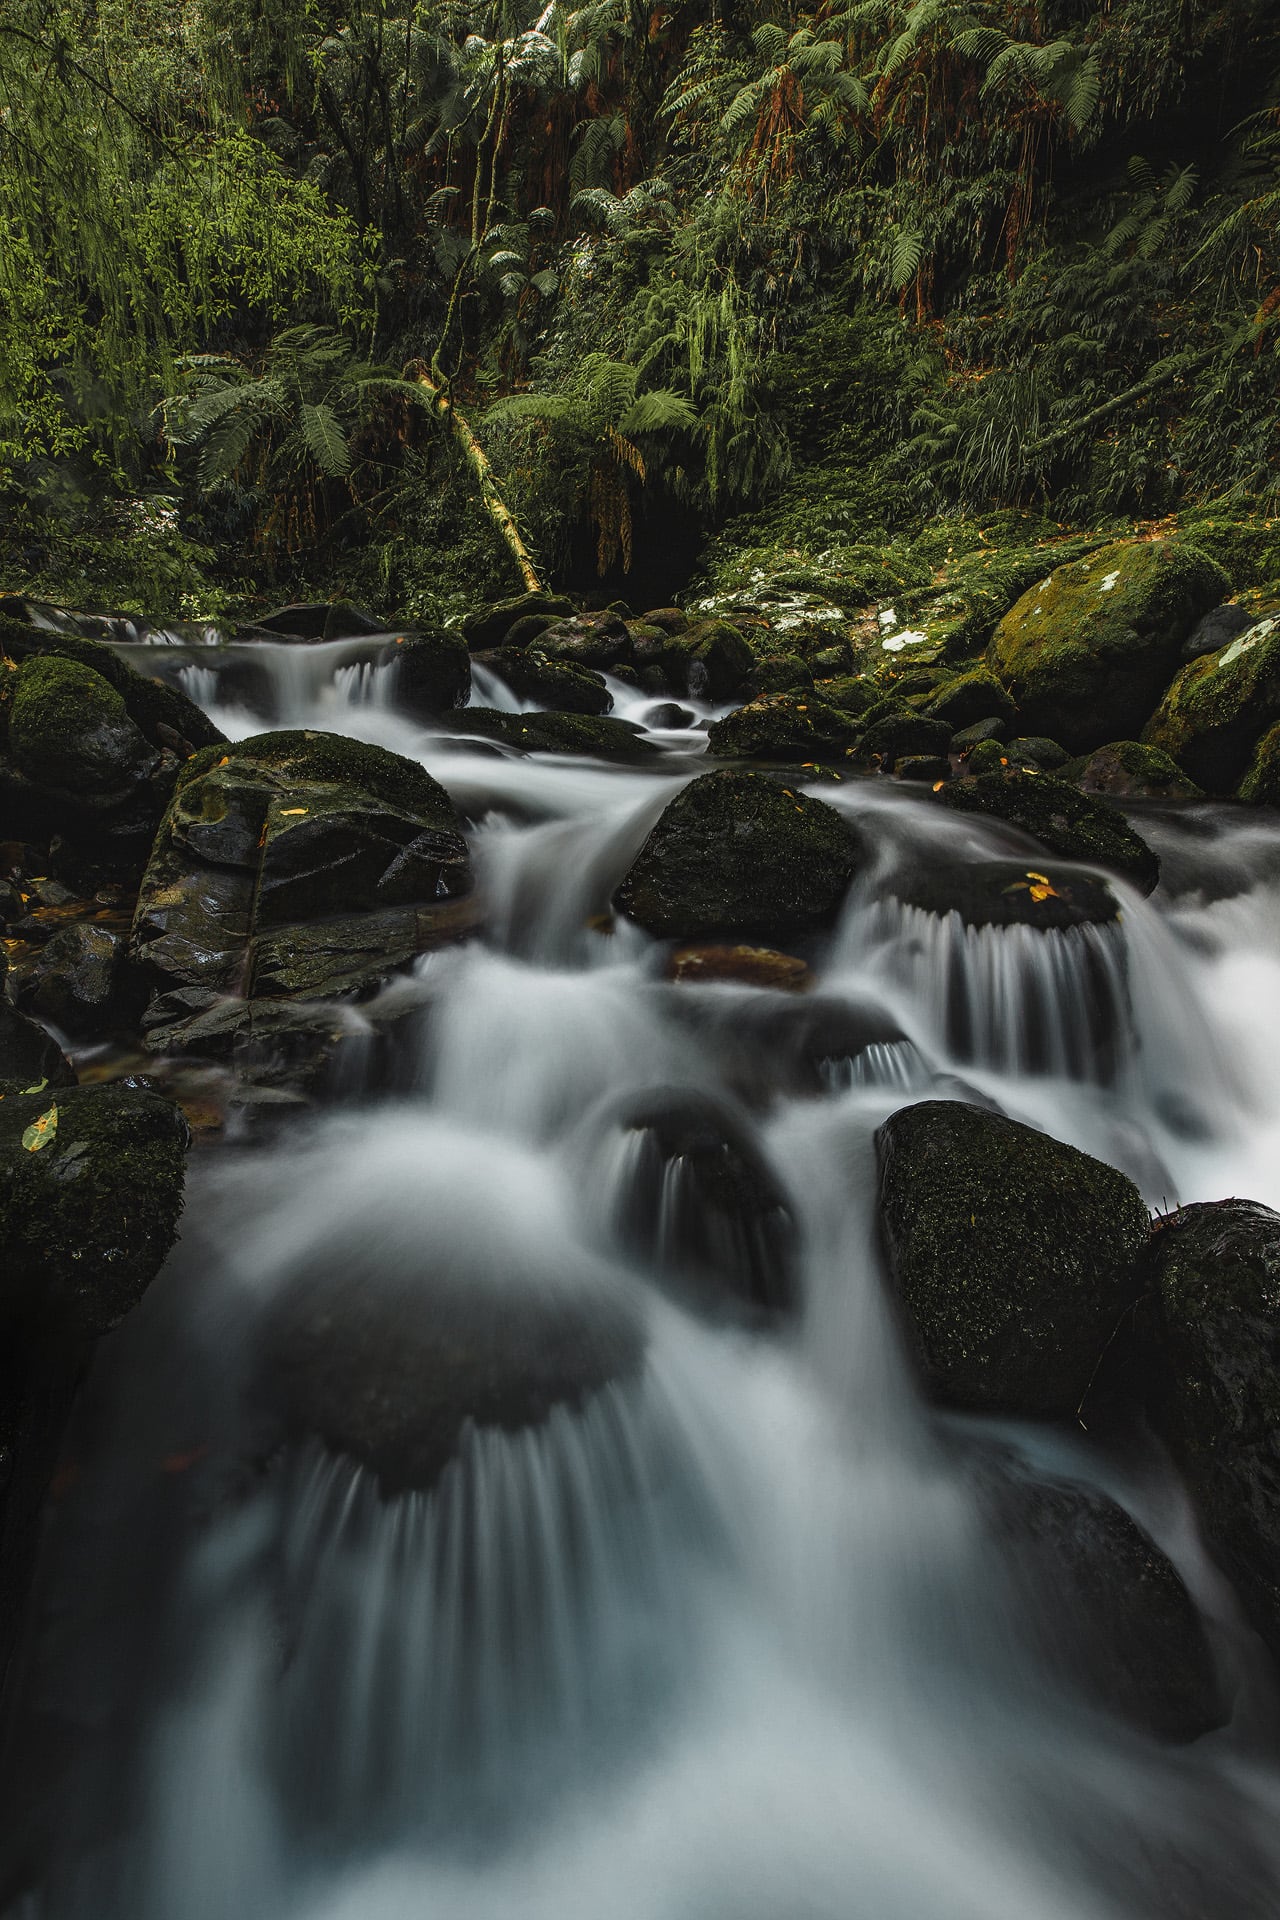
Use a tripod:
A sturdy tripod is an essential piece of equipment every landscape photographer should have in their kit. It’s important you use a tripod in the rainforest because it’s often dark beneath the canopy. When you’re shooting at small apertures (f/11 to f/16) and thus requiring slower shutter speeds, hand holding your camera isn’t always an option. By using a tripod you’ll be able to increase your exposure time while still capturing a sharply focused image from the foreground through to the background.
Be selective:
Rainforests are busy environments, often cluttered and full of distractions. It can sometimes become overwhelming when you’re trying to choose your subjects. An over abundance of trees, foliage, roots, rocks, vines can make or break your shots. The old adage of ‘less is more’ is correct, and composition is equally important as light. A great rainforest image requires balance and structure in order to make visual sense of it. You might already have an idea in your mind for the type of pictures you want to create. Scope out the location and look for details which immediately catch your eye. Once you’ve found your subject, study it from various angles to work out what is effective and then frame your composition.
Drew Hopper is Australian based travel, documentary and editorial photographer specialising in Australia and Asia-Pacific region. His latest assignment with AG was photographing Koalas after the devastating 2019/2020 bushfires.