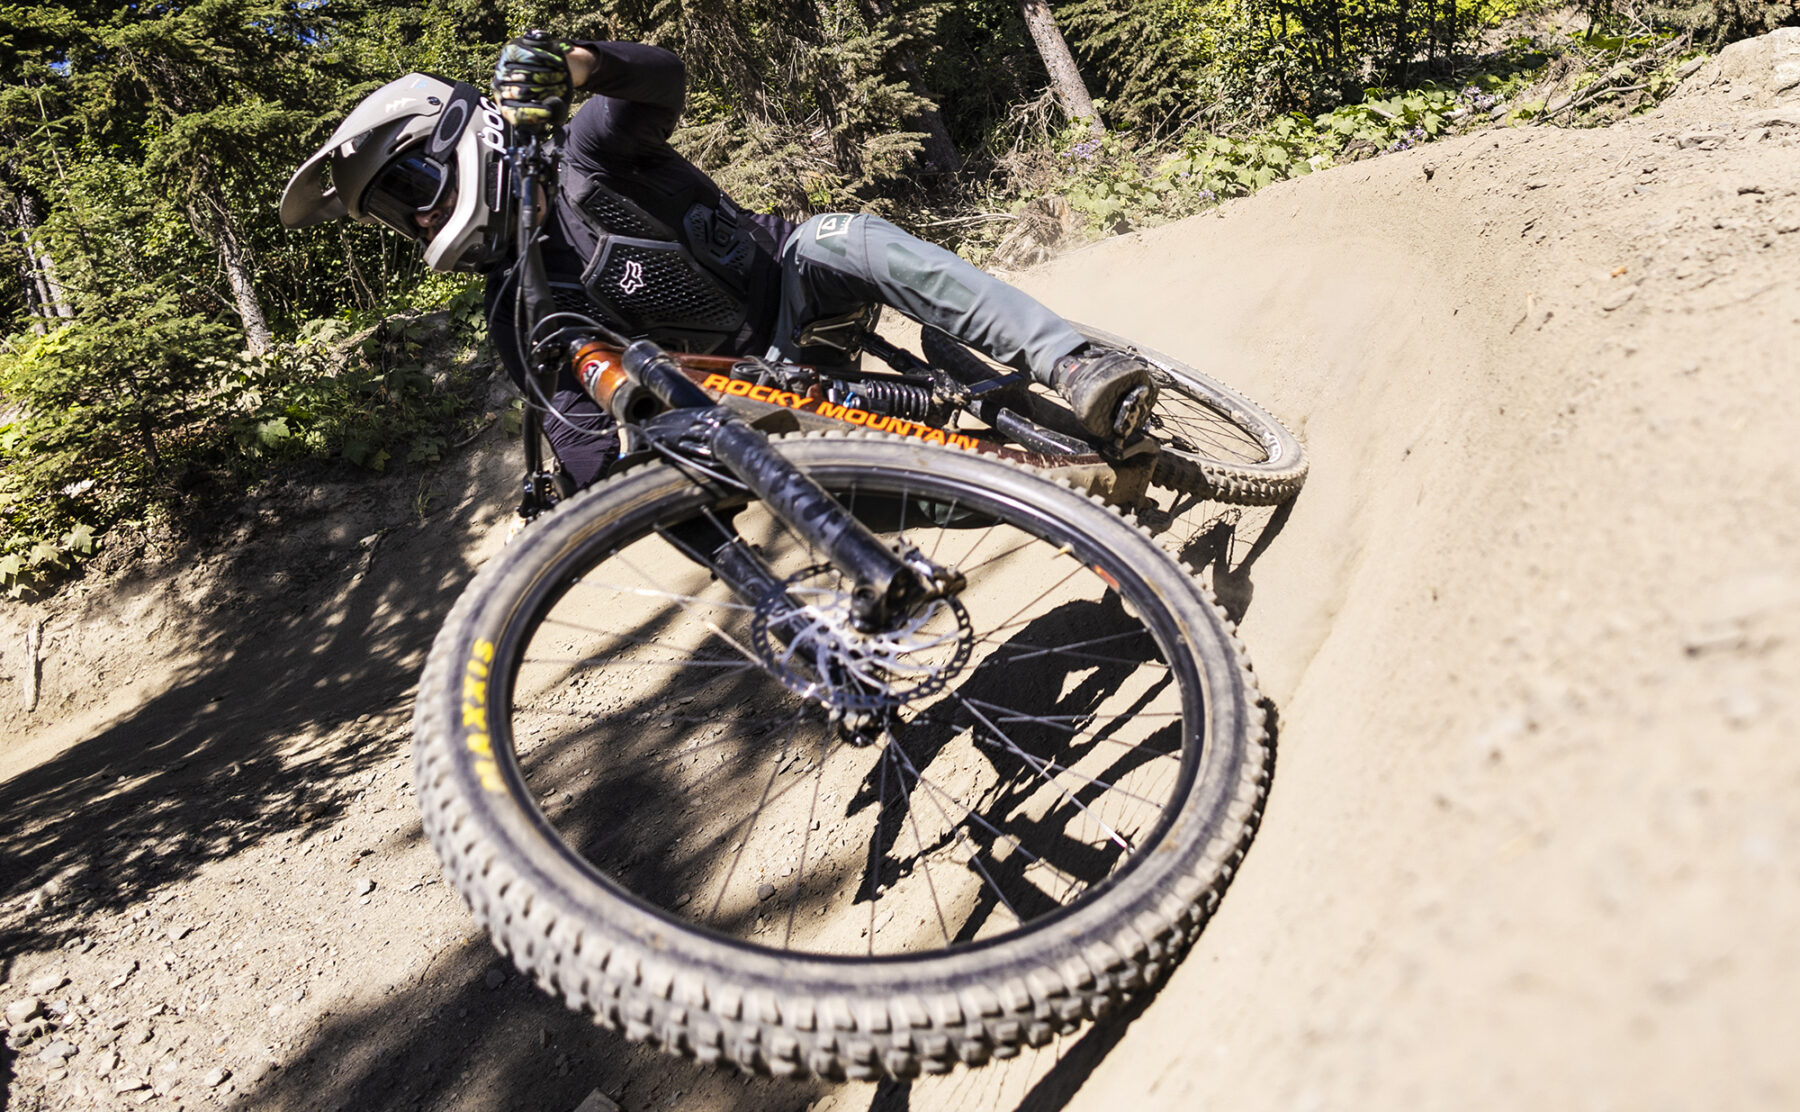
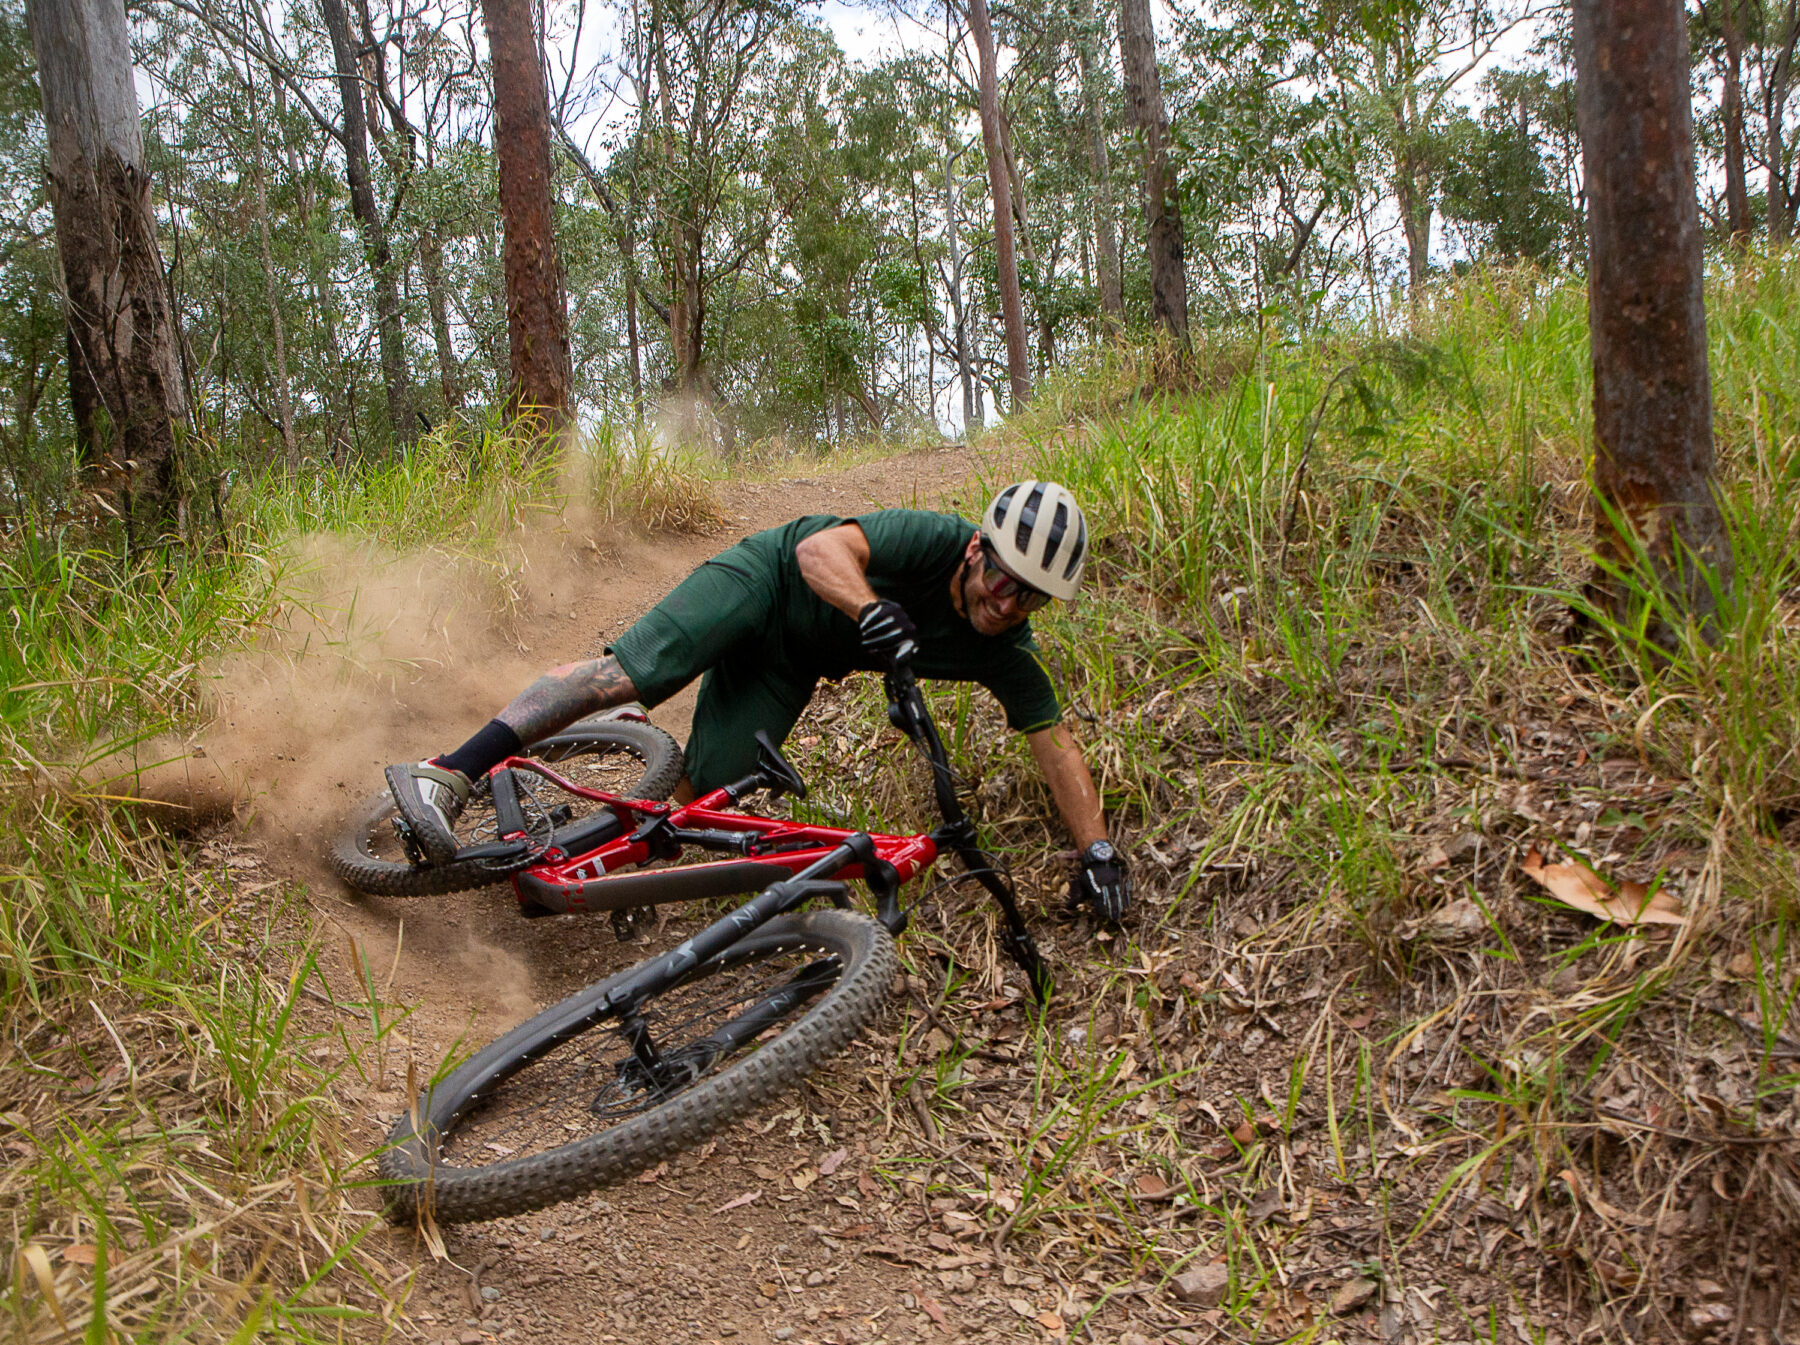
Mountain biking is fun, and it is more fun when you have faith that your tyres will grip when you want them to. Your two tyres are your only contact points with the ground, and their effectiveness involves more than just the tread pattern on your tyres of choice.

There is no one-size-fits-all decision when it comes to mountain bike tyres, but hopefully you can use this guide to find a good setup to fine tune your tyre choices whether you are riding downhill, enduro, trail, cross-country or even just ‘going mountain biking’!
Tread pattern
The depth, shape and layout of a tyre tread is certainly very important. Tyres for more aggressive use and looser terrain will look more like a motorbike tyre with tall knobs across the tyre. The downside is they roll very slowly – fine for downhill only riding, but a bit of a drag for pedalling around.
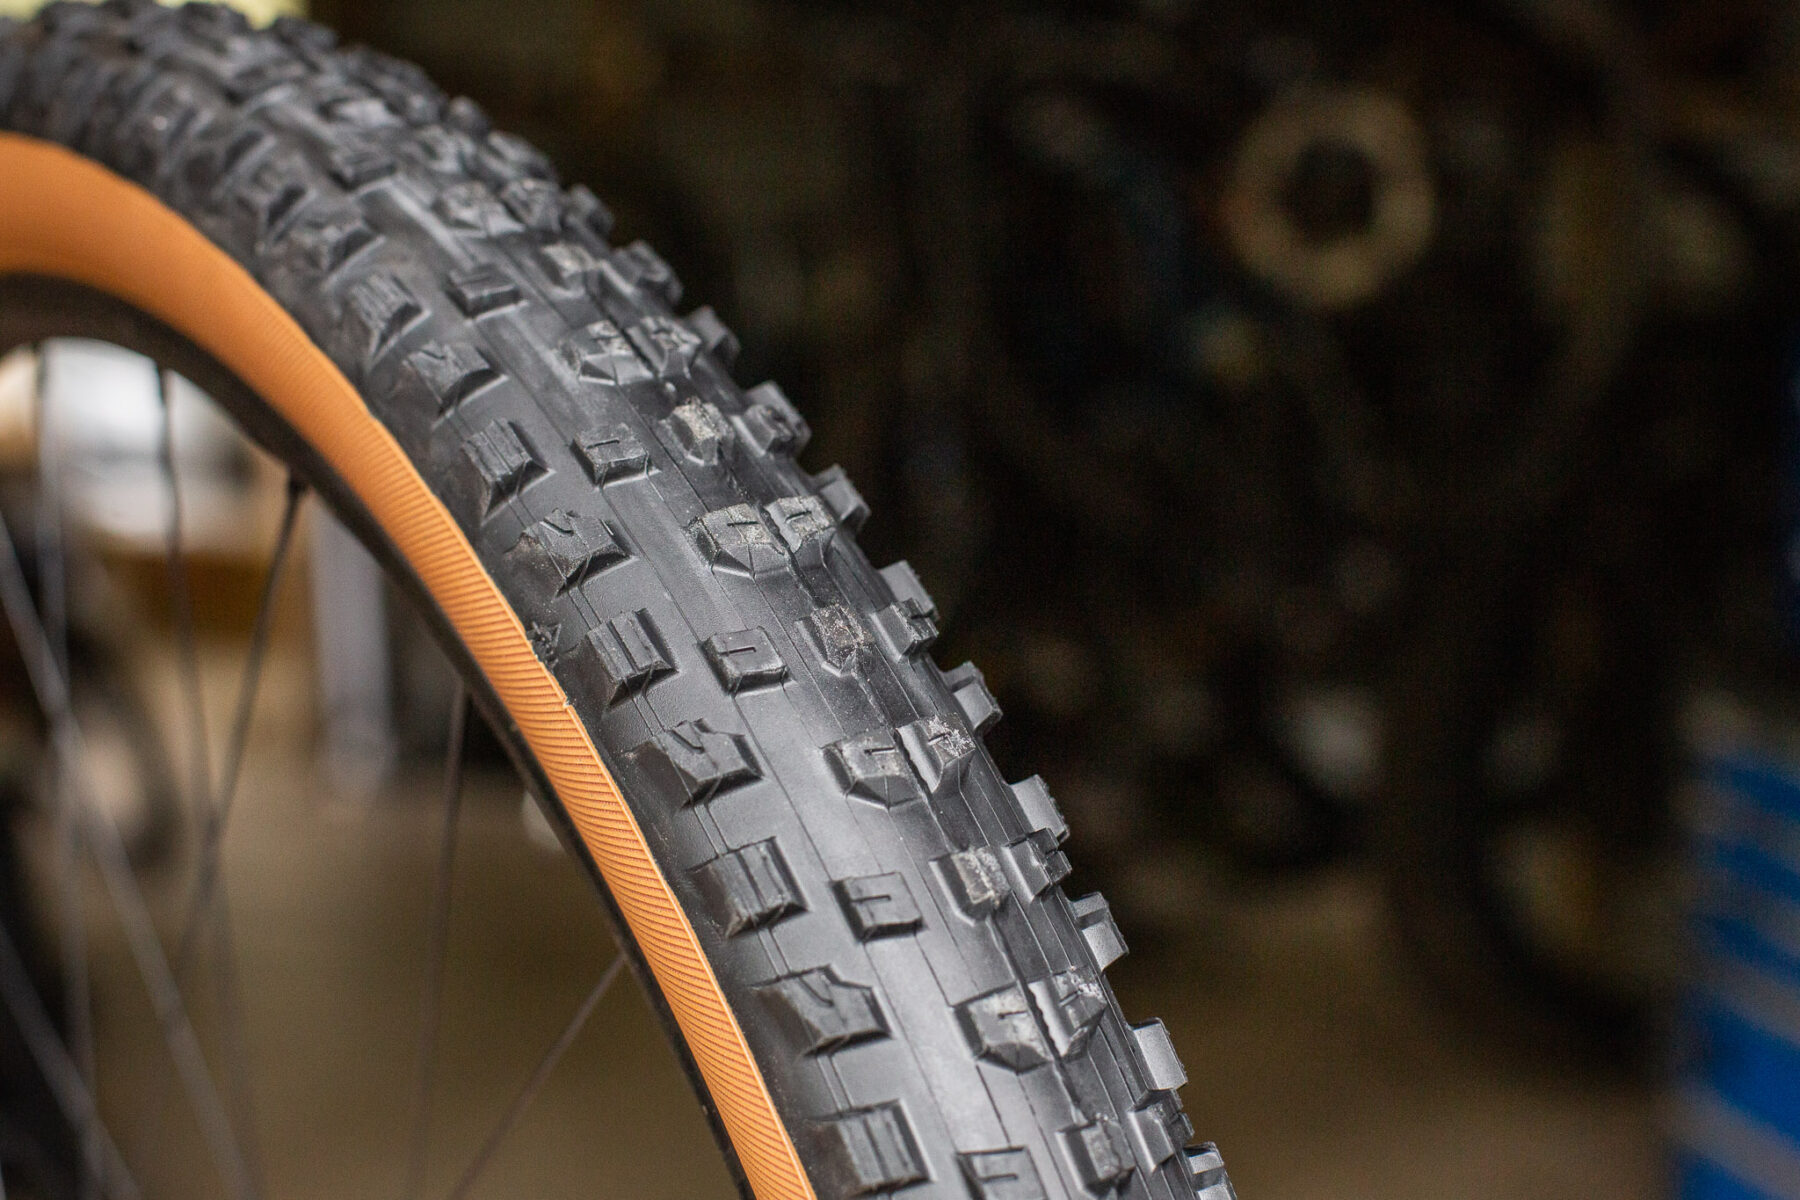
The tread in the centre of the tyre will play a big role in climbing and braking traction. The taller the tread blocks, the better they will work in loose or soft terrain. The closer spaced they are and the lower in height, the faster they will roll. Some brands aim to reduce rolling resistance with angled edges. Or smaller tread blocks will have small cuts, or sipes, cut that helps the tread find an extra edge when pushing hard.
The edge knobs play a huge role for cornering traction. Taller knobs should work better, but if they’re not supported, they may may feel vague in hard cornering. Many tread patterns alternate edged blocks being further out and closer in, to suit a wider variety of lean angles. Some are very tall, supported and close together for off-camber grip. Between the edge and centre knobs you will find transition knobs – often small, or less frequent, they help with grip when moving from straight up through to cornering.
Cross-country tyres will have shorter knobs with a focus on edge knobs to reduce weight and improve rolling speed. Trail tyres will have taller, more aggressive knobs and typically front and rear specific treads. Enduro and Downhill tyres will mimc many trail designs but may be more specific again, with either short-knobbed race only rear tyres or even very tall spikes for wet races. It is useful to think of the tyre tread as your mechanical grip – however that is not the only form of grip available.
Rubber compound
Rubber always looks the same, but each brand has a few different mixes to achieve the right mix of grip, rolling speed and tread wear. Consider compound to be your chemical grip. A very soft compound will grip well on rock and roots but will roll more slowly and you may only get 10 hours of hard riding out of it. A tyre with very hard rubber may last long enough to be a family heirloom – but will grip like a piece of 2×4. So, there are compromises.

Some brands use a single rubber compound that suits the tyre’s purpose. Others use a mix with softer on the shoulders for cornering, and harder in the centre for durability. If you ride a lot of loose rock, in the wet and on hard rock – look for a softer compound. If you ride bigger distances, or an e-bike, and value rolling efficiency, look to a slightly harder compound. You may even opt for a harder compound rear tyre and softer front, to get the best mix of grip and efficiency.
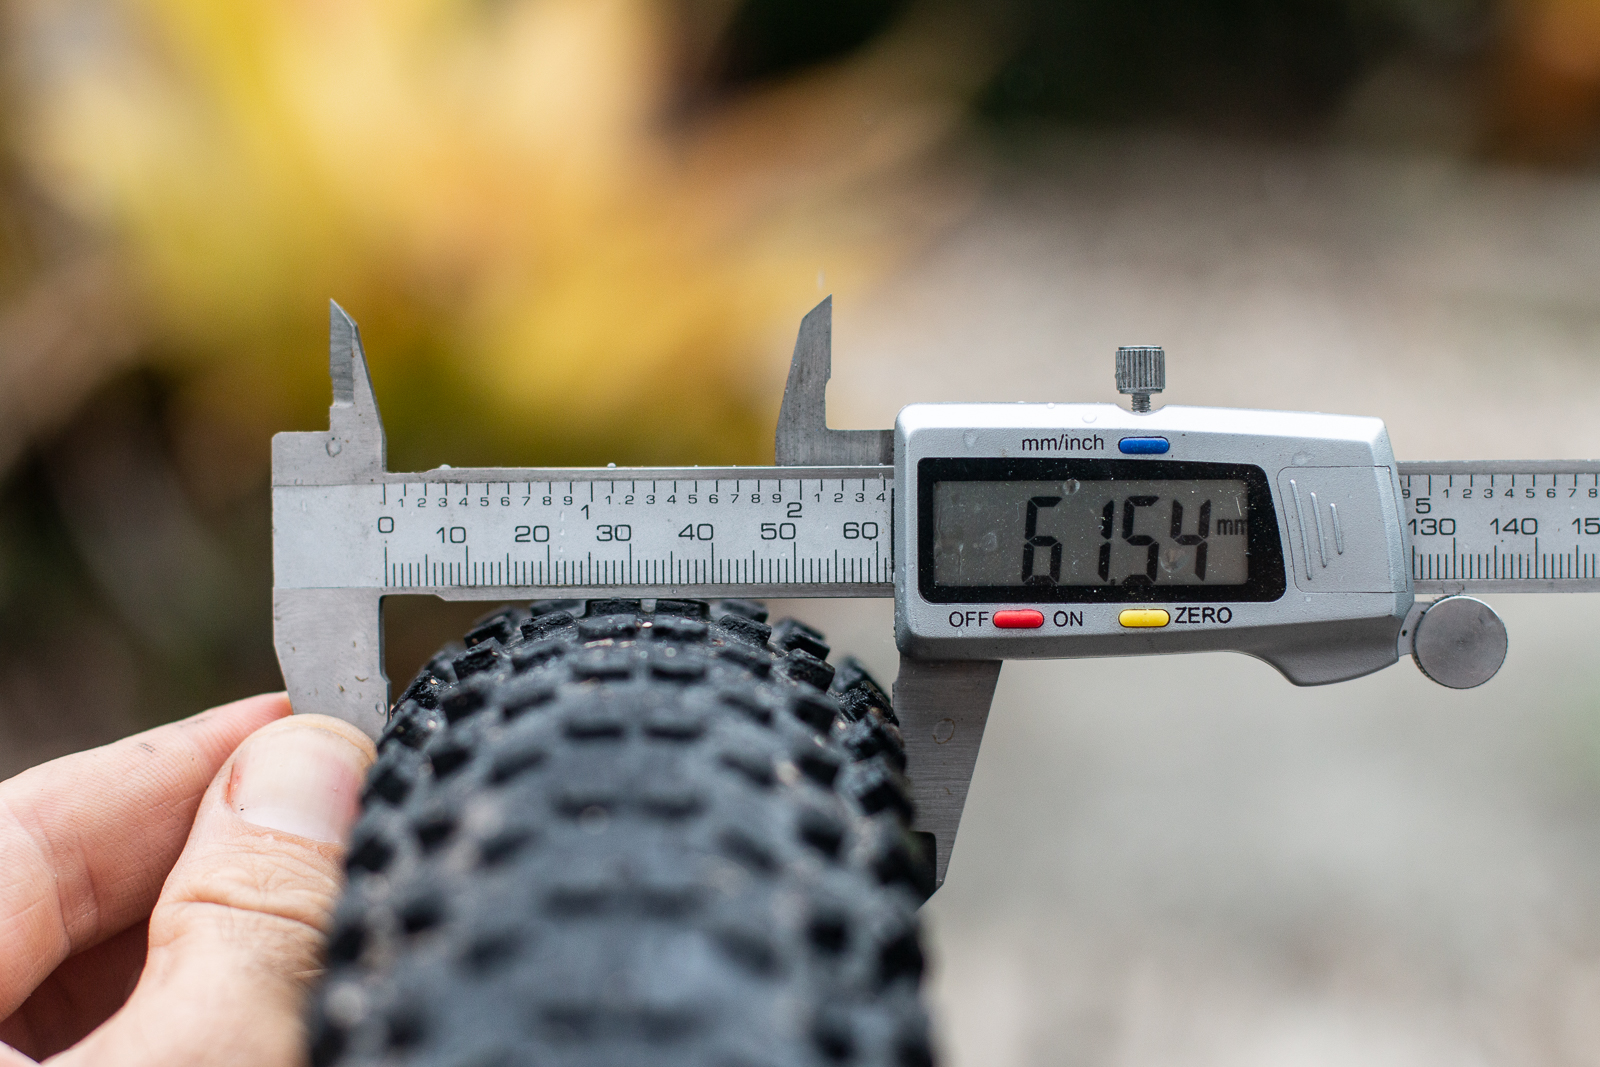
Tyre width
Wider tyres have been well adopted, even gravel riders are squeezing 2.25” XC tyres into their bikes. Of course, they do need to fit. Newer XC bikes will usually fit 2.4” tyres and most trail and enduro bikes will take 2.5-2.6”. Wider tyres hold more air, allowing lower pressure and a larger contact patch. The lower pressure deflects less, finds more grip, and is more comfortable. Setup counts, and there is more on that below.
Casing
Tyres use a threaded casing, which is what prevents them from expanding like a balloon when we inflate them. Casing is measured in threads per inch (TPI) with 60 and 120 being the most common. Usually, a higher TPI equates to a more supple casing which deflects less and creates better grip. But lower TPI casings can prove stronger. Most brands will add reinforcing strips either on the sidewall, or even between two layers of casing – and often under the tread itself. For aggressive use look for a dual play casing with added protection. Cross-country riders may prefer a single 120 TPI casing for lower weight and better comfort. Each brand will have their own casing names but read the fine print and inspect the cutaway diagrams to get the full story on TPI, layers and protection.
Rim width
Since about 2015, internal rim widths have been moving from 24-25mm through to around 28-30mm. Even some gravel rims are that wide now! A wider rim can support a wider tyre better, adding air volume and stopping the ‘lightbulb’ shape effect with a narrow rim. Most tyres will have a rim width recommendation.
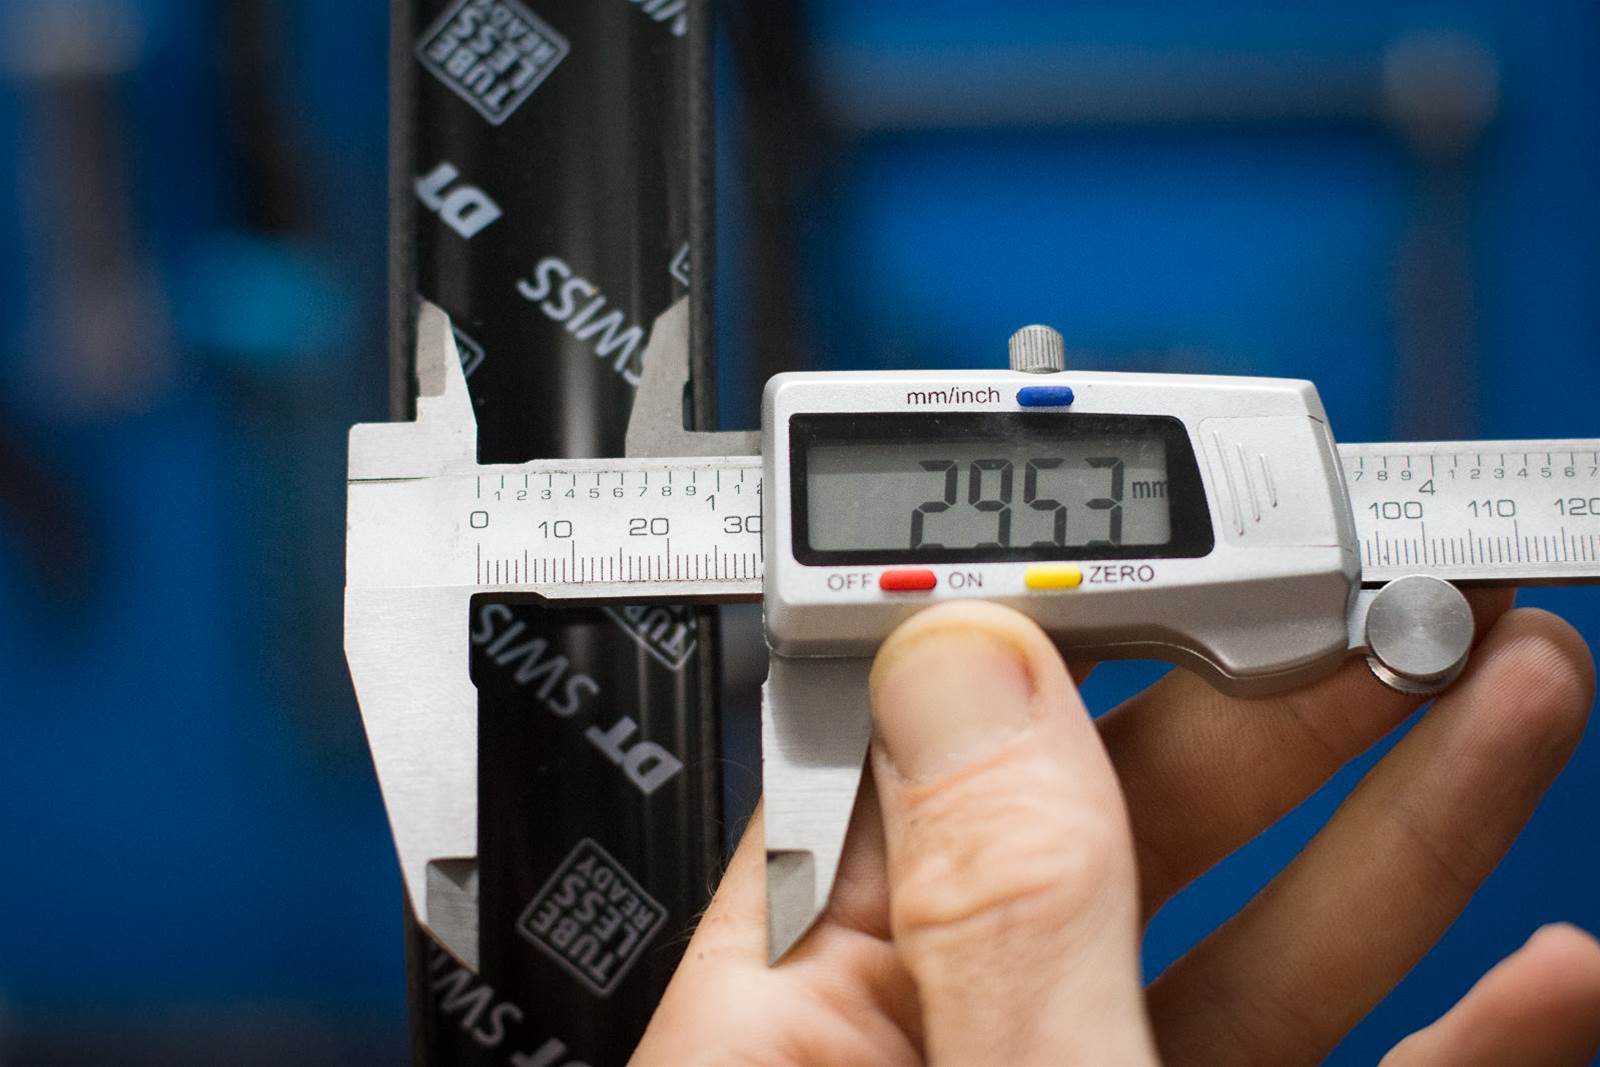
For dialling in tyre setup, your rim width may dictate best tyre width, and it will certainly play a role in finding the right tyre pressure. With the same tyres, I run about 1.5psi lower on a 25mm rim compared to a 30mm rim. Sure, it may not sound like much, but that’s about a 7% difference.
Rim material and depth
There are a few considerations here. A deeper, carbon rim will most likely be very stiff which may not aid traction. Deeper profiles were more common around 2012-2014, with most carbon rim designs since moving to a shallower profile. Aluminium is likely to be shallow and wide as well. In general, most rim designs are moving to be shallow and wide, for compliance and support. This is important to be aware of as the grip from your wheel system comes down to the wheels as much as the tyres.
Tubeless vs tubed
Most mountain bike wheels and tyres will be ‘tubeless ready’. For tyres this means the bead will stay in place on the rim for easier setup, and the rim is or can be airtight with the right tubeless tape and valve. Tubeless setups are harder to puncture from impacts, but they should use a tubeless sealant, which can make changing tyres a bit more of a hassle. Some riders prefer to use new polyurethane tubes that are lighter and stronger that traditional butyl tubes, to avoid any of the hassle of tubeless tyre setup. Many riders feel they have more control over tyre pressure and therefore grip and control with a full tubeless system.
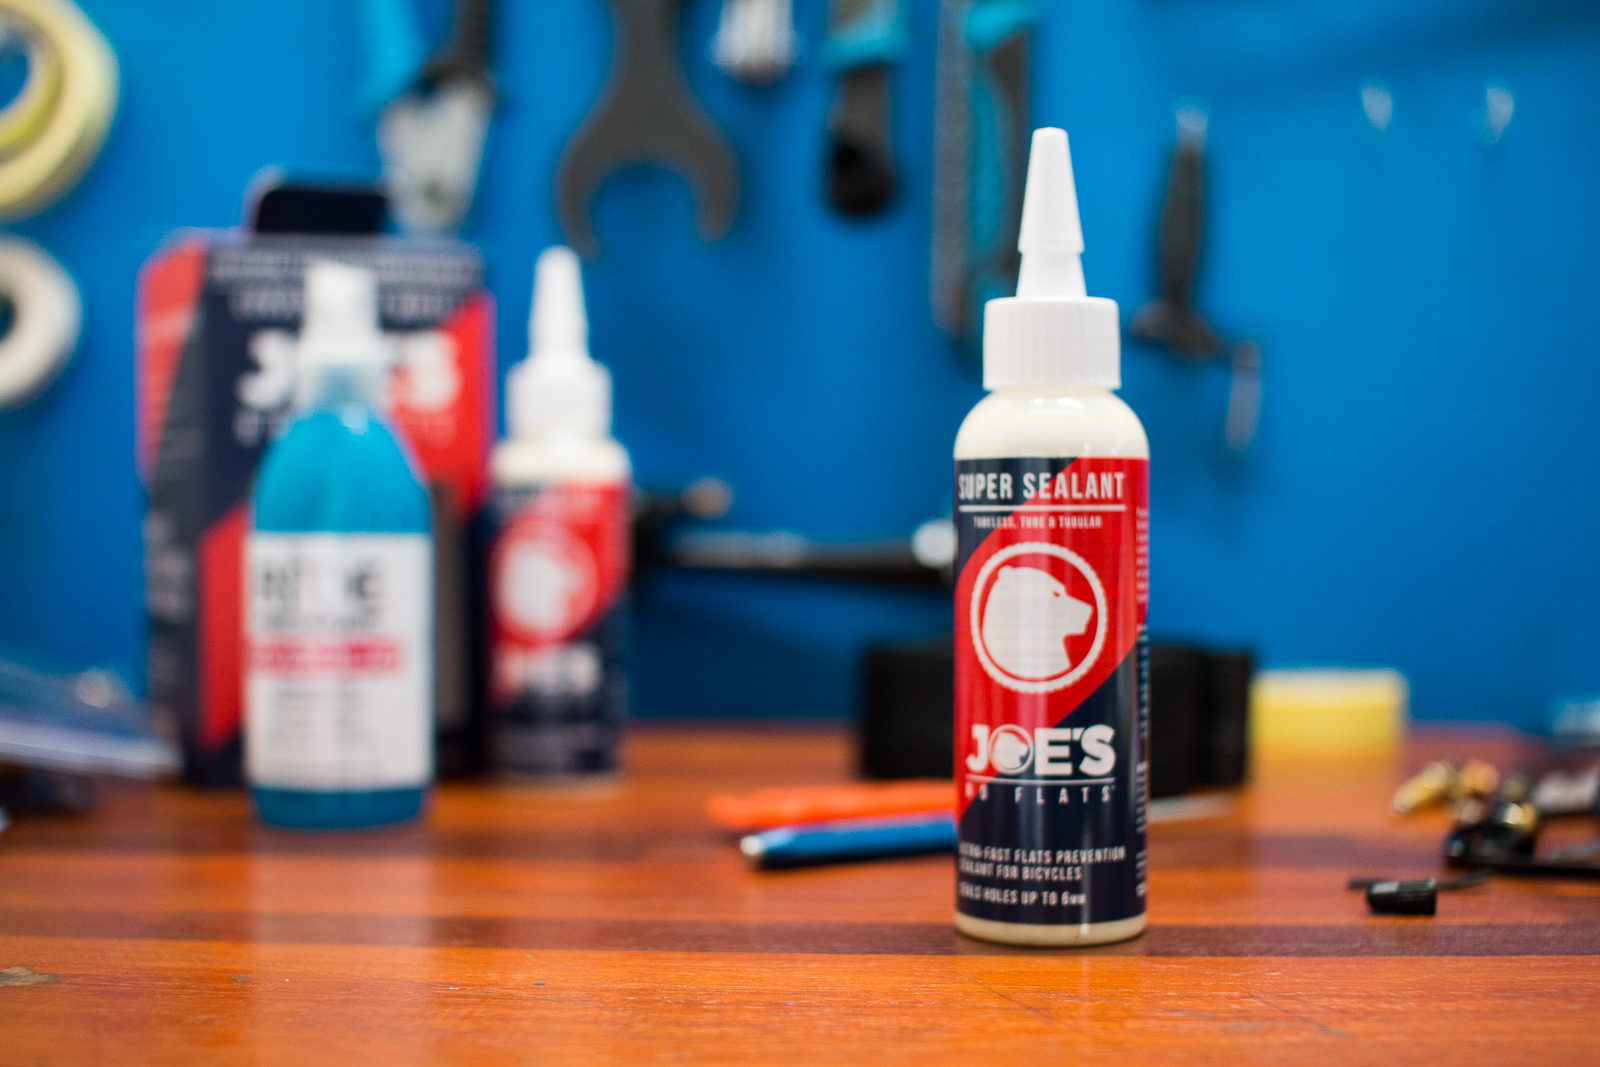
Sealant
If you are using a tubeless system, you will most likely need sealant. These liquids are added at setup, or through the valve. They help seal small holes as air rushes to escape. Some tyres will hold without sealant – but most riders will use sealant as an insurance policy against small cuts. Bear in mind most sealants dry out and reduce effectiveness after 4-6 weeks, especially in a hot environment. Fresh sealant is best, and don’t add new sealant to old.
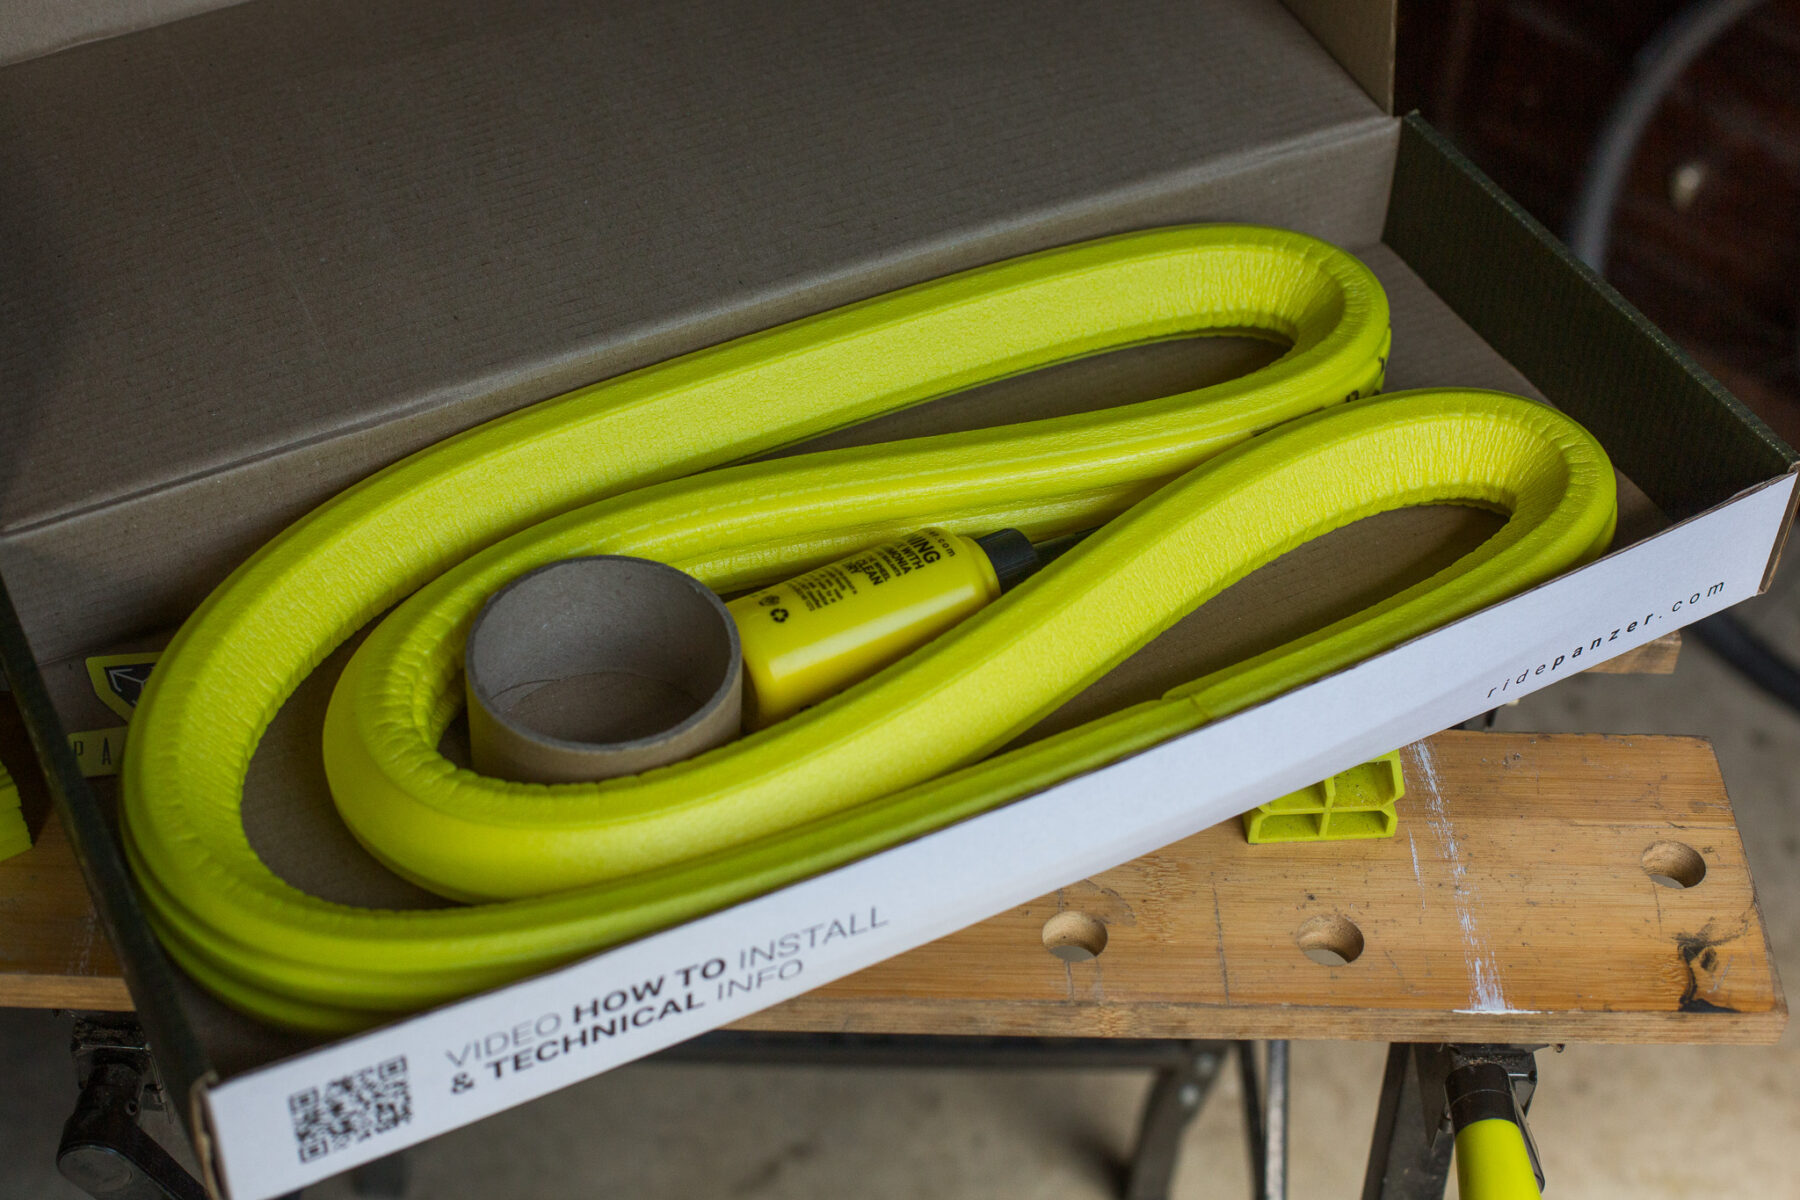
Tyre inserts
Tyre inserts have gained a lot of fans not just in gravity disciplines, but even through to gravel and road! The foam inserts can act either as rim protection, or even as bead lockers that hold the tyres onto the rim internally. They can aid in stability for larger tyres at lower pressure, while also reducing the chance of rim or tyre damage if impacting big rocks and square edges. Most inserts will take up considerable air volume and add more surface area inside the tyre, resulting in different needs for tyre pressure and sealant volume.
Under pressure
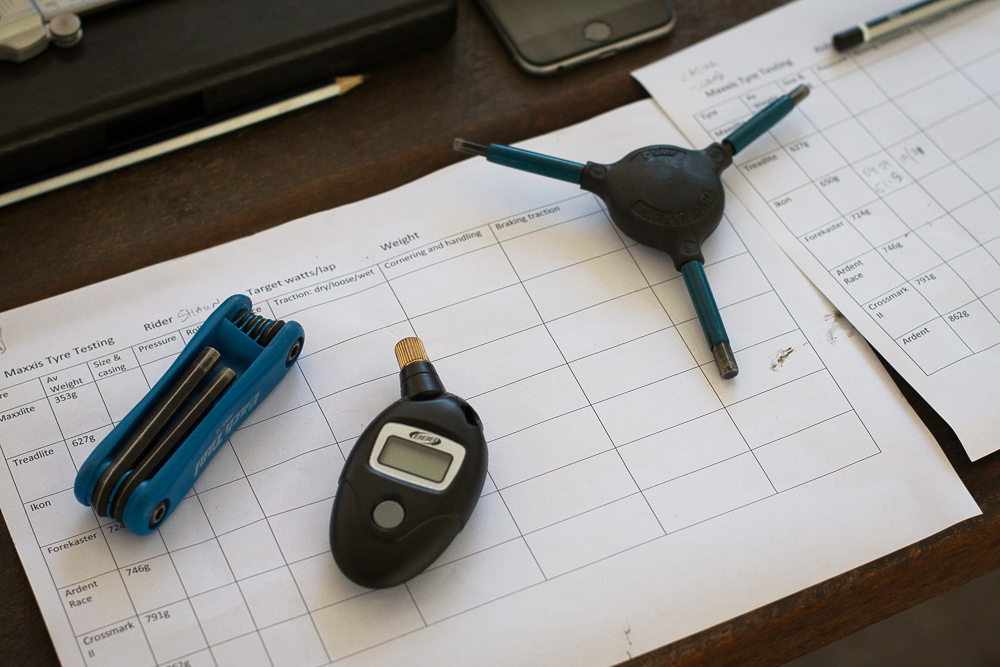
This is where the magic happens. With the tyres on your wheels, inserts in (or not) it is now time to set your tyre pressure. Get an accurate gauge (I suggest a digital one). The question is – where to start? Tyres will have a recommended pressure range – you could start in the middle of that. But the right pressure for you is very dependent on all the details above – plus system weight, which is rider+bike+gear. That is the static weight that needs support. The dynamic weight is all about how you ride. Big drops? You’ll need more pressure. Do you corner like you’re on a motocross bike? You’ll also want higher pressures. Find a base pressure to start with, it will probably be 10% lower in the front than the rear.
As an example, on my 29×2.4” 120TPI tubeless ready tyres on 30mm carbon rims, with an insert in the rear, I run 19psi front and 21psi rear. That’s as a 73kg rider on an 11kg bike, riding XC and trail. Change any of those other factors and I’ll likely be changing tyre pressure as well.
Record, report, adjust tyre pressure
Ok, I get it. This seems like a bit too much effort to just put air in your tyres. But the time spent finding out what works best for you will pay dividends every ride. You’ll likely ride faster, with more control, and be less likely to injure yourself or damage parts of your bike! Head to your local trails that you know pretty well and go for a ride. Be prepared to add or remove tyre pressure (you always carry a mini-pump, right?). If the tyres feel vague you need to add a bit more pressure. Are you bouncing over everything, and skidding more than braking? Perhaps the pressure is too high. Take the time to make adjustments – better yet, write them down either as a voice note on your phone or as a text to yourself. Validate the changes with your electronic pressure gauge. Most are plastic and easy to carry.
In time you will find the sweet spot for you and know whether it’s worth adding some pressure or removing some depending on where you’re riding. Some racers even start events with lower pressures if they know the day is heating up, or they are climbing a high pass – both environmental considerations that can play a big role in tyre pressure and therefore bike handling.
Once you have a good idea of the setup you like with the tyres you have, you can then determine what you may need to get better performance. Perhaps your casing doesn’t provide the support you need so your pressure has to be very high – a more reinforced tyre may be for you. Is your front wheel always pushing through corners? You may need a tyre with more aggressive tread, or slightly lower pressure. Perhaps the tyres feel great but are treacherous on wet rocks and roots? You may want to look at a front tyre with a softer compound.
There are lots of variables, but I hope with this extra knowledge you can set yourself a baseline for tyre setup, and make the changes needed to ride more trails with greater confidence.